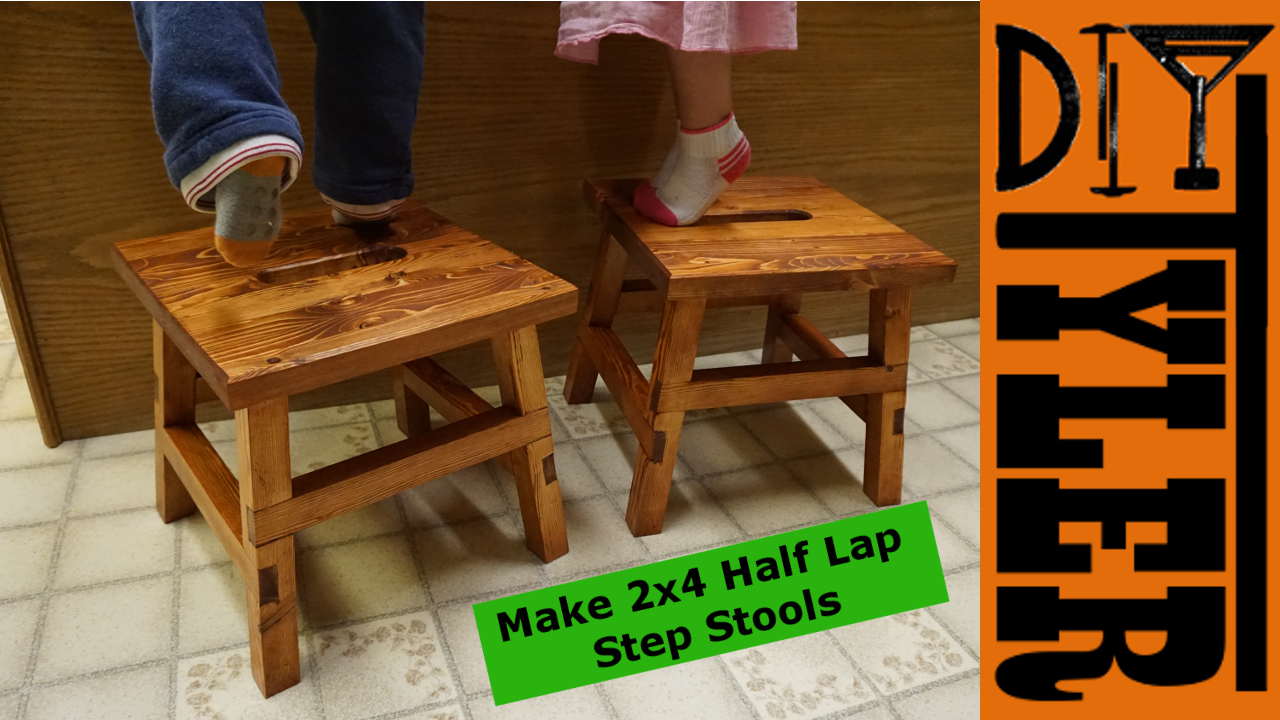
My Mom asked me to make her a set of step stools to replace a few that are getting pretty old. Wanted to use 2x4s to keep the cost down and compound mitered legs to be more stable, look a bit better and more fun!
Check out the build video below to see how I made them. Free set of plans right below.
Used 2x4s to build these stool to keep the cost low and supplies readily available. Cut the pieces for the seat top to rough length using the miter saw.
Squared up one side of the the 2×4 pieces and then cut to width using the table saw. Cut to 1 1/8 x 1 1/8″. In the end I wanted a 1″ thick top and the extra 1/8″ will give me room to plane the top down.
Glued up the top and let sit overnight. When dried I planned down to 1″ thick and squared up the top to 12″x12″.
The legs have a 7° compound miter on the top and bottom. Tiled the miter gauge and blade to 7°, cut one side of the leg then slid it down against the fence and cut to length.
The cross braces also have a 7° angle on both sides and they need a half lap dado cut out.
The half laps on the legs were a bit more tricky as the joints are in the middle of the leg. I made a spacer board that was the difference between the half lap size and the dado stack, using this spacer between the fence and the leg I would make a cut, then slide the leg against the fence and make another dado cut, this gives a nice snug fit the exact size of your cross brace.
I then cut to 1/2″ four pieces that will make a square at the top of the legs, this is where the seat will be glued down to the legs. Glued this up making sure if was perfectly square.
Sanded using a sheet sander for the heavy sanding and then 220 grit with the random orbit sander.Start with the sheet sander because the sand paper is so much cheaper then the orbit discs. Glued up using Titebond III to give me some extra open time. Lots and lots of clamps!
Put and 1 1/4″ slot in the seat to act as a handle. Routed a slight 45° chamfer on the seat top to give it a softer edge. Stained with minwax gunstock and it turned out WAY more orange than expected so instead of using natural danish oil to finish it I got a can of dark walnut danish oil and it worked out excellent!
Put the seat on using Polyurethane adhesive and brad nails to hold it in place while the glue set up.
Seraphina and Ethan gave them a run for their money and they stood up to the test!


