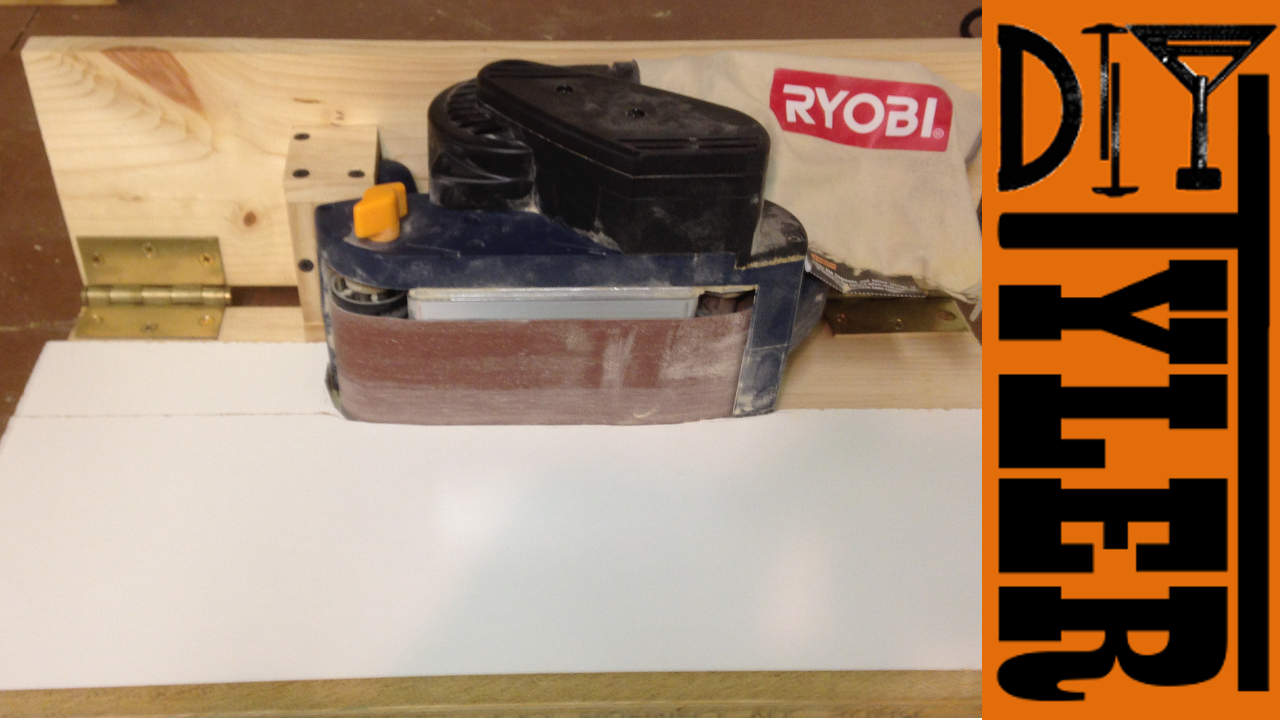
While skimming through John’s website, Ibuildit.ca, I came across a several year old project he did that is a perfect fit for me. The belt sander platform. (I also found a great article by Jay Bates, HERE, from Jayscustomcreations.com.) I have often clamped my belt sander to the workbench to try and accomplish the same task but that does not provide a square surface area which is important depending on your project. Clamping to the workbench does not give you anything to brace the object you are sanding against which is really a pain in the neck.
I did not make any plans for this project since I figured there are so many different types of belt sanders that it would not be worth the time. This was one of those projects that I just went into the shop and started building.
Started the project by selecting a few scrap pieces of plywood to make the bases from. I then made the “Clip” to hold the front of the sander out of a few pieces of scrap pine. I cut these using the miter saw and my newly made table saw sled. Glued and clamped for a few minuets, I also added some screws since this piece will be subject to quite a bit of force when remove and placing the sander into the platform.
To hold the back of the sander in place I decided the easiest way would be to create a pinch point….something like a t-nut will probably have to be put on someday but my selection of odds-and-ends is very small right now and I didn’t have anything that would work.
I cut the pieces on the miter saw with a 10 degree angle. These were then glued and screwed into place.
This pinching mechanism worked out better then I thought it would, will see how long it holds up.
Used some hinges that were in my odds-and-ends box to attached the two platform pieces together.
Put a finish screw underneath the most solid part of the sander to give me some adjustment to make the belt square to the table.
Couple of adjustments to make the belt square to the table….works pretty well!
Tried to trace the shape of the belt against a piece of MDF, epic fail but after a few tries I was able to get a pretty good fit. I cut this using the band saw, REALLY need to get a new blade for this tool.
Attached the raised portion to the base from the bottom using some counter sunk screws.
Below is a gallery of the finished platform, click the thumbnails to see the captions.
Am so glad that I finally took the time to make this platform. I have used it for every project since I completed it. It is a little difficult to power up the sander, I usually rock it from the 90 degree position, turn it on and rock it back again. The platform probably could be made smaller but I wanted to make sure I had plenty of space up near the front rounded part of the sanding belt.


1 thought on “Belt Sander Platform”
Hey, first I just want to say I really enjoy your videos and projects you share! Especially how you actually narrate the video instead of just playing music and pointing (I can’t stand those videos) or use high speed video! I just wanted to say that on this Belt Sander platform article, in the first paragraph you have a link to Jay’s site on a similar build, I got a blank page from that link. I think he may have removed that article because I went to his homepage and looked around at all the articles I could find and didn’t find that article. Not that big of a deal just wanted you to know so you could decide whether to remove a dead link or not! Thanks again!