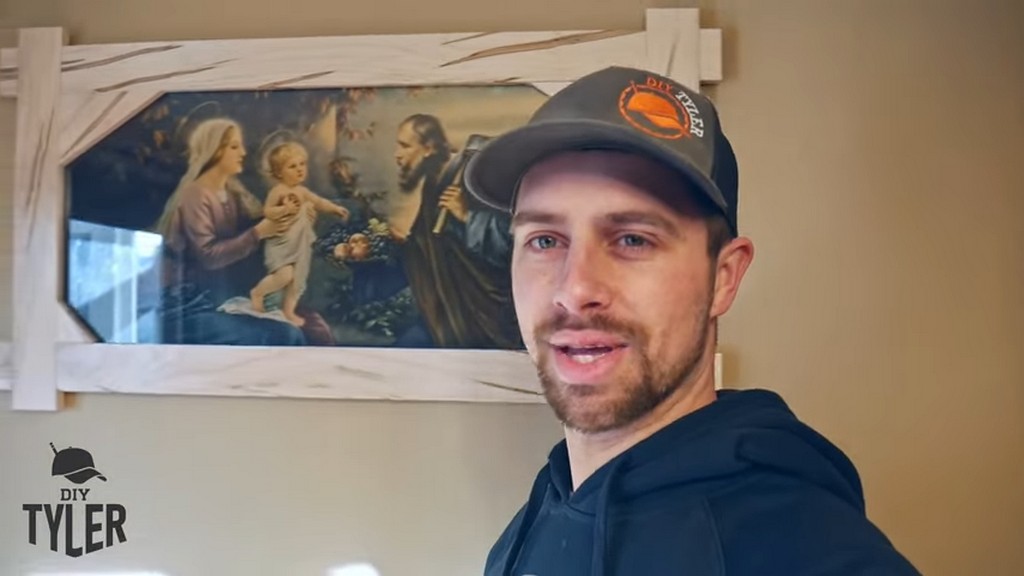
In my home kitchen, we had a round picture of the Holy Family that we needed to fit into a square frame.
Here’s how we did it . . .
Initial Construction of the Picture Frame
Your first question might be to wonder why I didn’t simply make a round frame for the round picture. While that would be a fun project that I’ll probably pursue one day, I had an obstacle. Our downstairs level has a farmhouse half-lap architecture, so I wanted some symmetry between the frame and that overall style.
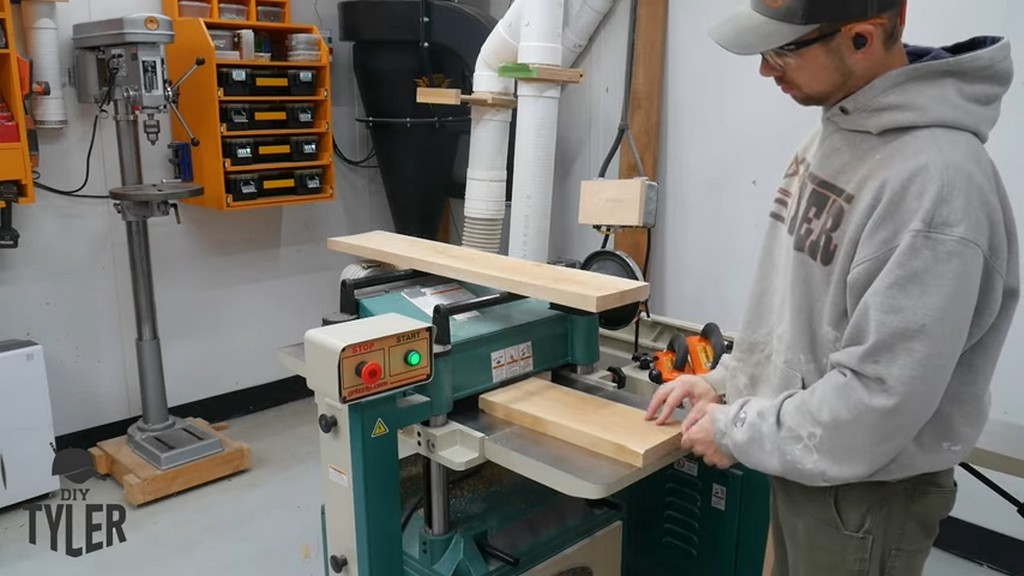
For this frame, I used spalted maple. This matches the material used for the table, benches, and stools in the kitchen. First, I broke down some of that spalted maple at the miter saw and squared up two sides at the jointer.
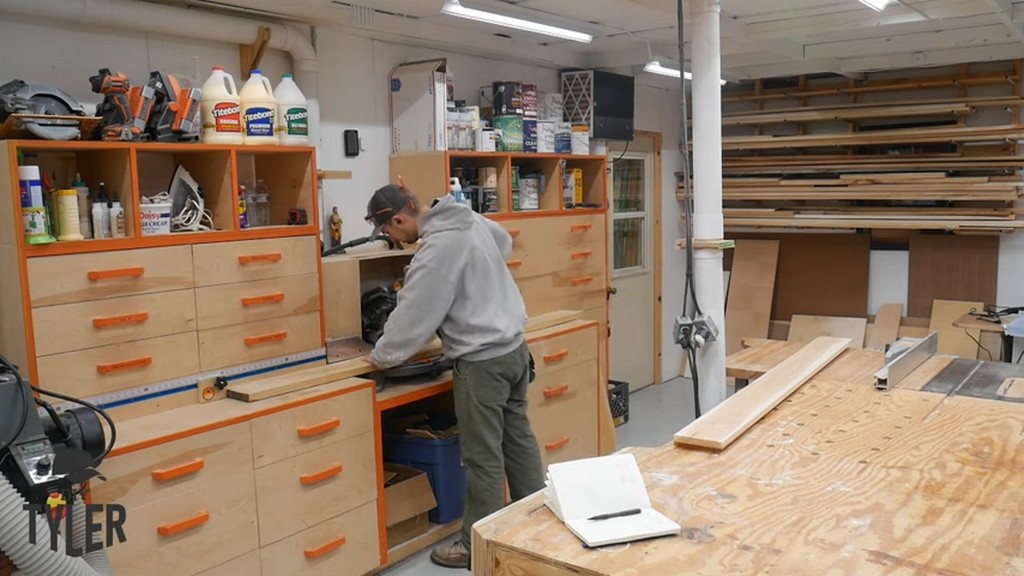
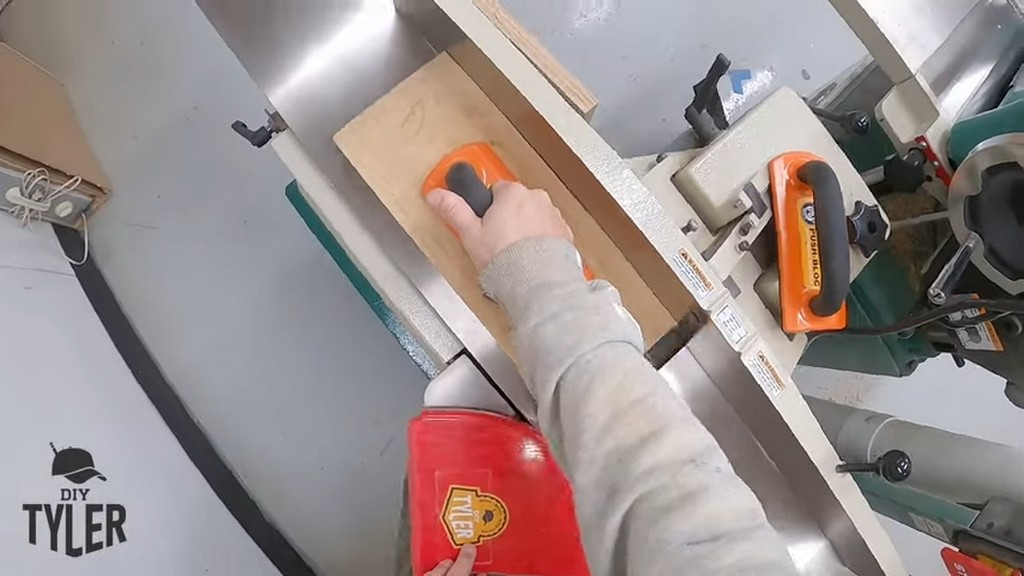
Next, I made these pieces parallel with the planer. Then, I ran them through the table saw.
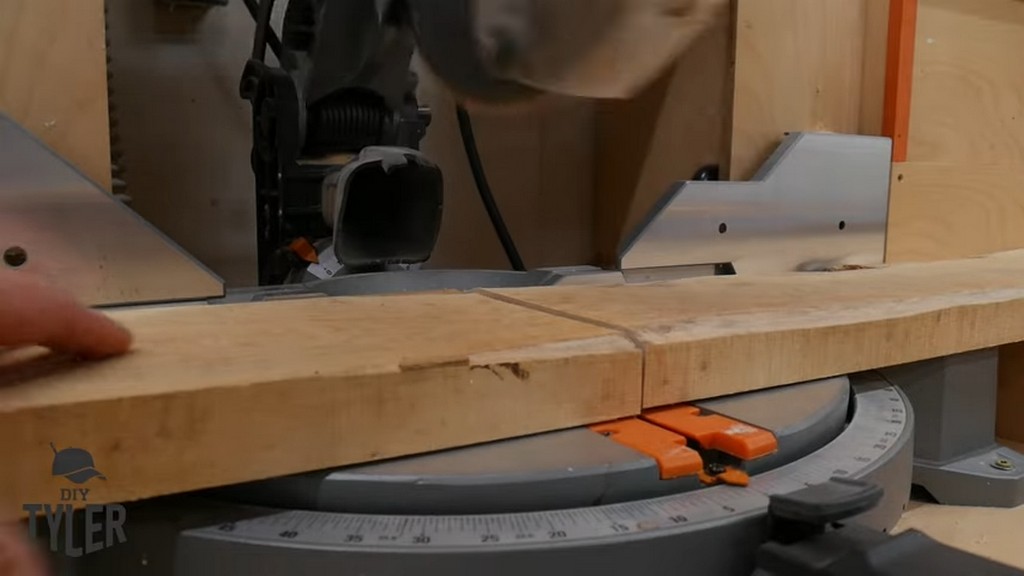
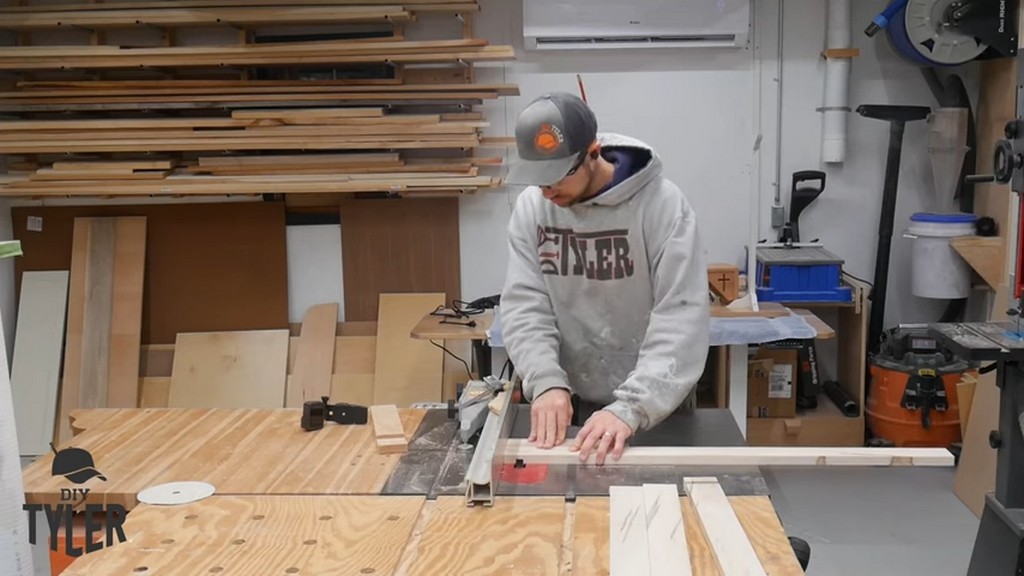
With all the maple milled to my desired dimensions, I moved to break the pieces down at the miter saw.
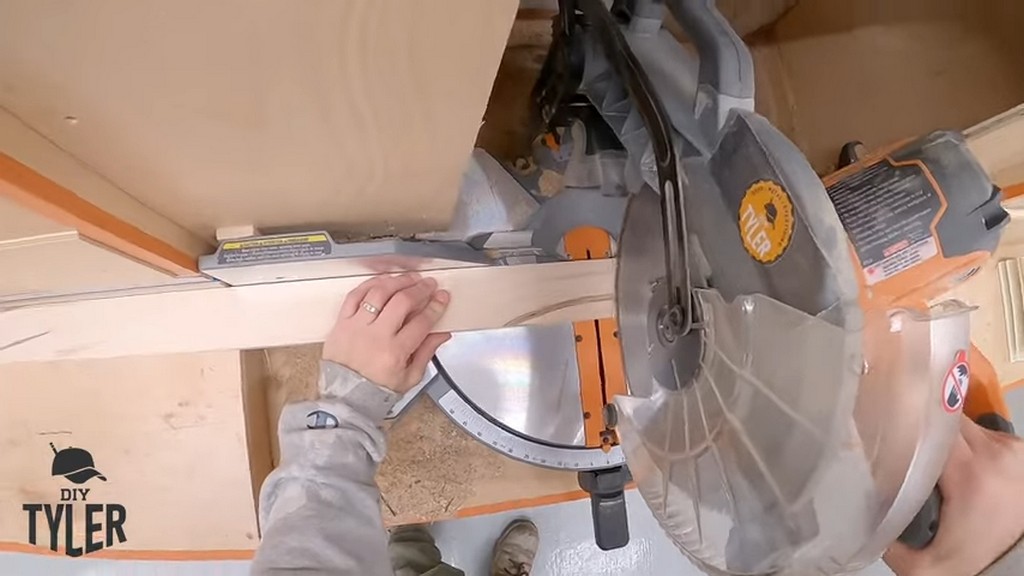
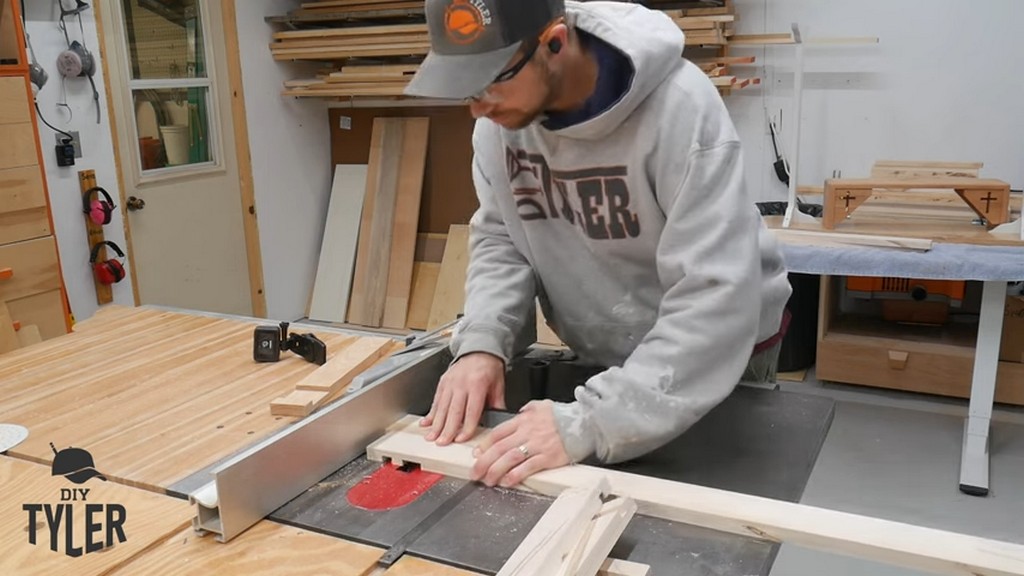
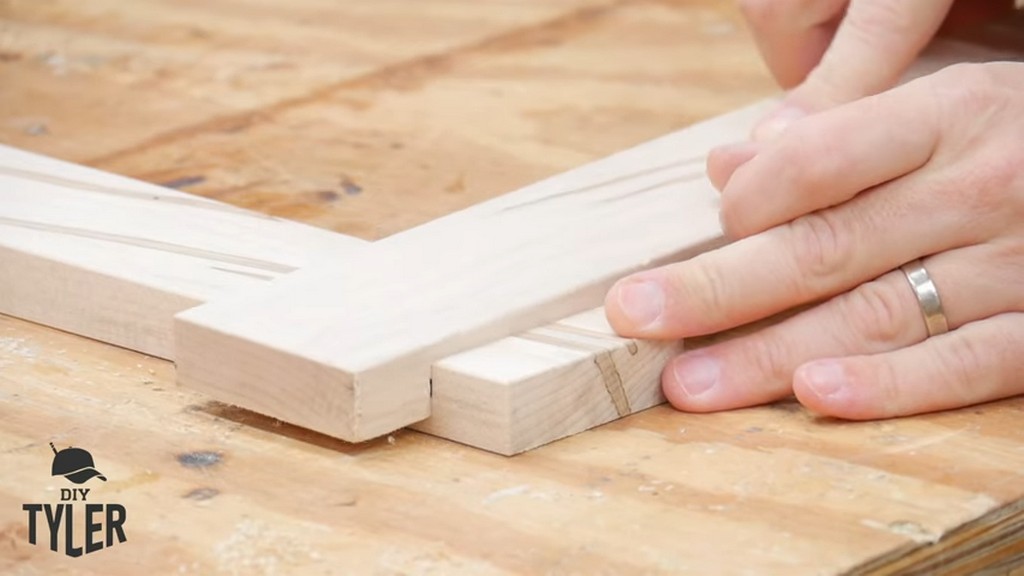
I installed a dado blade on my table saw so that I could create a half-lap butt joint for the frame. The frame was meant to have a farmhouse-style joint with a one-inch overhang on either side of the joint.
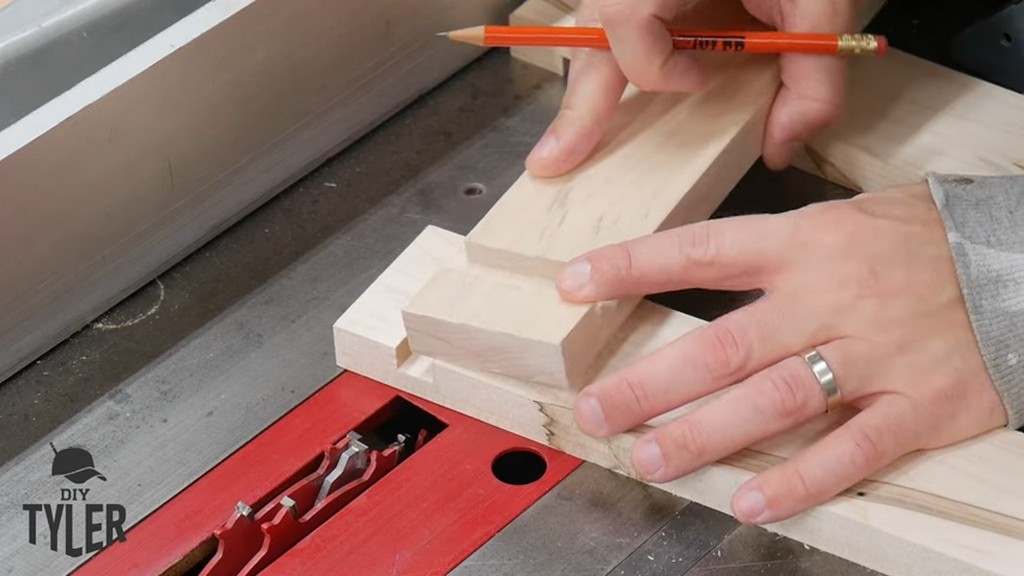
To achieve this, I set a one-inch gap between the table saw’s fence and blade. I would then use the workpieces themselves to determine the spacing from the outer gap to where we need the other side to be.
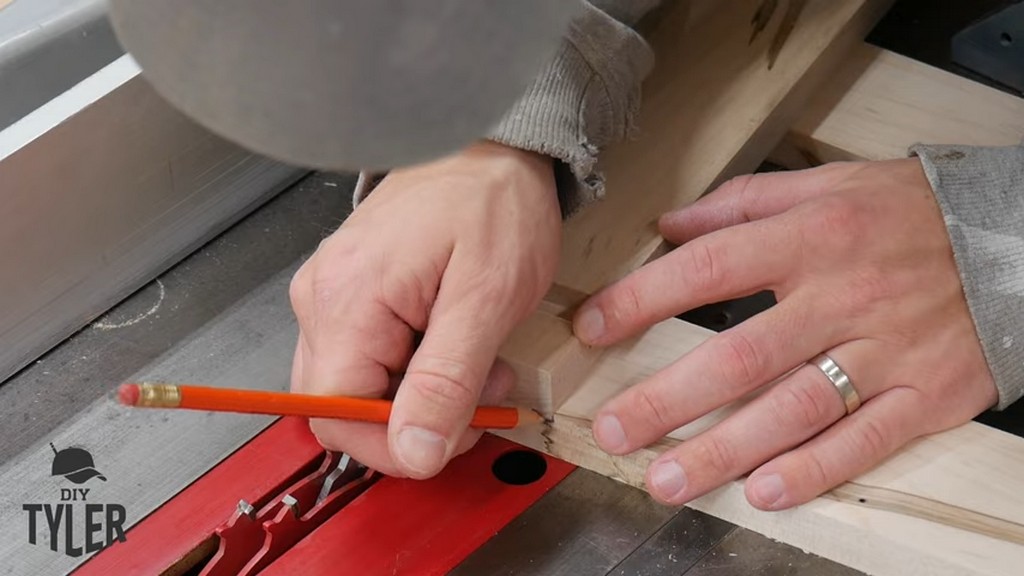
Here I am using the workpiece I cut to determine the location of the second dado groove, as mentioned before.
Once you have that second dado set, you should be able to use it for all your future pieces in this build.
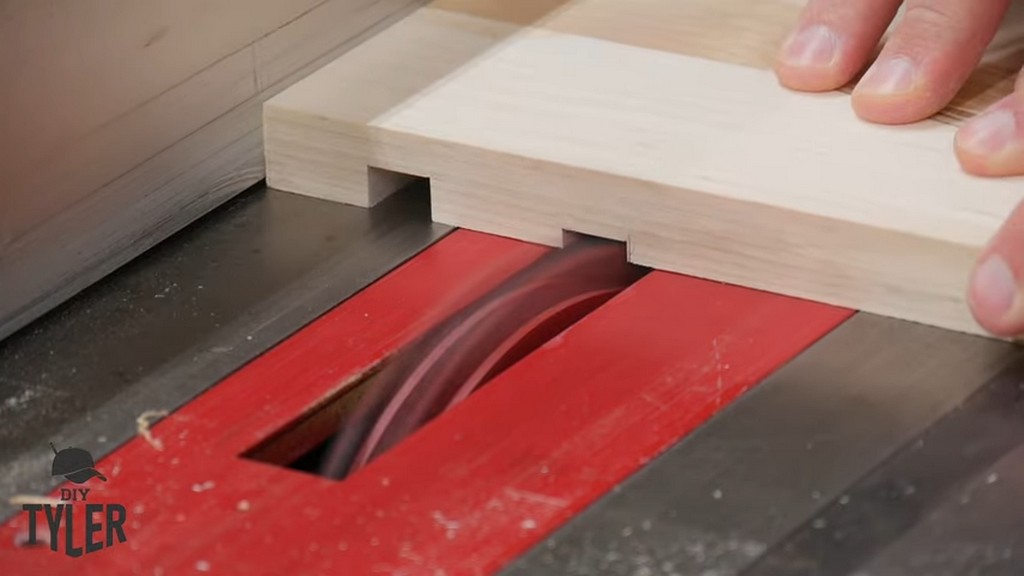
Confident with the grooves I had made, I then used the dado to hog out the remaining wood at the center of the workpiece.

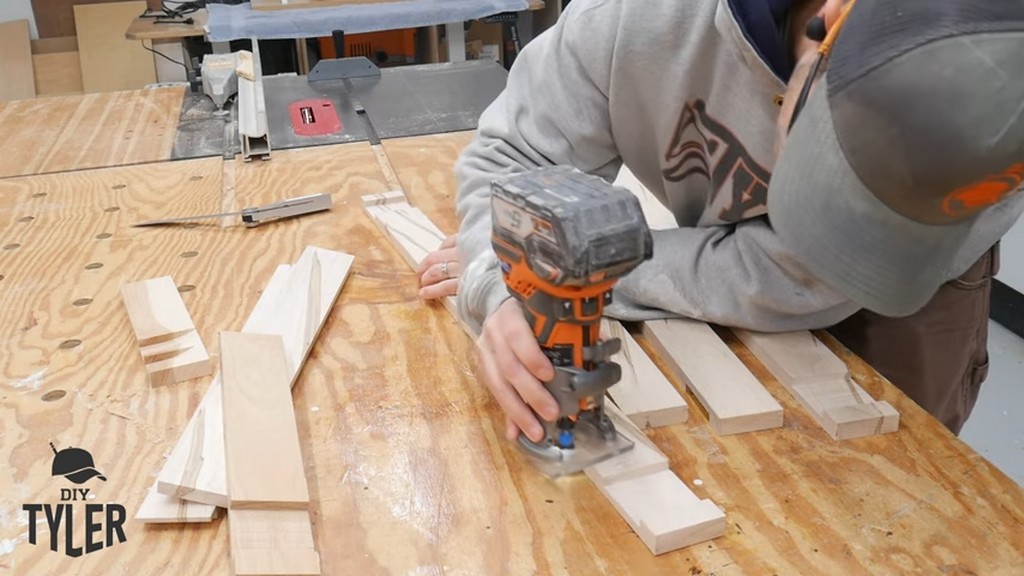
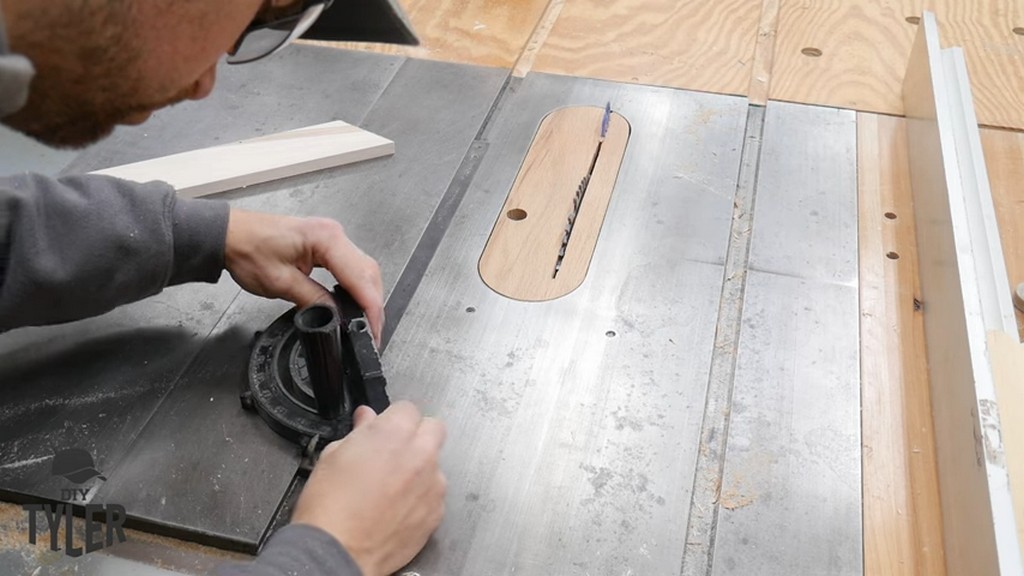
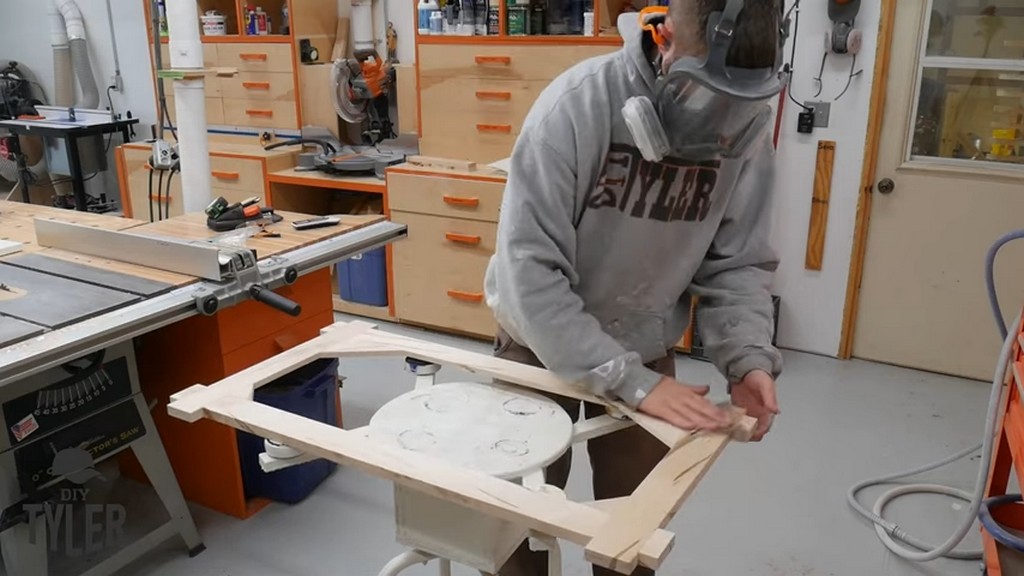
With all of the joints cut, I wanted to give the pieces a “crispy” edge before gluing. Most of that could be accomplished with a small roundover router bit. For the inside edges, I used a hand plane to keep from scraping into the half-lap edge too much.
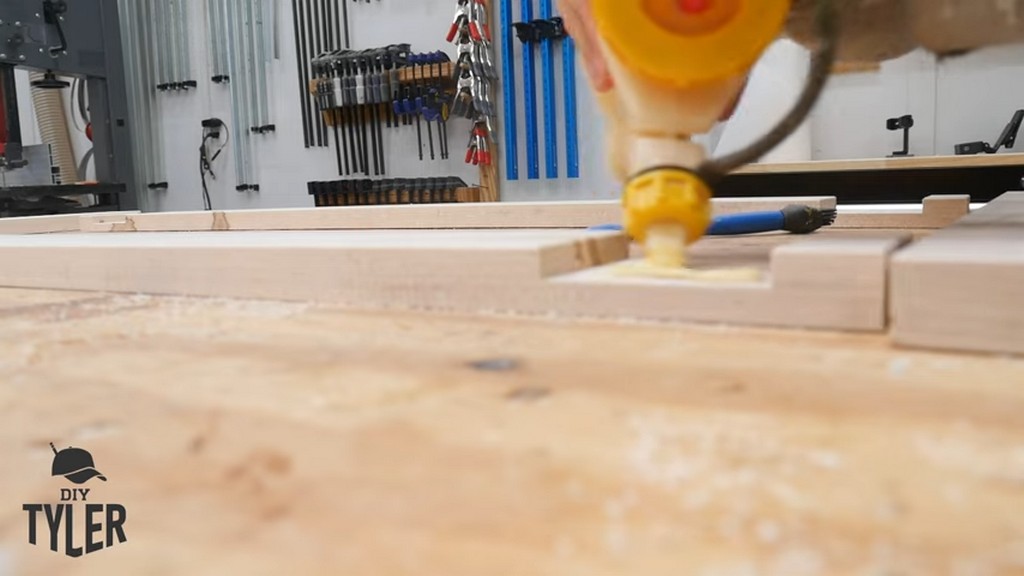
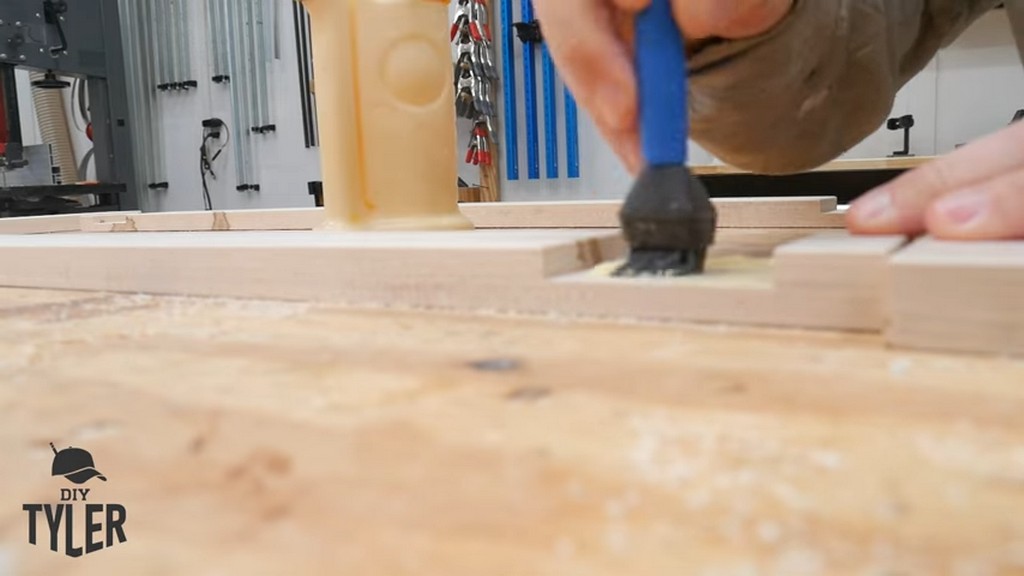
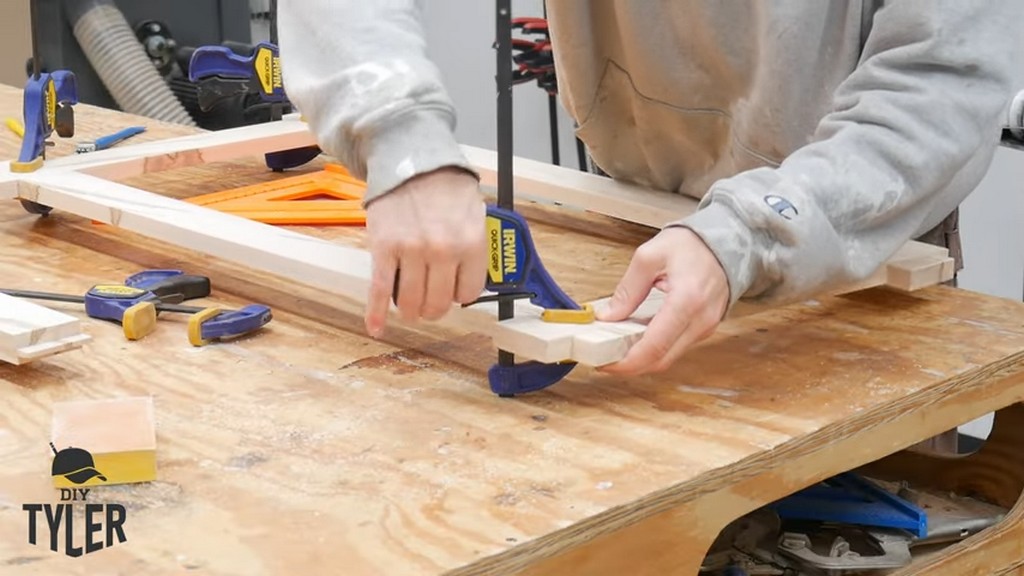
With the roundover edges done, I applied some glue and clamped everything together for fastening purposes.
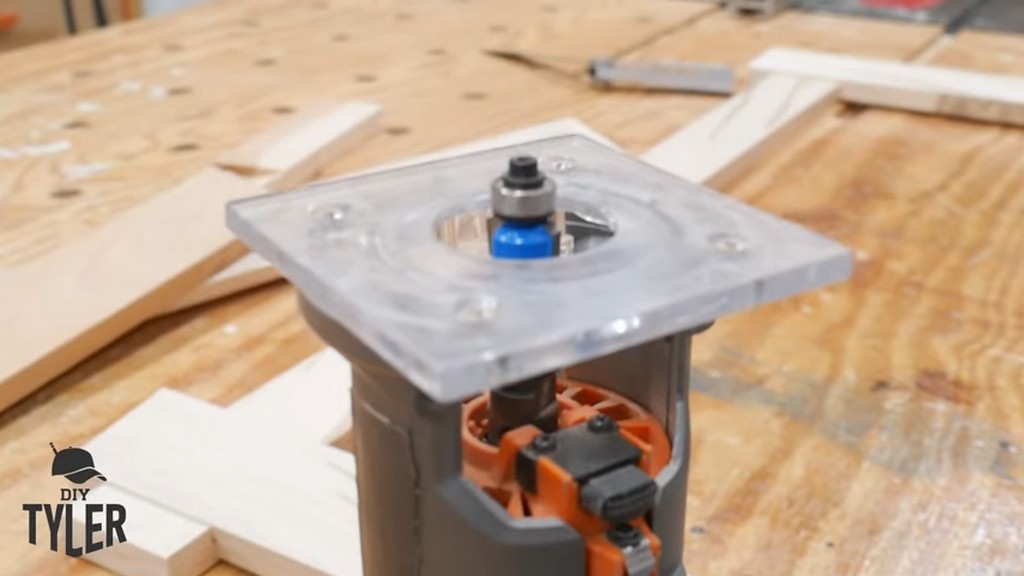
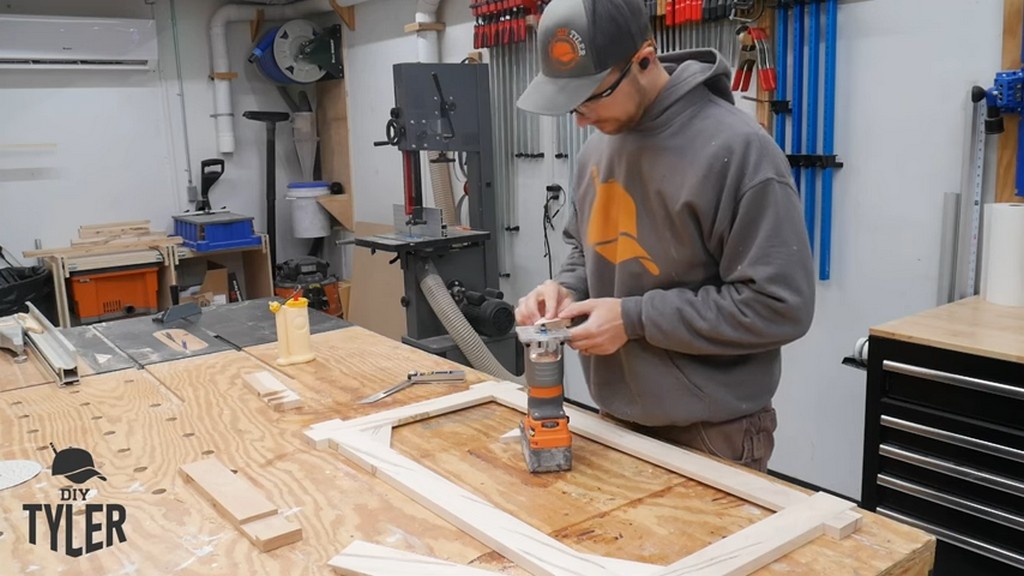
So that the frame could accept the glass, we needed to cut a rabbit into the back. I did this at my router table with the help of a rabbiting bit.
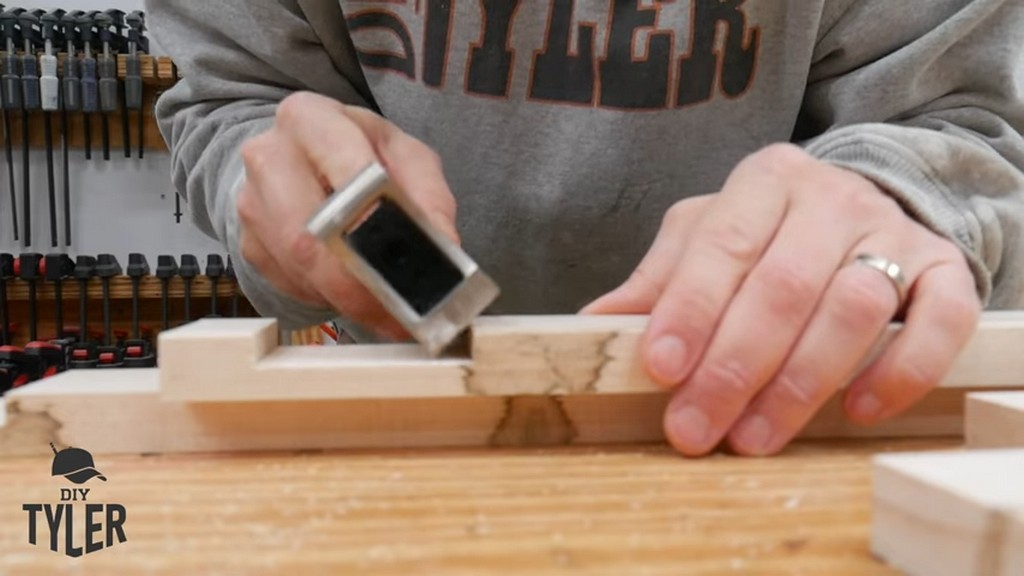
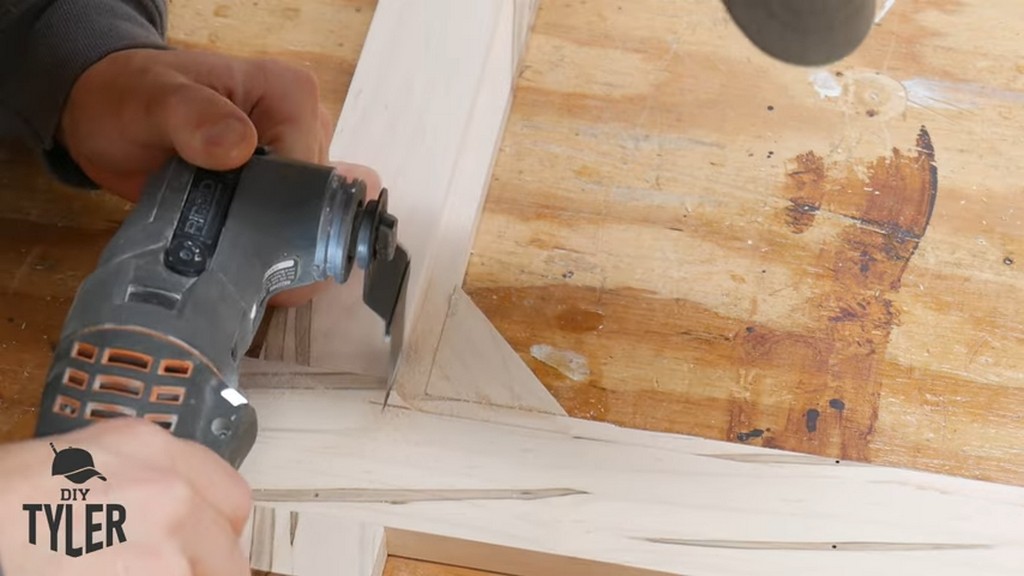
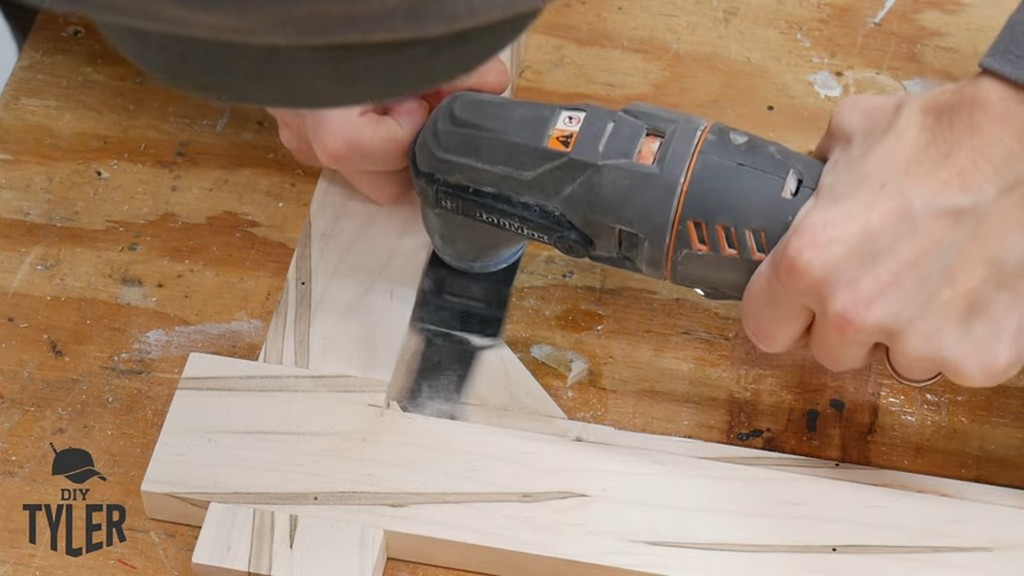
Next, I used a multitool (you could also use a chisel) to square up the corners.

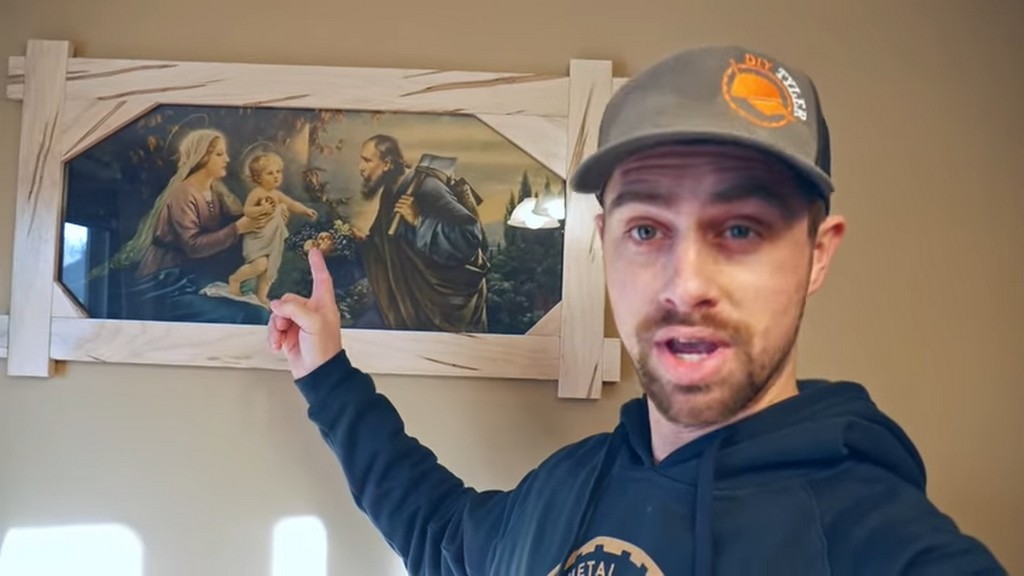
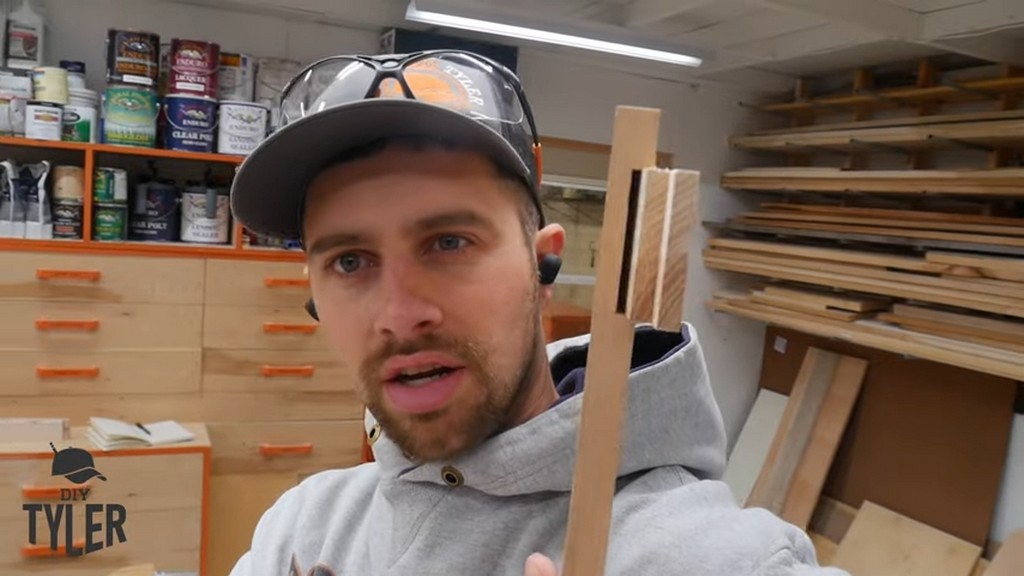
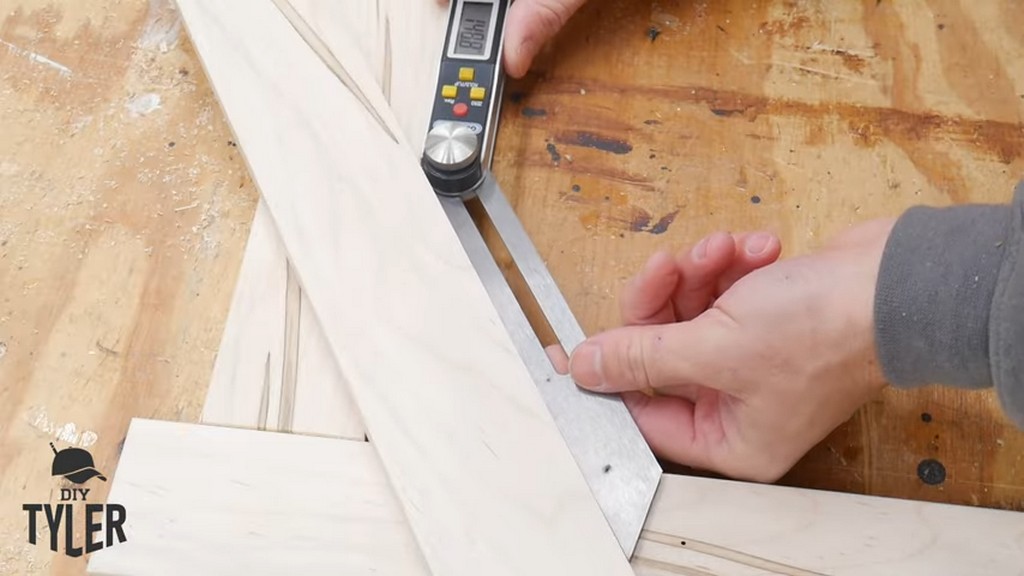
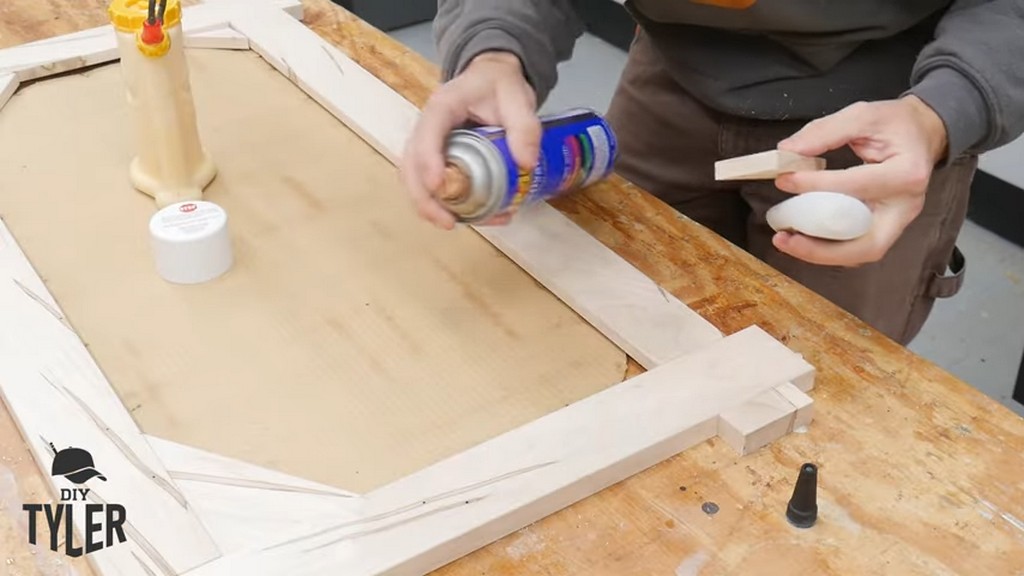
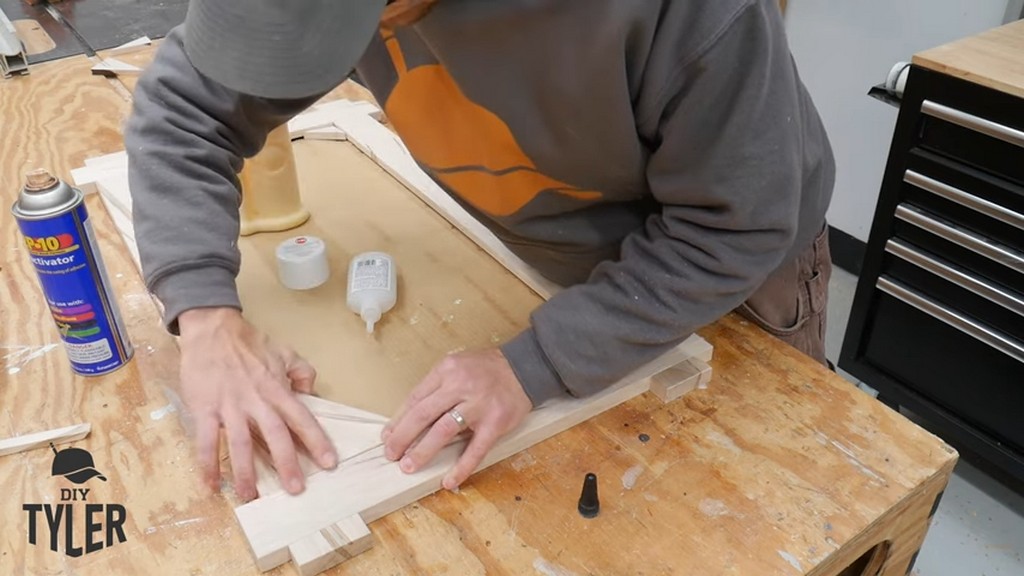
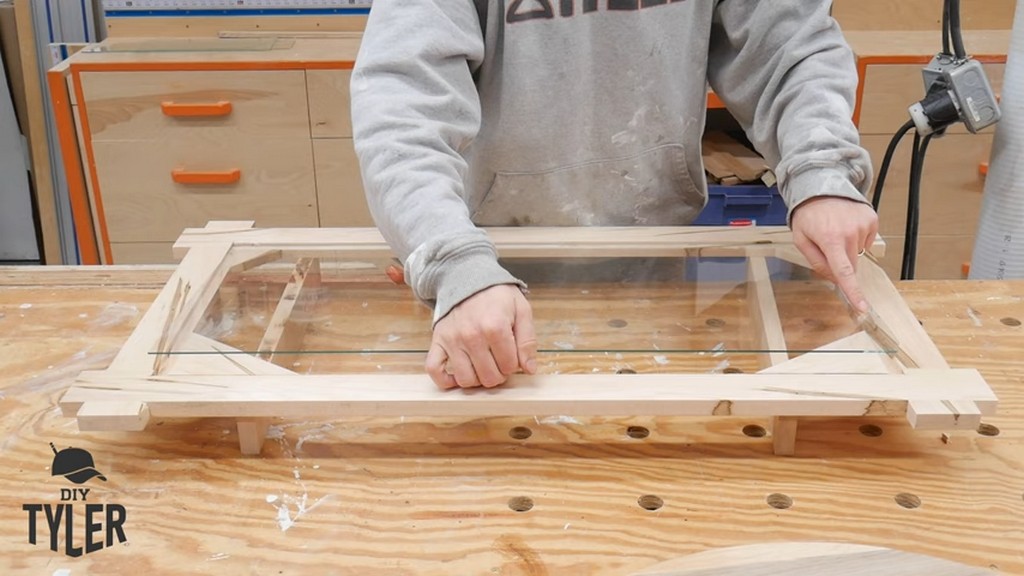
To make a square frame work for a round picture, I added a couple of pieces into the corners to cover up what would have been the empty space in the frame.
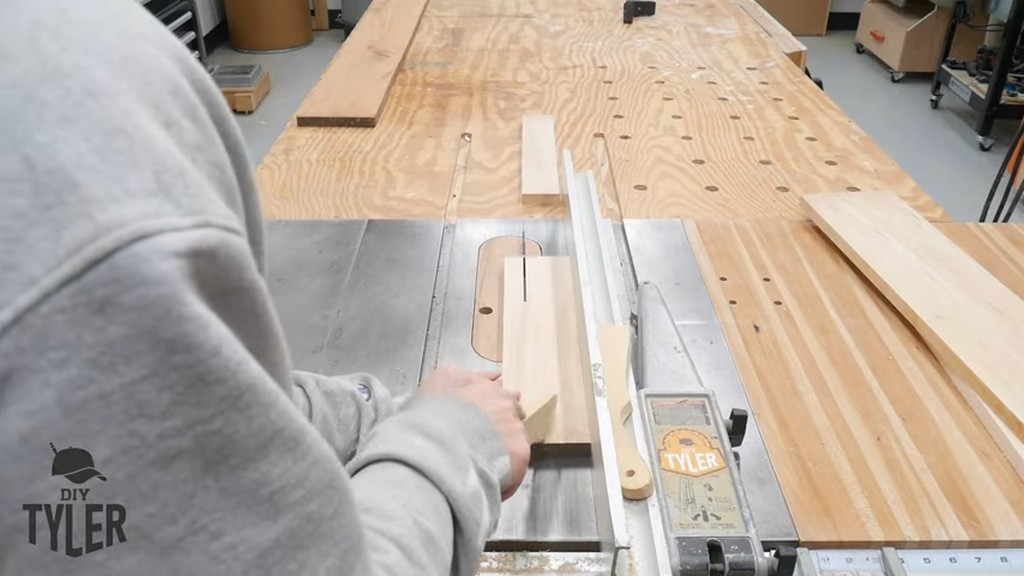
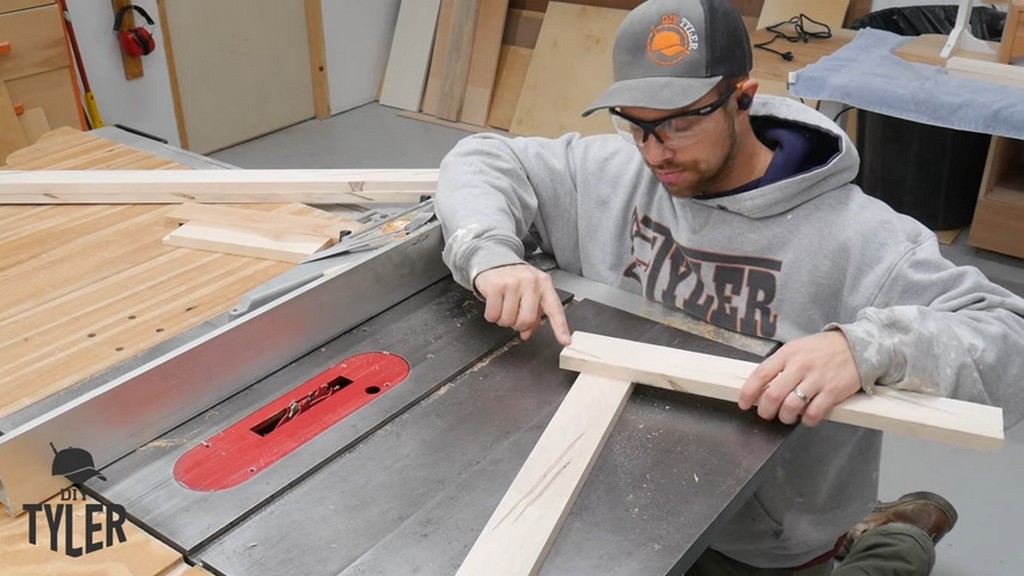
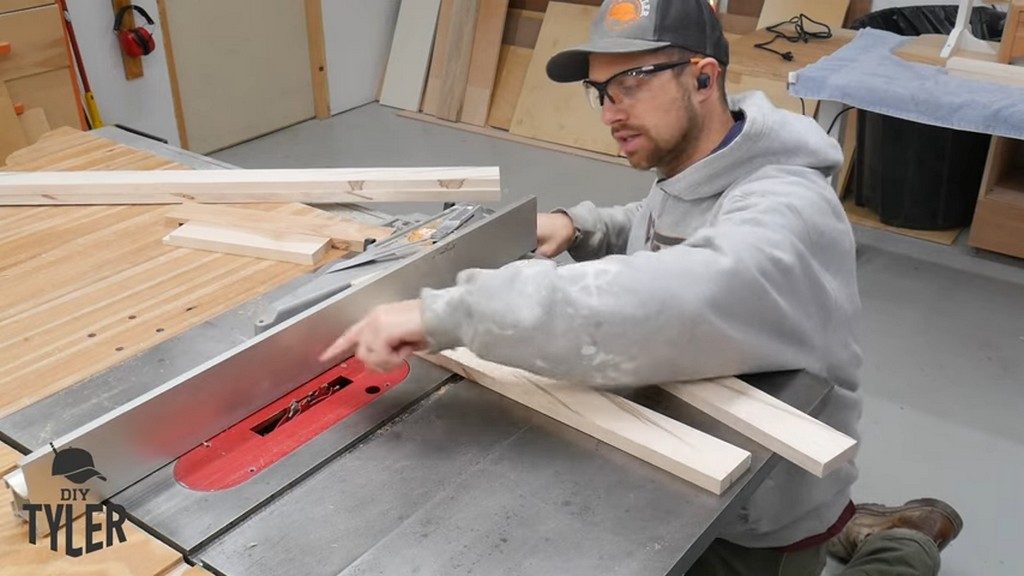
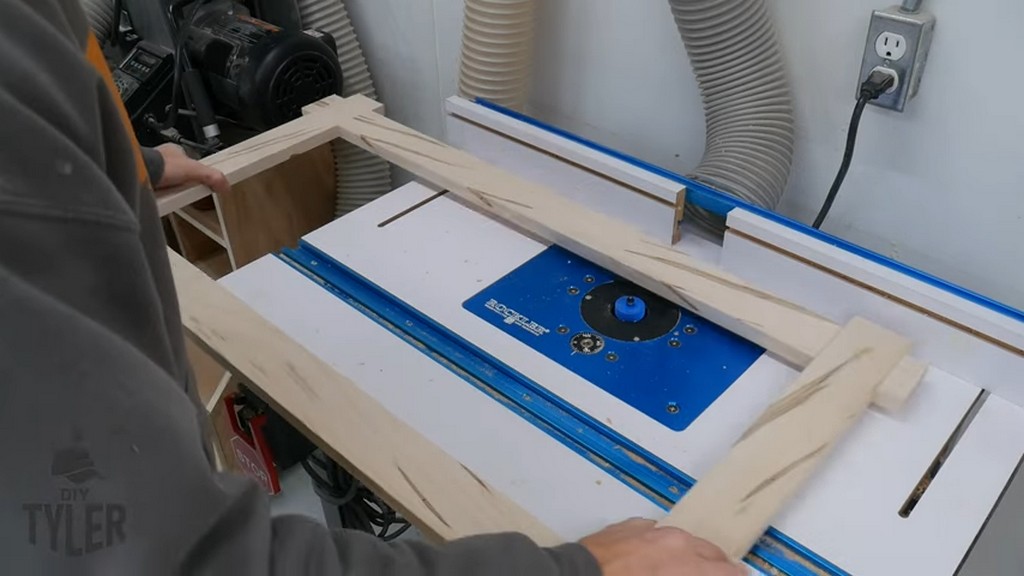
These pieces consisted of sharp angles that I cut out carefully on the table saw with the help of the miter gauge.
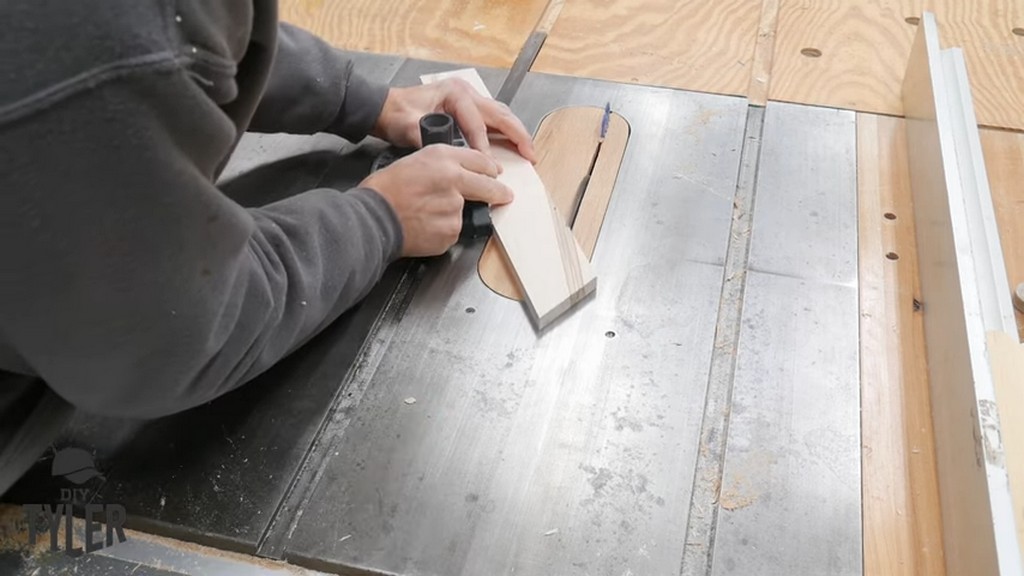
Without having a square or other jigs, I could not have cut these sharp corners with the miter saw. That’s why I used the table saw instead.
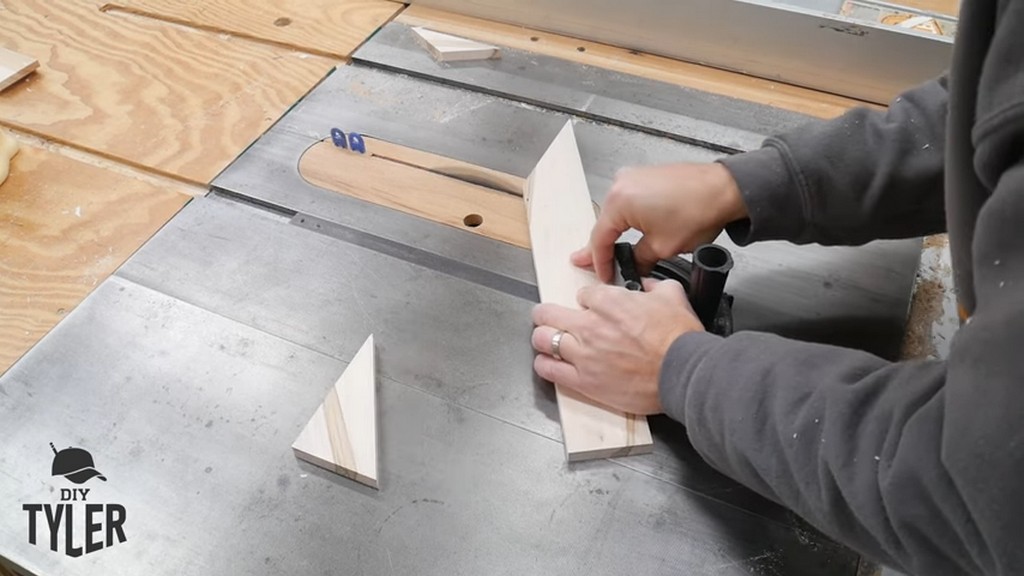
I added the roundover edges on these pieces as well. This created a uniform texture all around the frame.
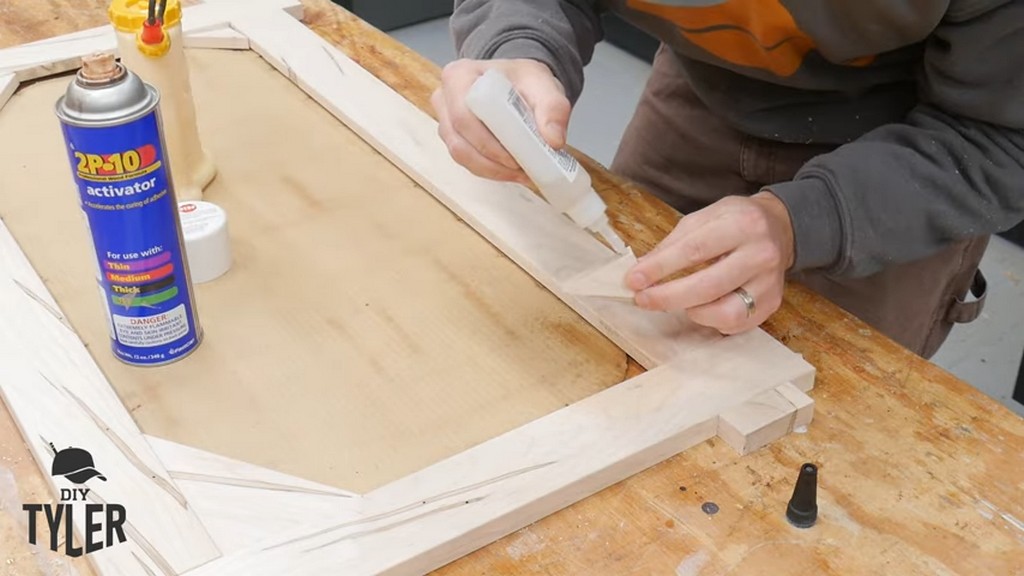
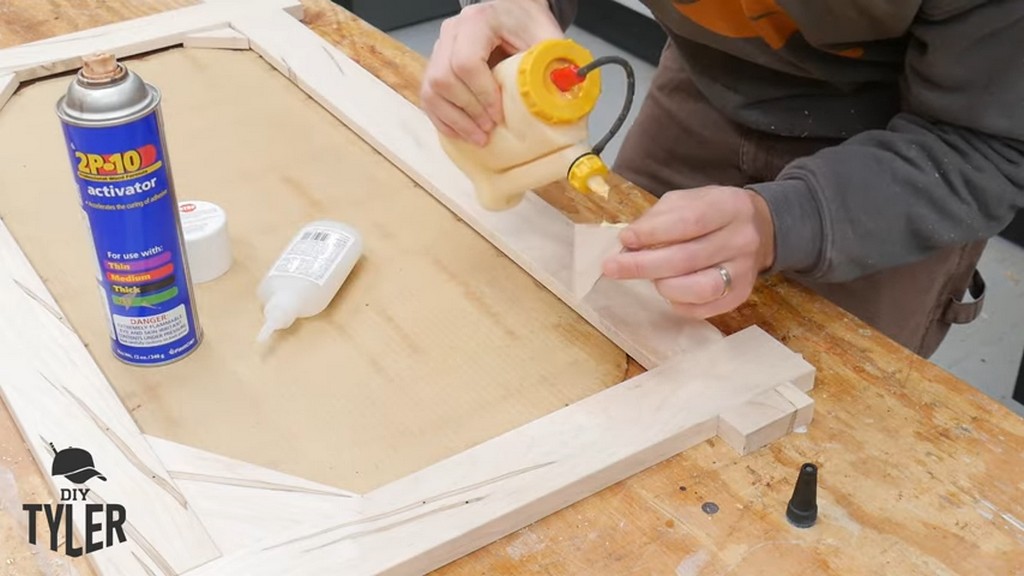
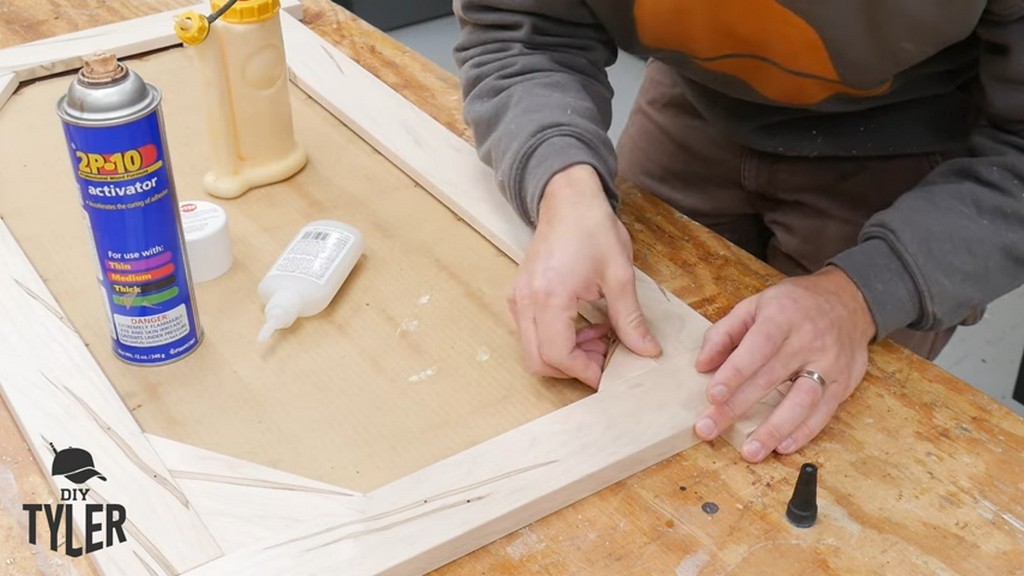
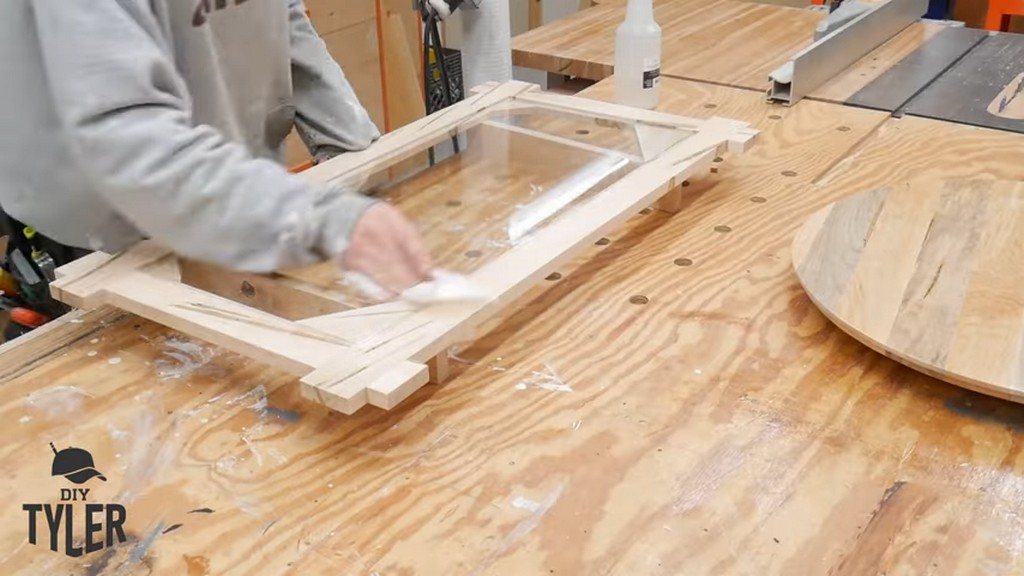
To fasten these corner pieces in place, I used some CA glue with some activator for quick bonding. I also added some traditional wood glue to create a permanent fixture.
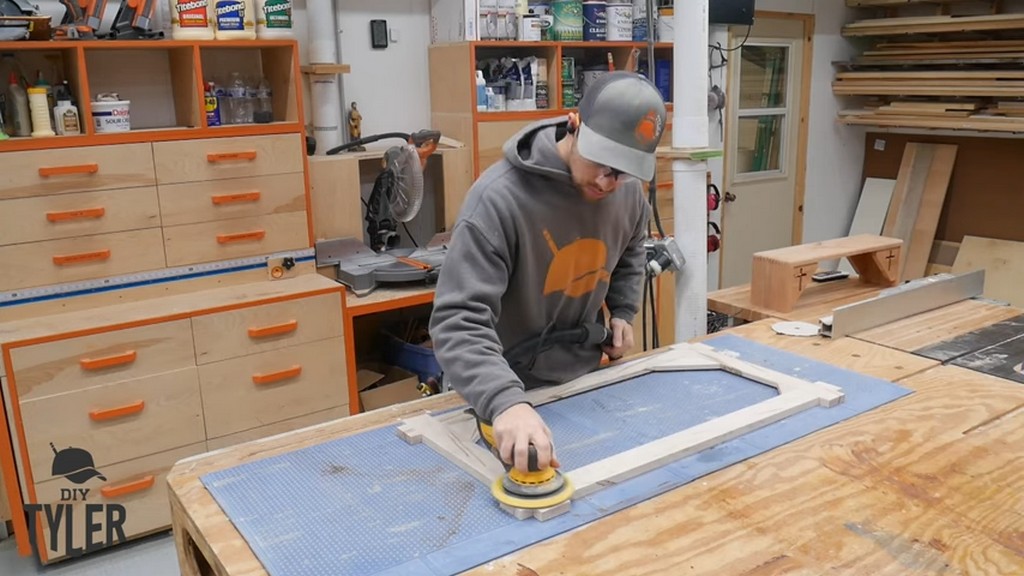
A quick sanding ensured that we had a beautiful final product. I worked my way up from 120 to 220 grit. Of course, I cleaned the frame off in between, and I never rushed (which is a perfect way to ruin a project like this!).
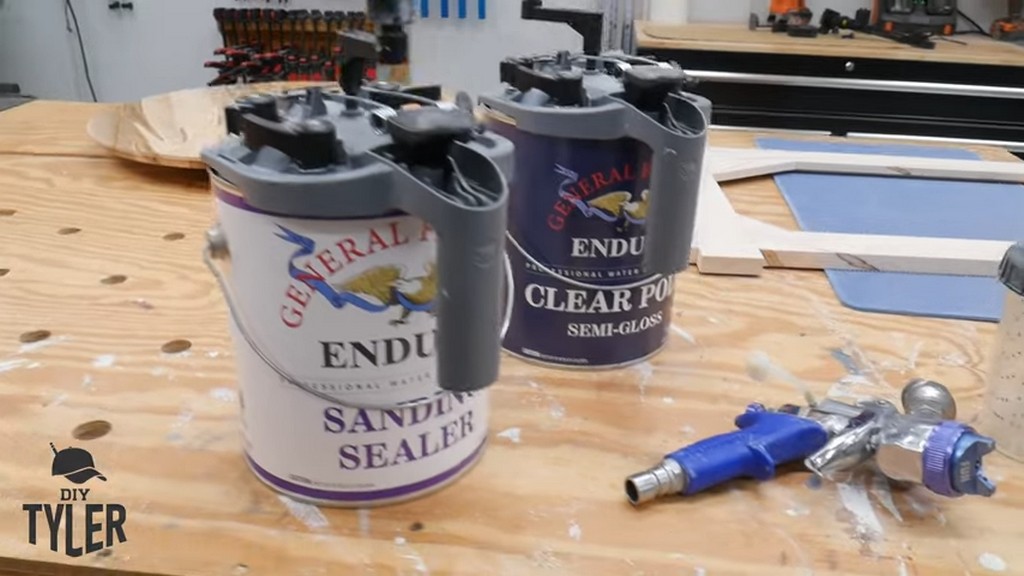
For the finish, I used my all-time favorite: the tried-and-true General Finishes. I applied a couple of coats of sanding sealer with a 1.3mm tip on my Fuji spray system.
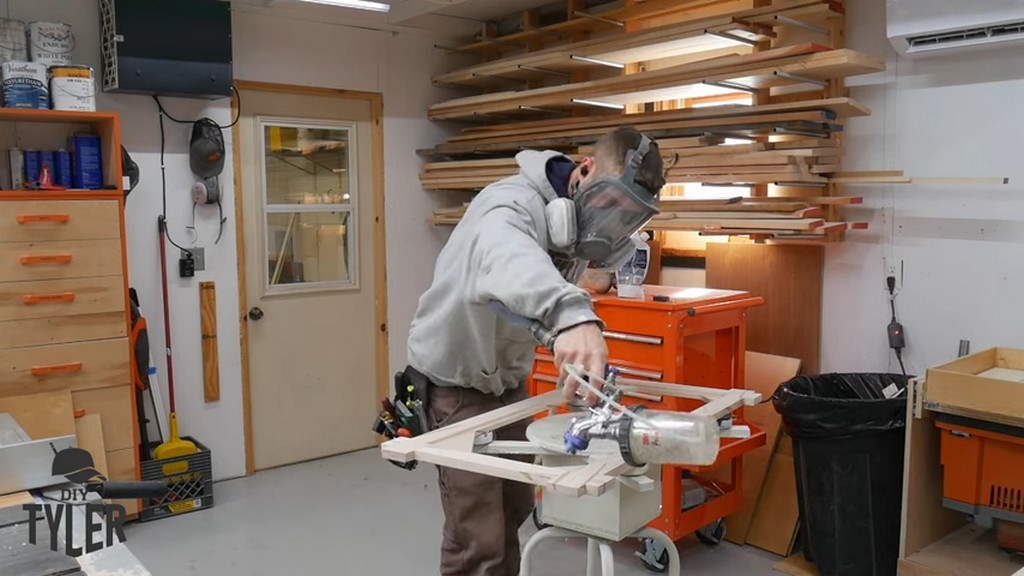
Then, I finalized the finish with three coats of General Finishes’ Enduro clear poly semi-gloss product through a 1mm tip. Since I was spraying at a lower pressure, I had less overspray and felt comfortable applying the finish directly in my shop (while wearing my respirator, of course!).
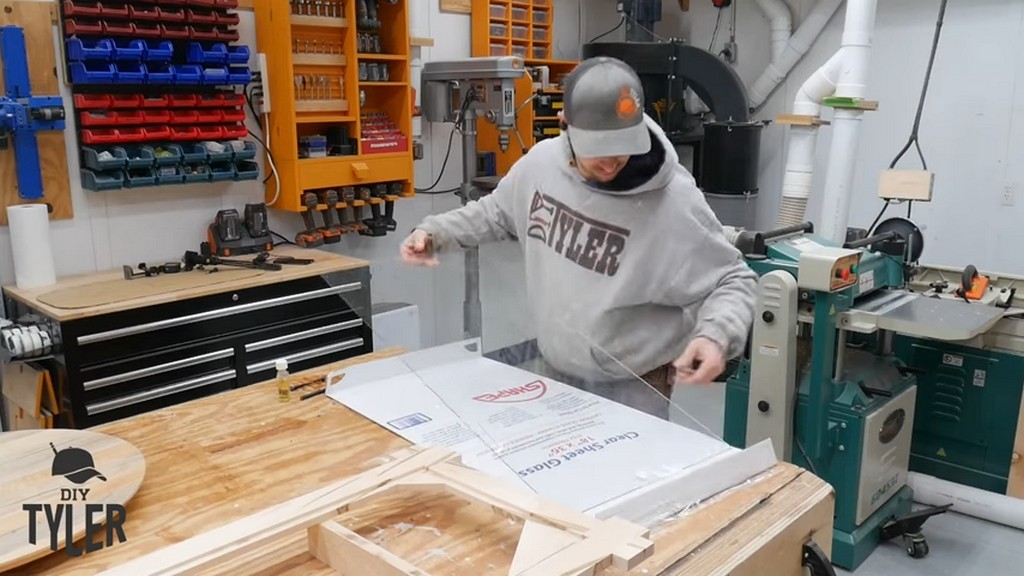
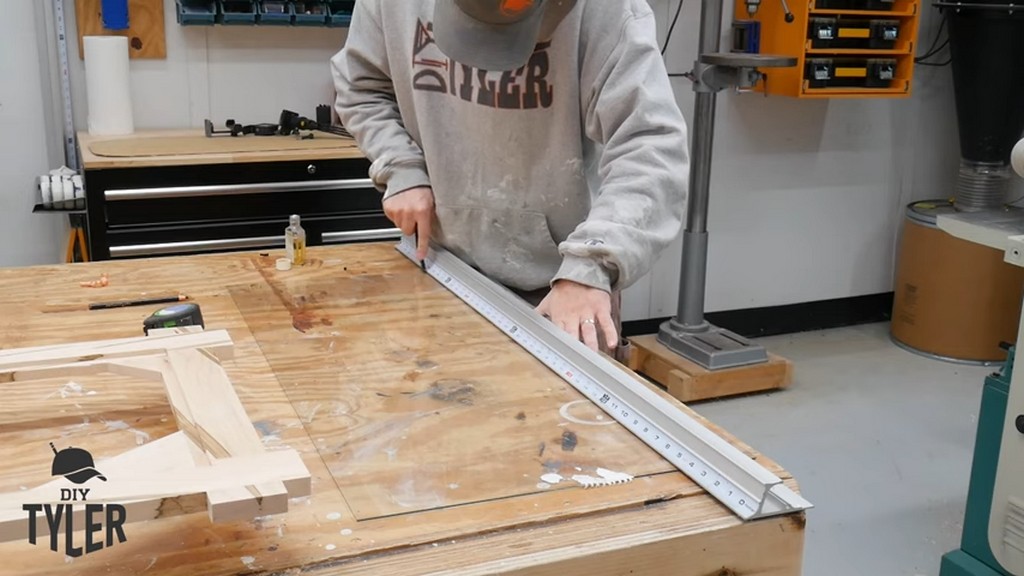
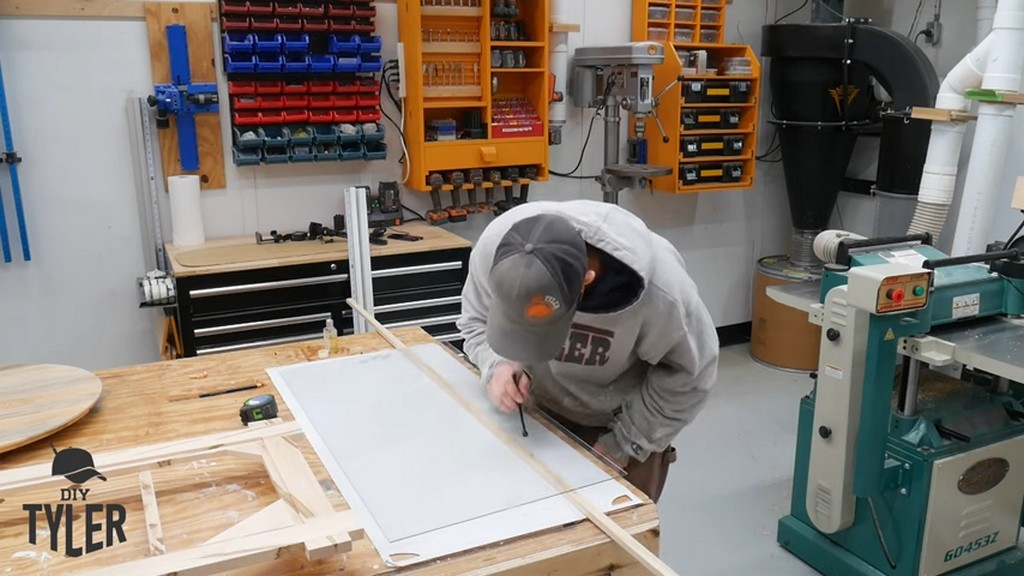
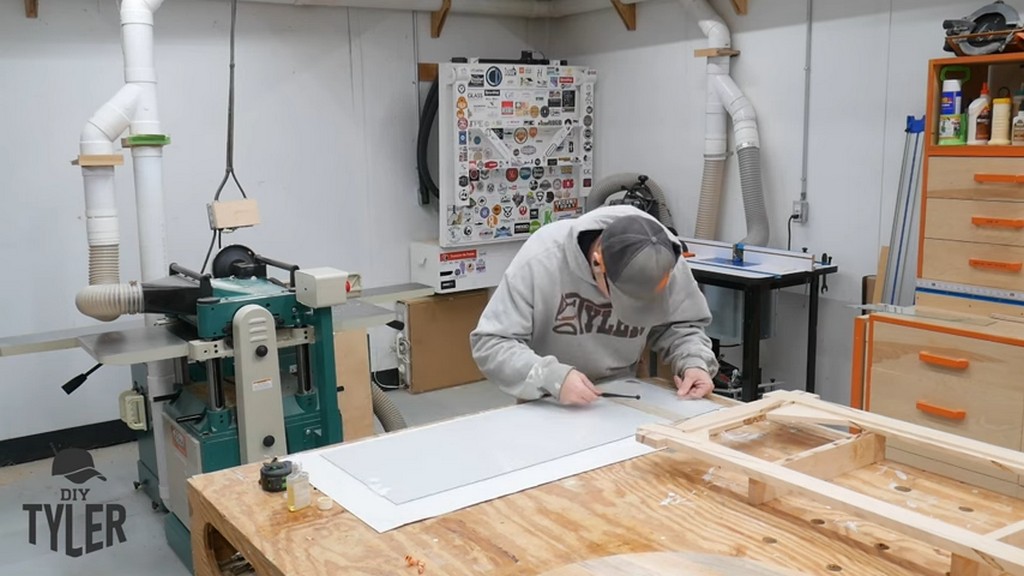
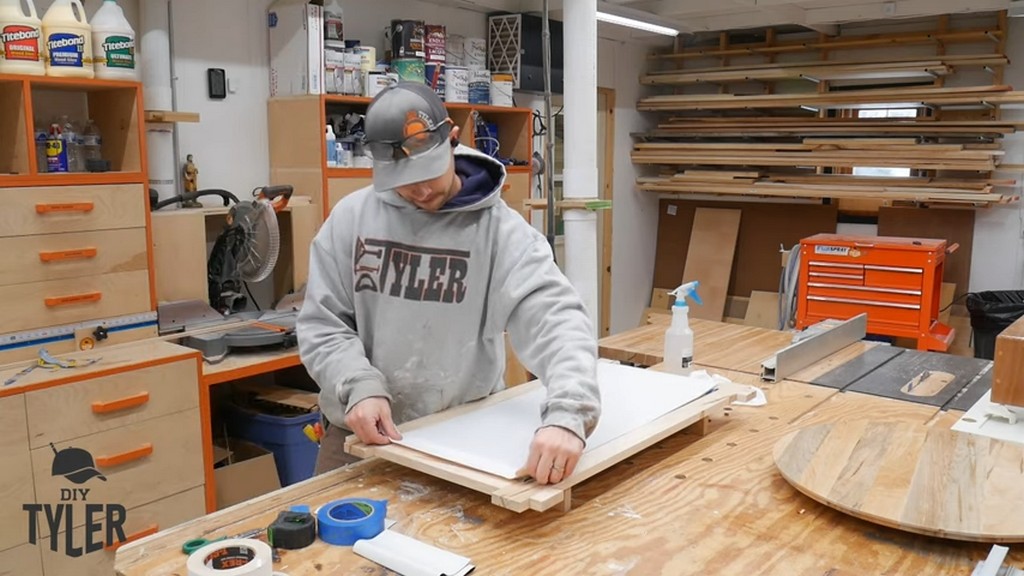
For the piece of glass, I was careful to lay out my cuts since I only had one shot. Although I was able to make it work, it might be good to outsource this kind of thing to a professional glass worker in the future.
I ended up with a small crack near one edge, but that happened to be part of the glass covered by a corner piece of the frame. After installing the glass, I made sure it was squeaky clean.
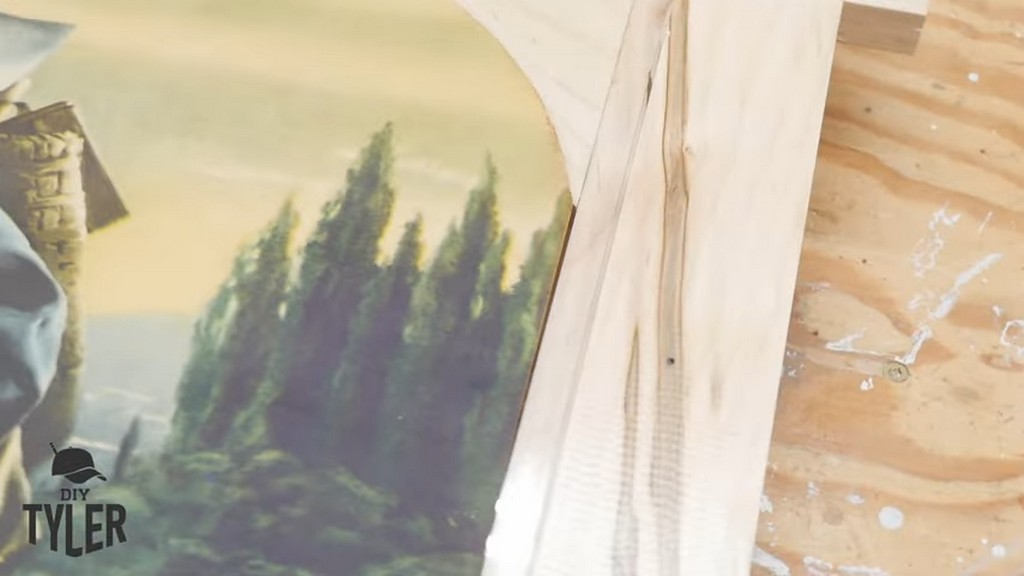
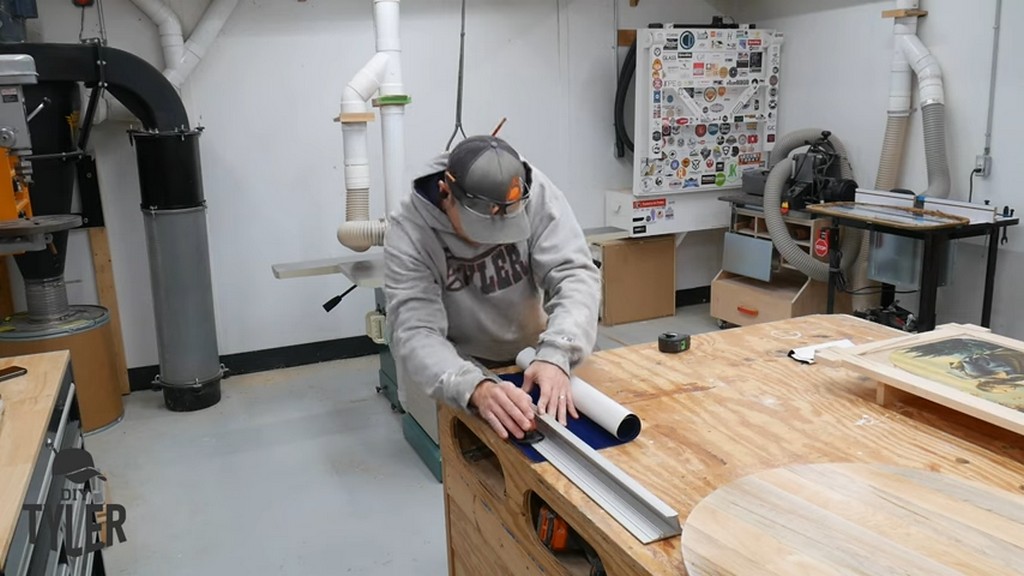
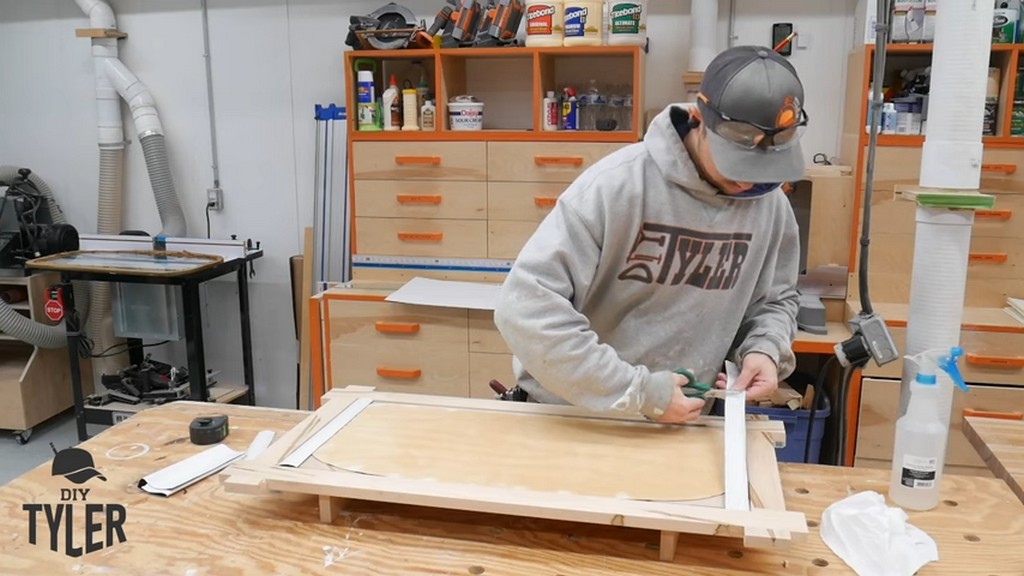
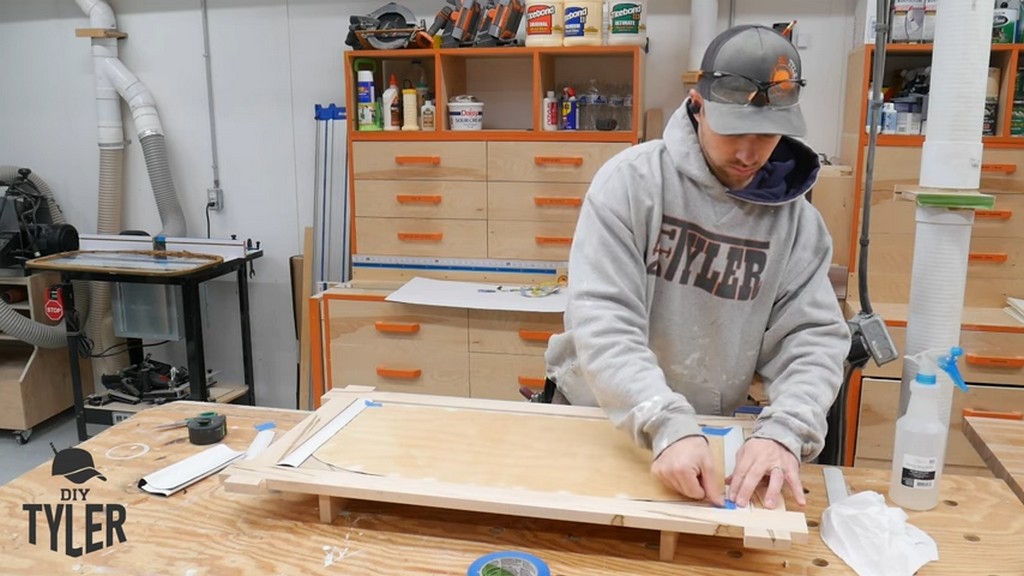
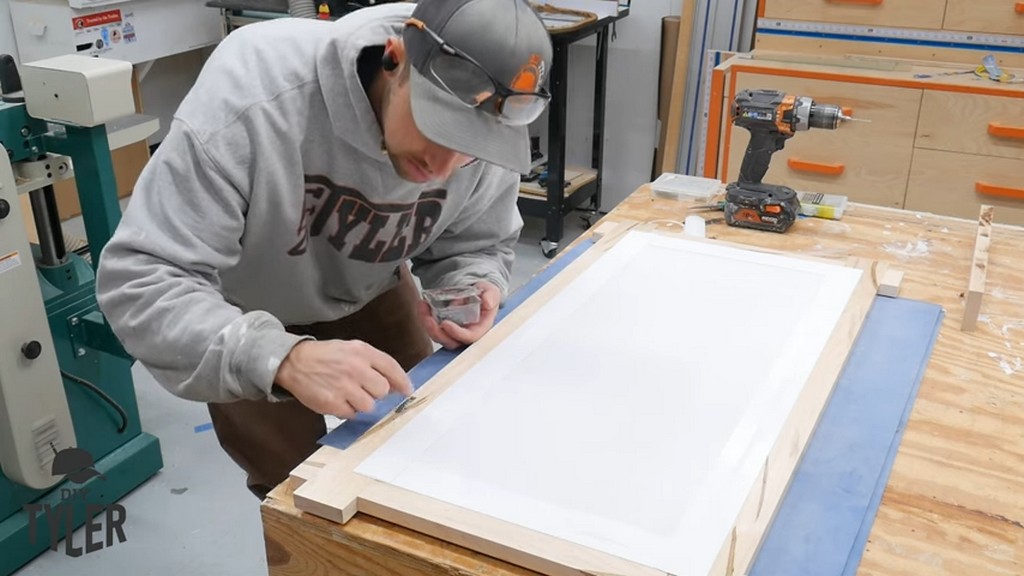
If you look closely, you can see a gap between the picture and the frame. To make everything look nice, I cut some felt with my SafeCut ruler. I then taped these pieces over the edges.
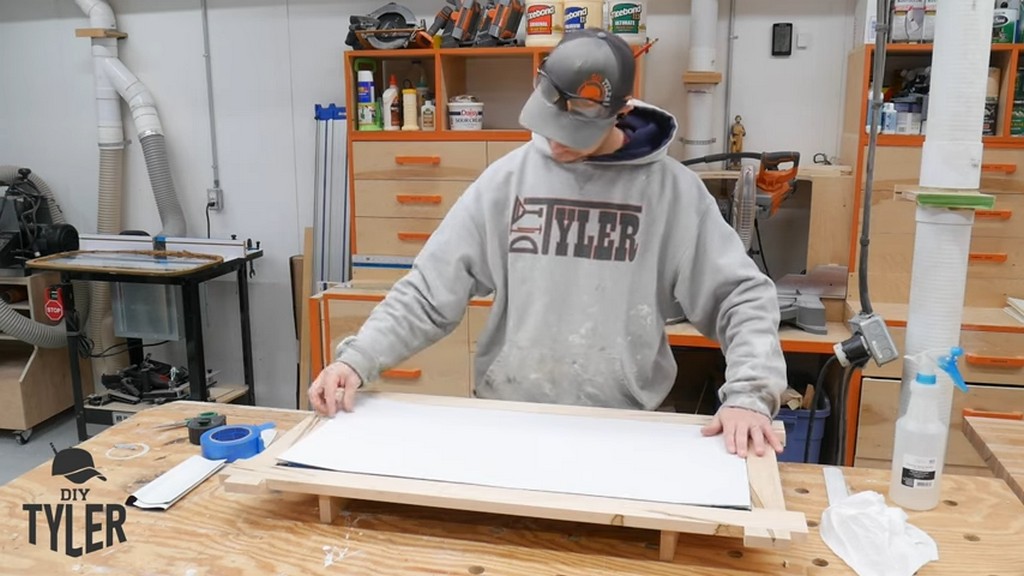
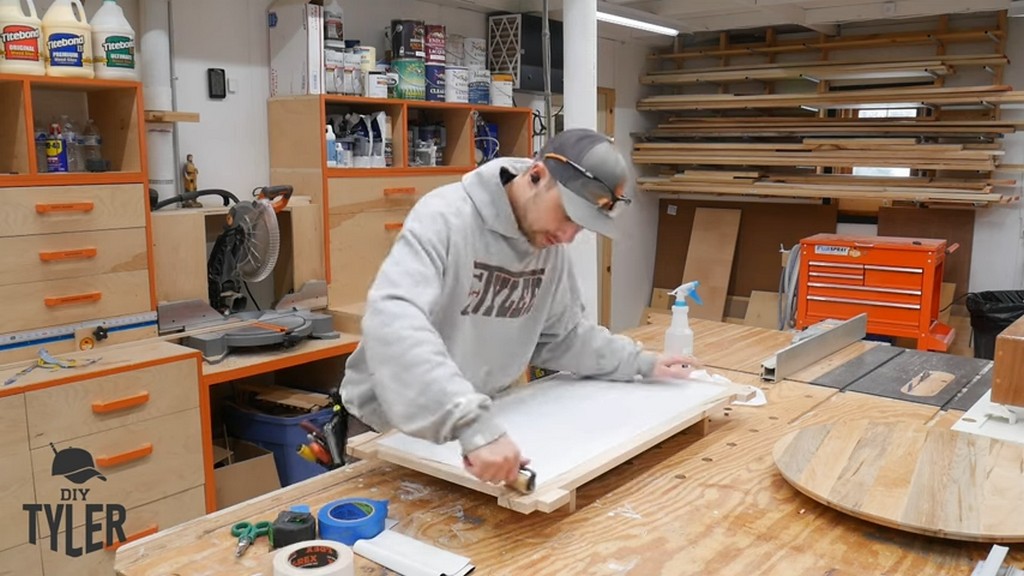
Since I had a small space to work with, I didn’t want to risk breaking the glass or splitting the wood by affixing the backing board with nails. So, I applied and rolled out T-rex Tape instead.
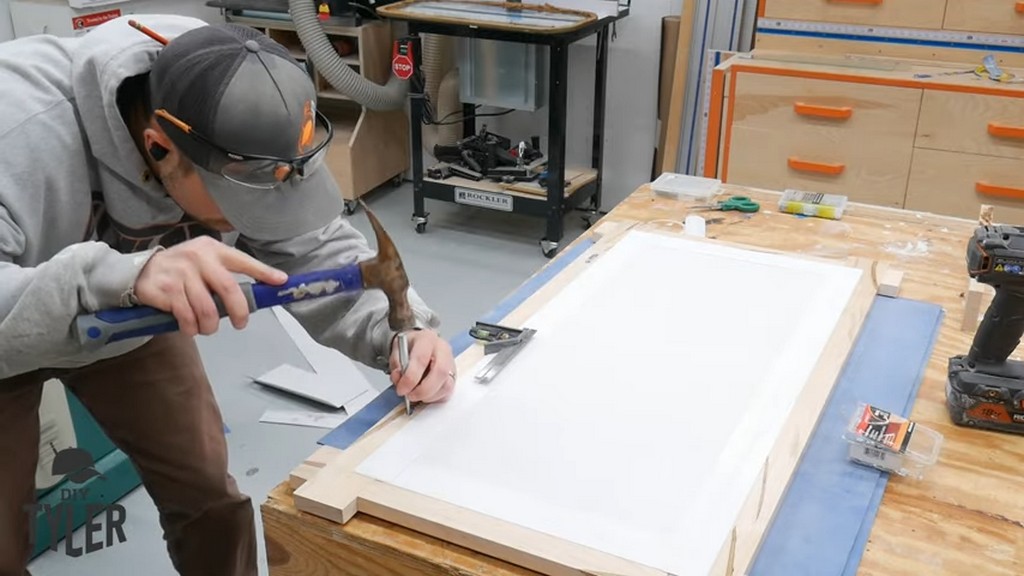
For hanging the frame, I used two flat sawtooth hangers. This ensured that the picture could sit flat against the wall.
Final Thoughts
I was proud of the final product. While the maple on this frame is currently white relative to the other maple pieces in the kitchen, I know it will yellow out after exposure to the sun.
Hope this was an interesting build and one that you found to be helpful for your own projects at home!