Well, it wasn’t enough to have just one addition on our house. We decided to do another addition on the other side of the house just to keep things interesting! In this case, it was the construction of a DIY dormer addition, along with a new master bathroom.
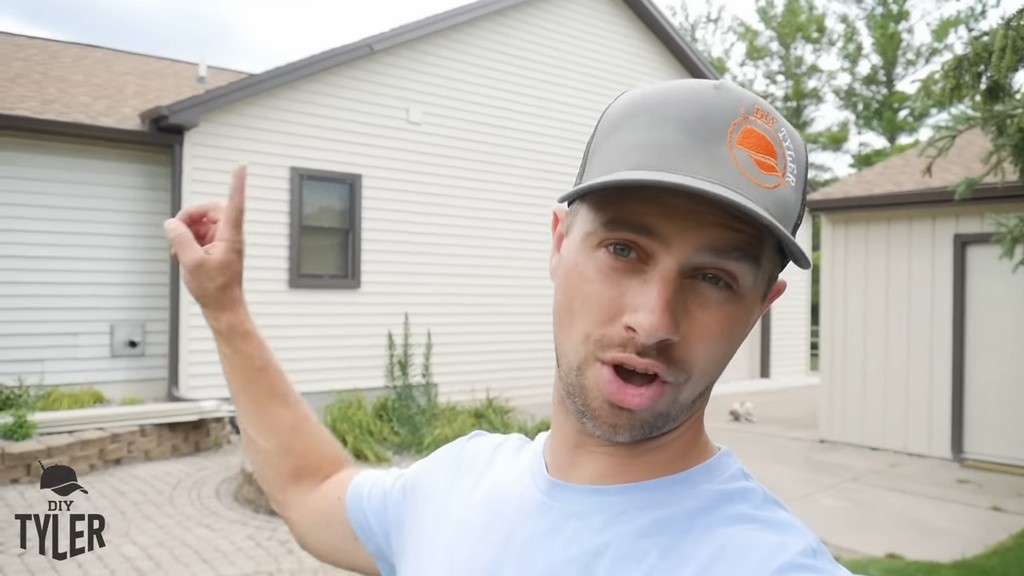
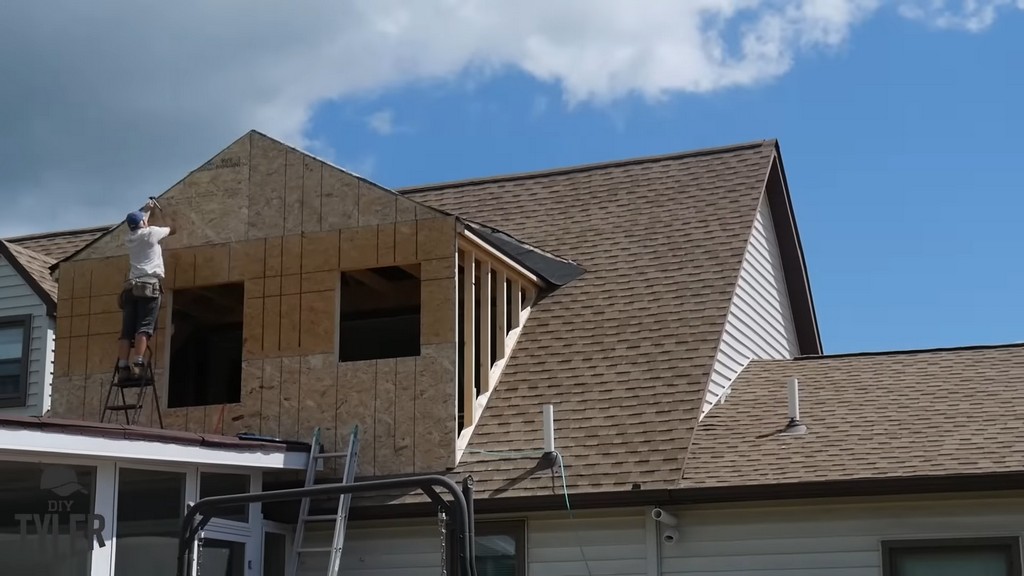
The DIY Dormer Addition Plan
The goal was to replace the current master bedroom with a larger one that would also include the master bathroom of our dreams.
Our master bedroom doesn’t have as much natural light as we would like, and we wanted to increase the size of our bathroom as well.
Here are some before-and-after shots of the exterior to the house.
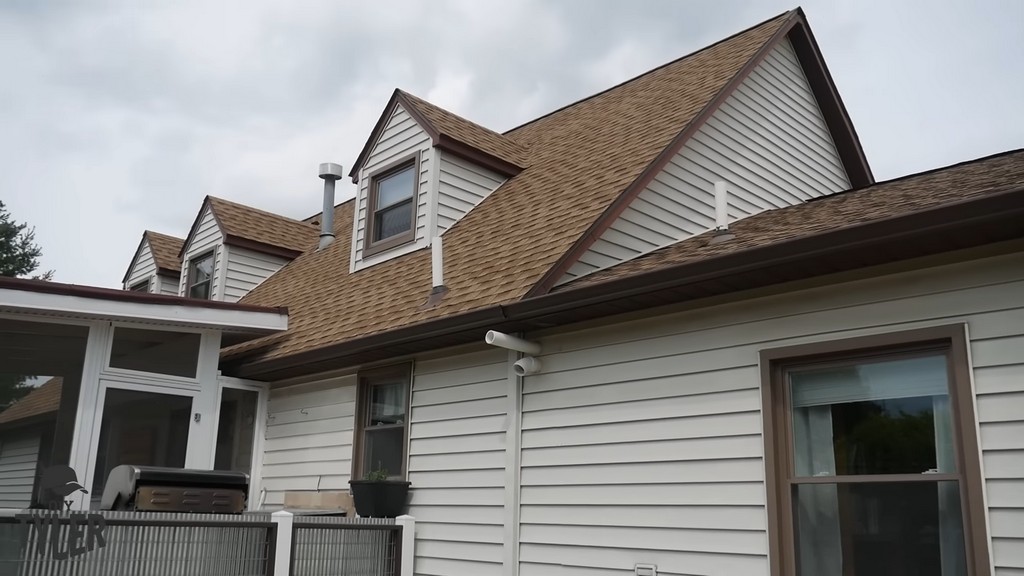
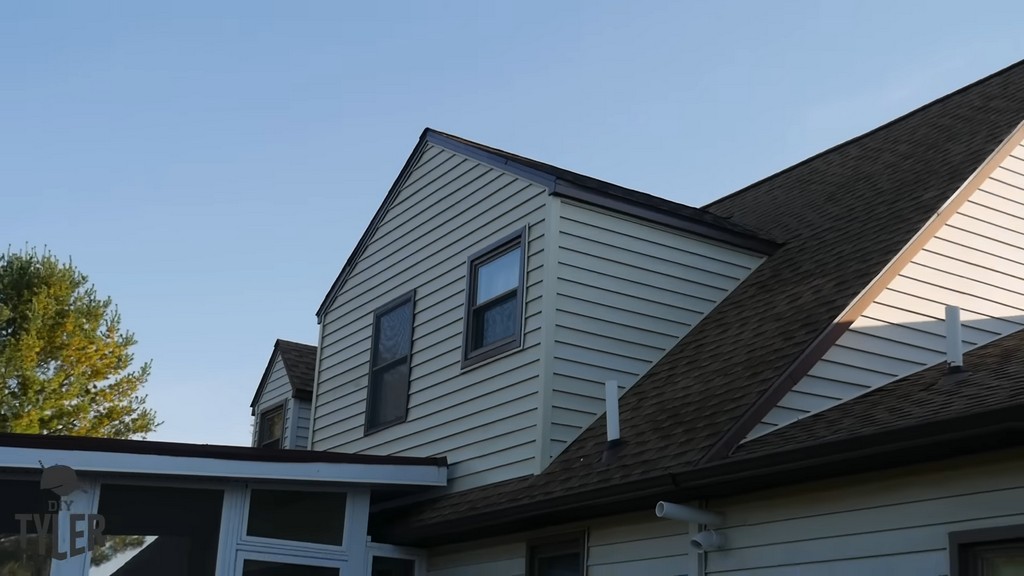
And here are some before-and-after shots of the exterior from a different angle. As you can see, we were able to integrate the new dormer addition with the existing deck set-up.
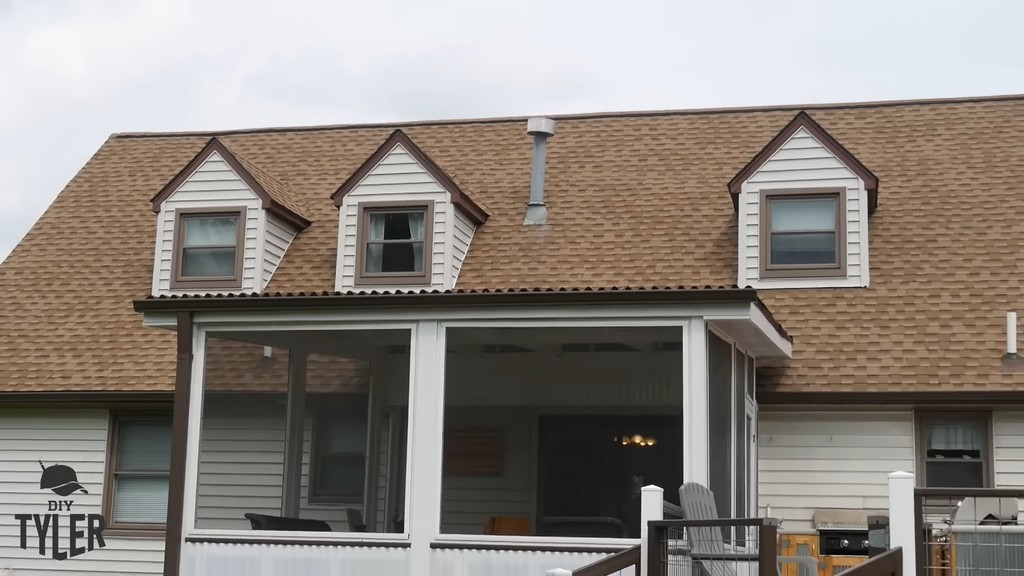
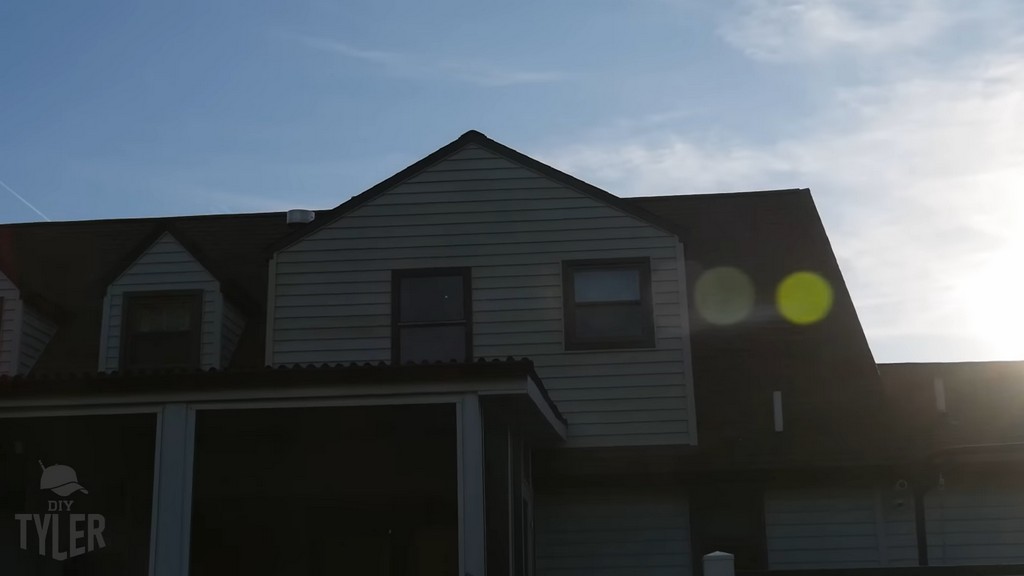
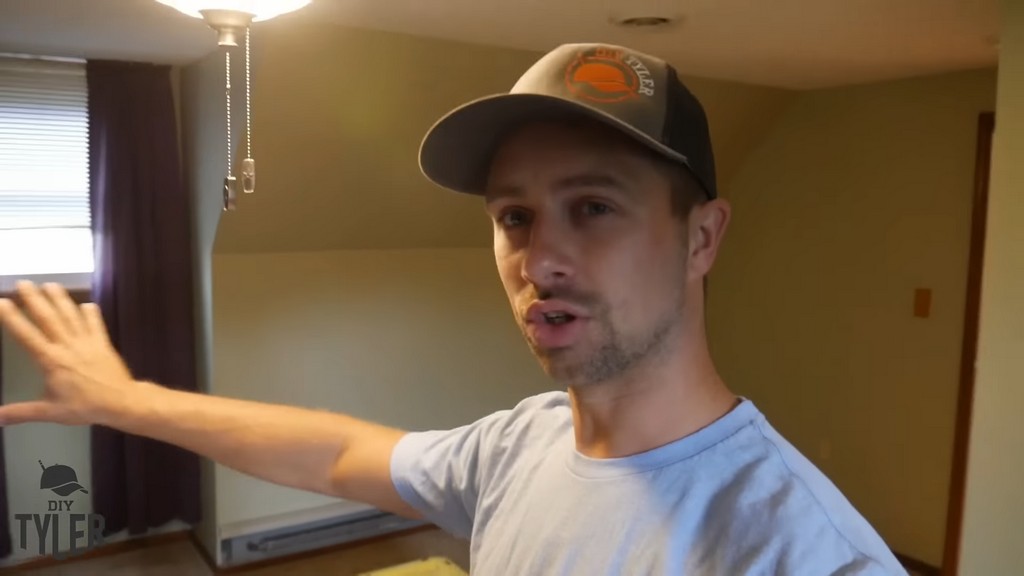
For our last set of before-and-after pictures, check out the contrast between the new and old interiors.
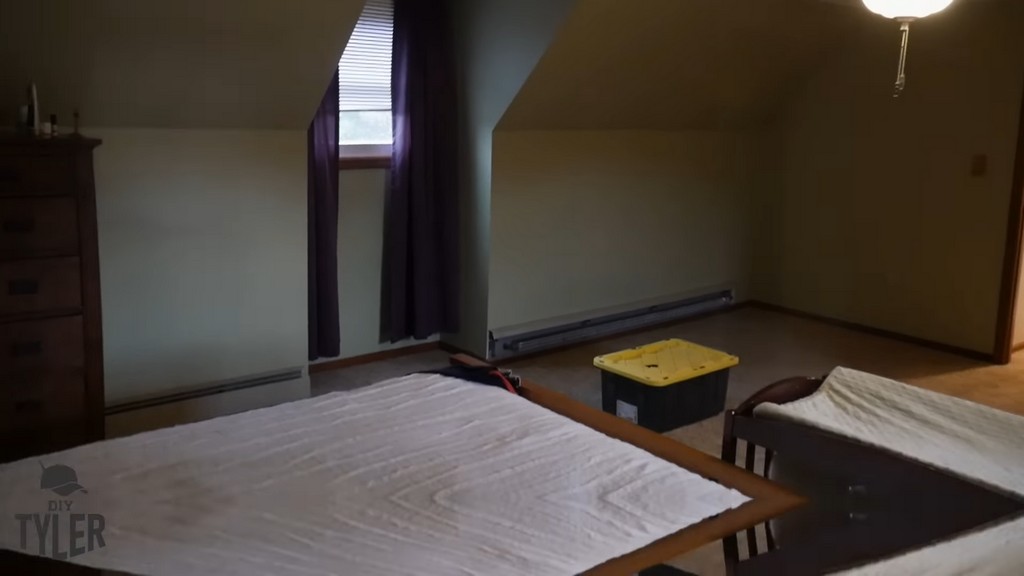
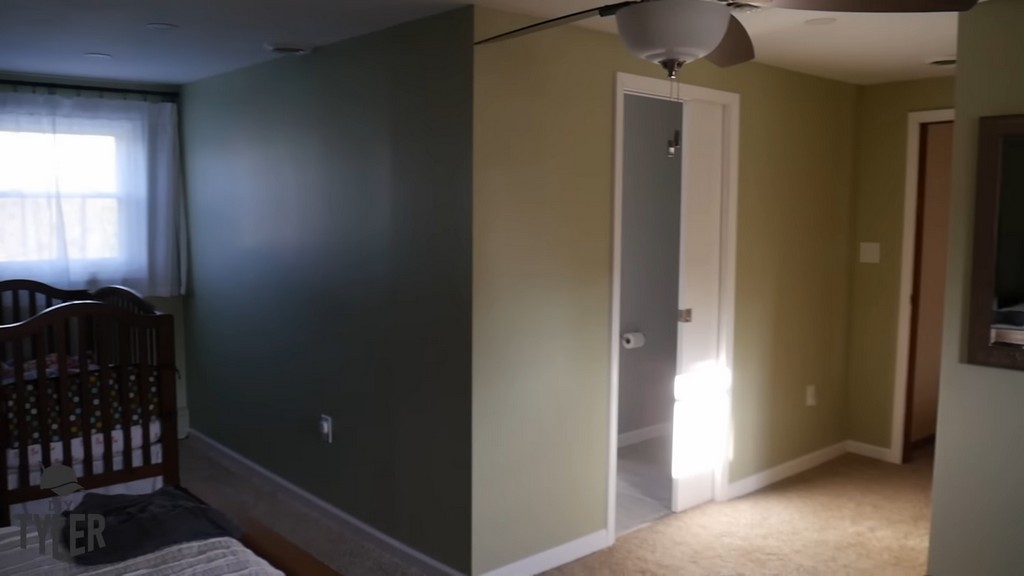
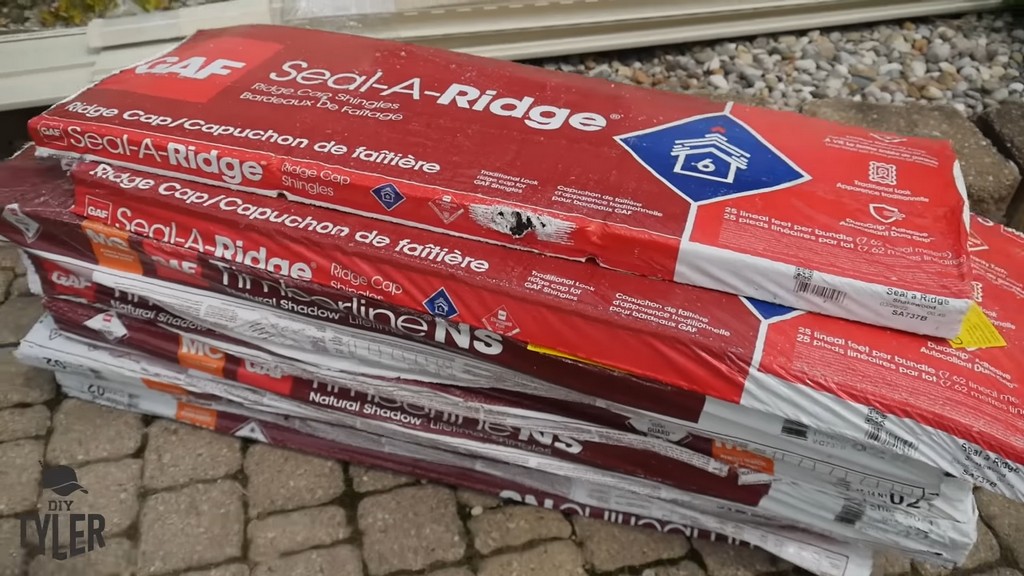
Just like with every big project, we laid out a schedule to keep everything moving on time. After that, we made multiple runs to all the major hardware stores to pick up the necessary materials.
We wanted to have everything ready in time for our family friend, Gerard, who was going to come and help with the framing.

Interior Demolition
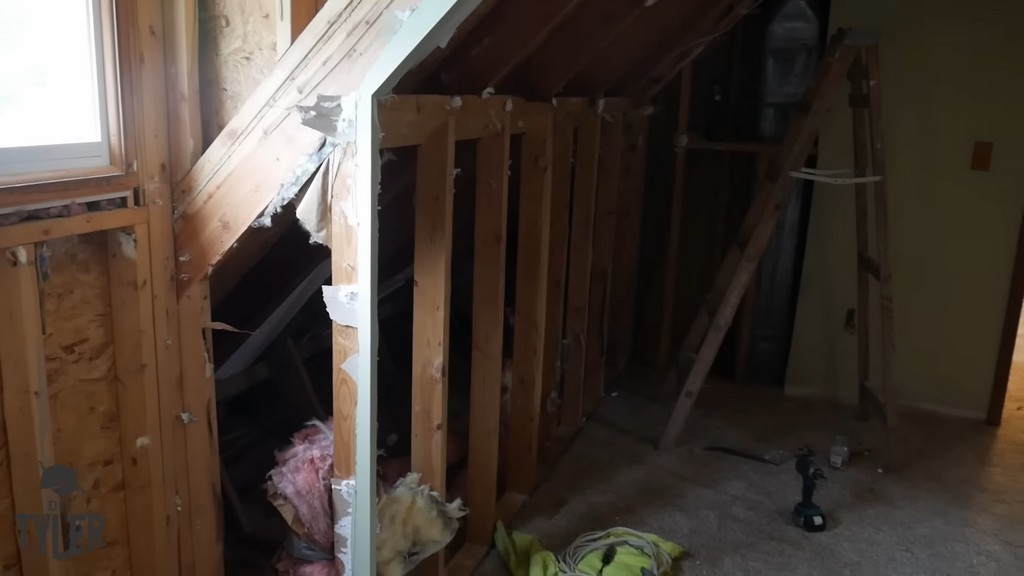
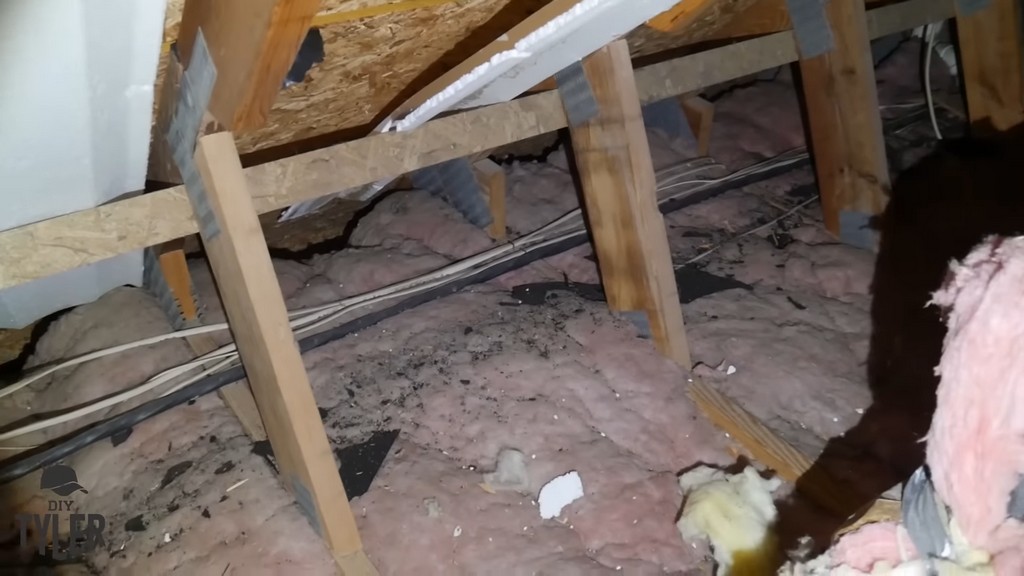
The first day, we did some demo work inside, including getting rid of the baseboard register, pulling back electrical, removing sheetrock and insulation, and otherwise mapping out what we had to do.
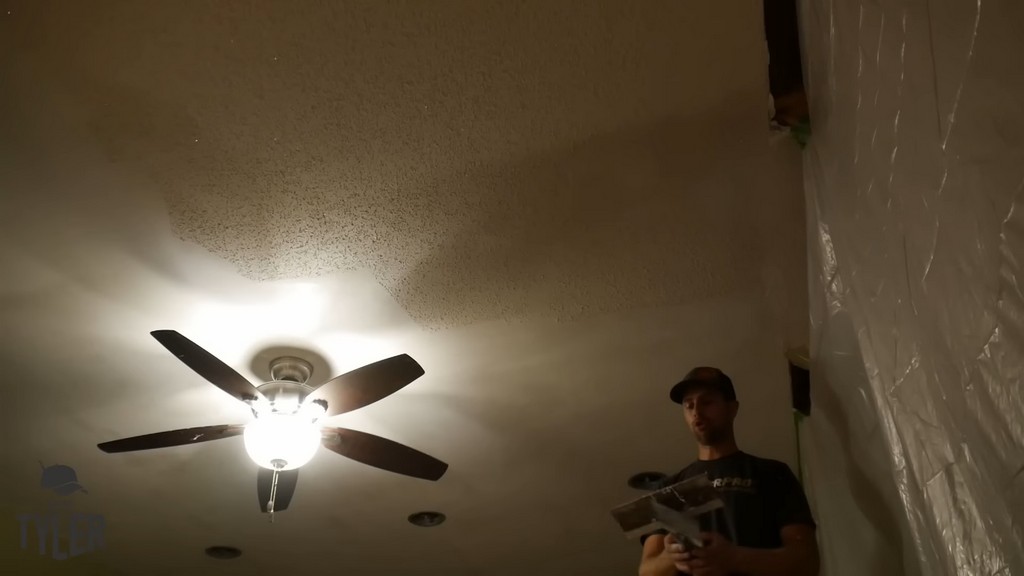
The Wife insisted that we get rid of the popcorn ceiling, which ended up being less difficult than we’d expected. We added some water to make the scraping easier.
With the right amount of water and the right amount of wait time, we were able to scrape off the textures without making too much dust. Scraping an area that hasn’t been properly wetted requires more pressure and creates more dust.
Another tip: keep a second trowel handy to scrape off your main scraper between passes!
Cutting a Hole in the Roof
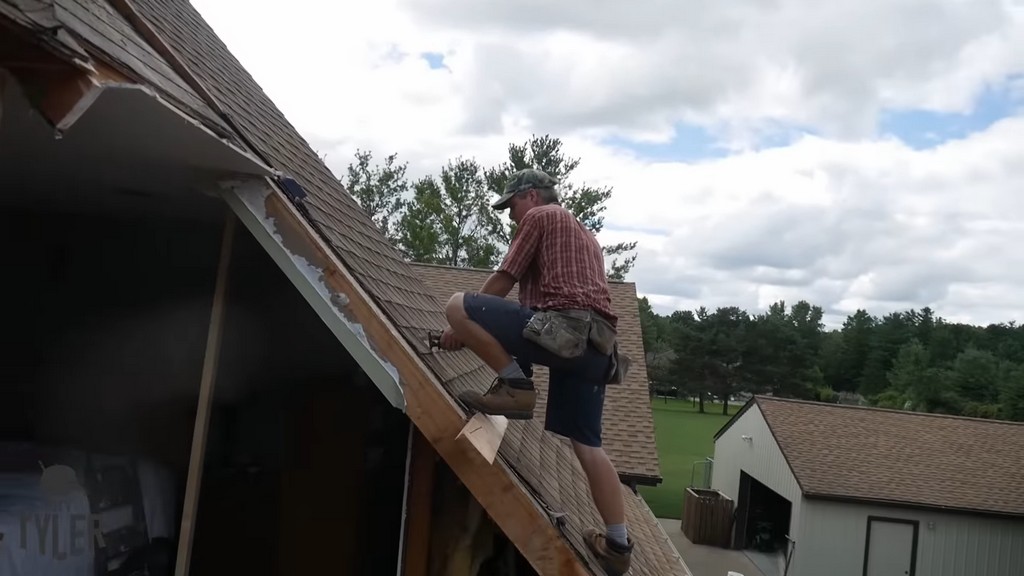
Day One had been occupied with indoor demolition, including scraping off the popcorn ceiling. Day Two was focused on cutting out a hole in the roof.
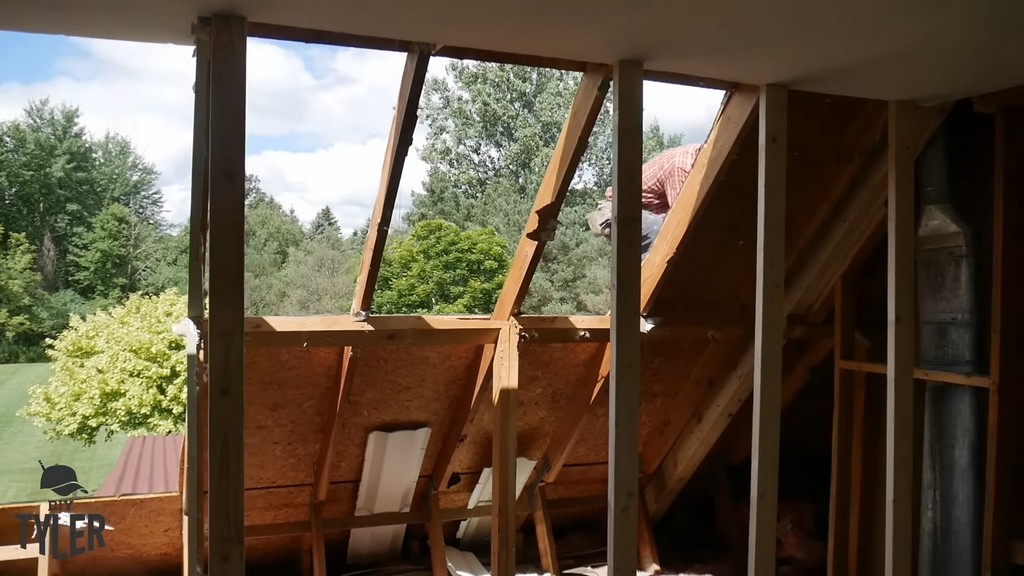
We put a few trusses in place to make sure the ceiling didn’t sag as we removed the exterior roofing.
Installing New DIY Dormer Walls
Here, we have the outside walls in place. We were able to create the maximum roof size by going all the way to the outside load-bearing wall. We’d been worried that we would have to be a few inches inset, but we managed to make it as far toward the outside as we’d wanted.
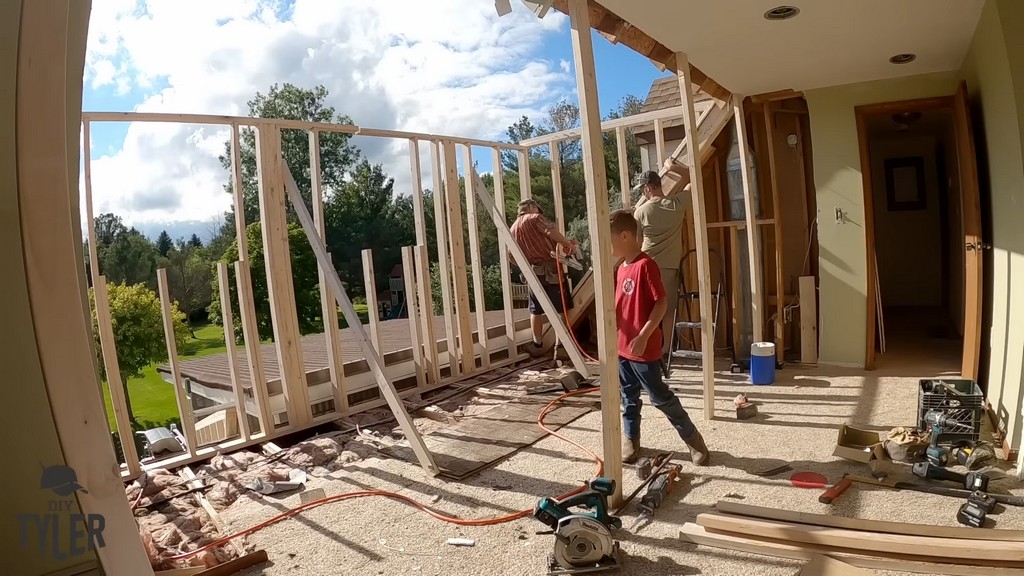
We laminated some rafters together to spread the load. You can also see the double two-by-twelve header that we put into place.
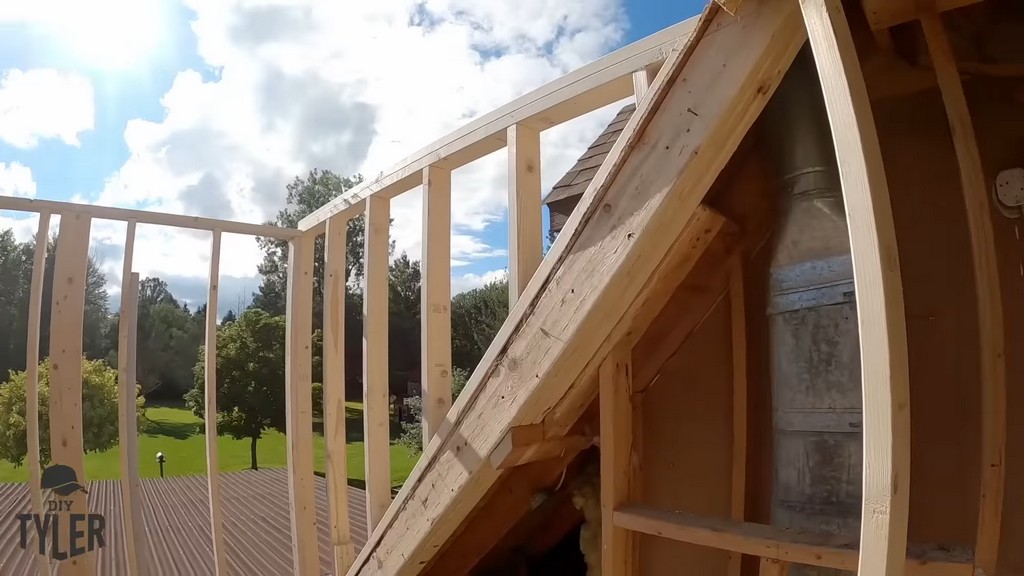
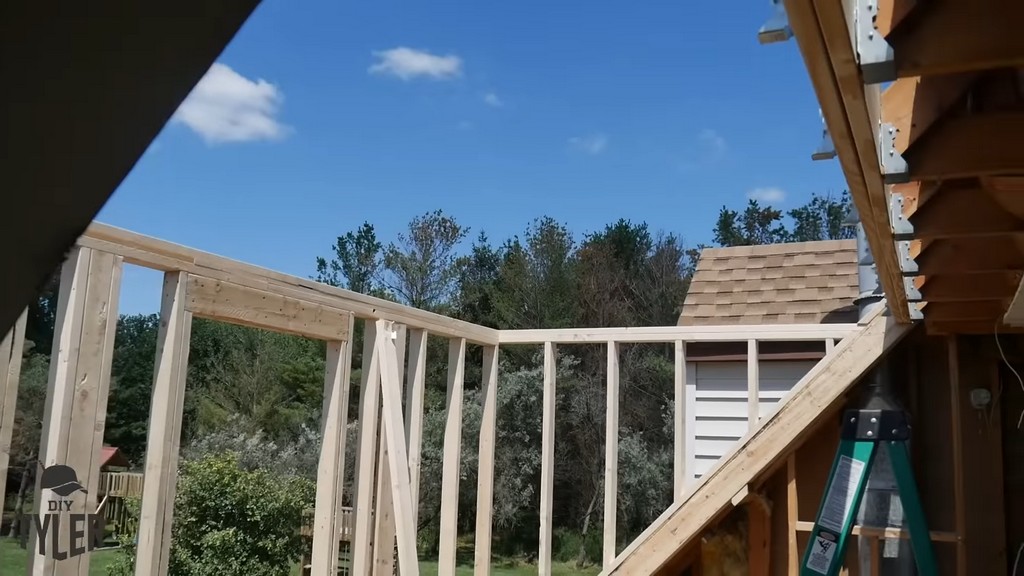
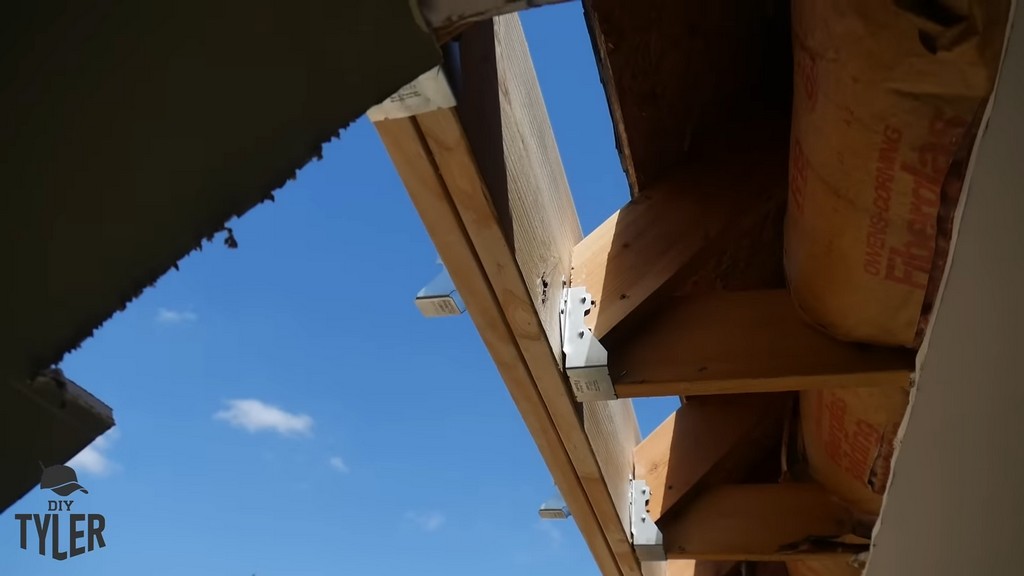
Here, you can see the joist hangers that we installed.
The help of our family friend Gerard for an entire week was invaluable for completing this framing work.
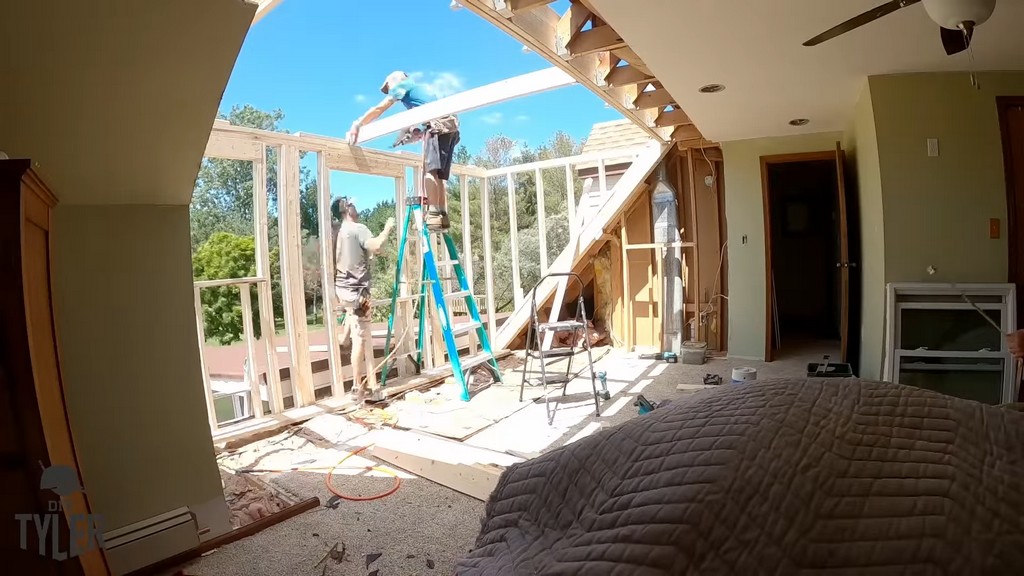
Here is Gerard assembling the rafters after the windows have been framed.
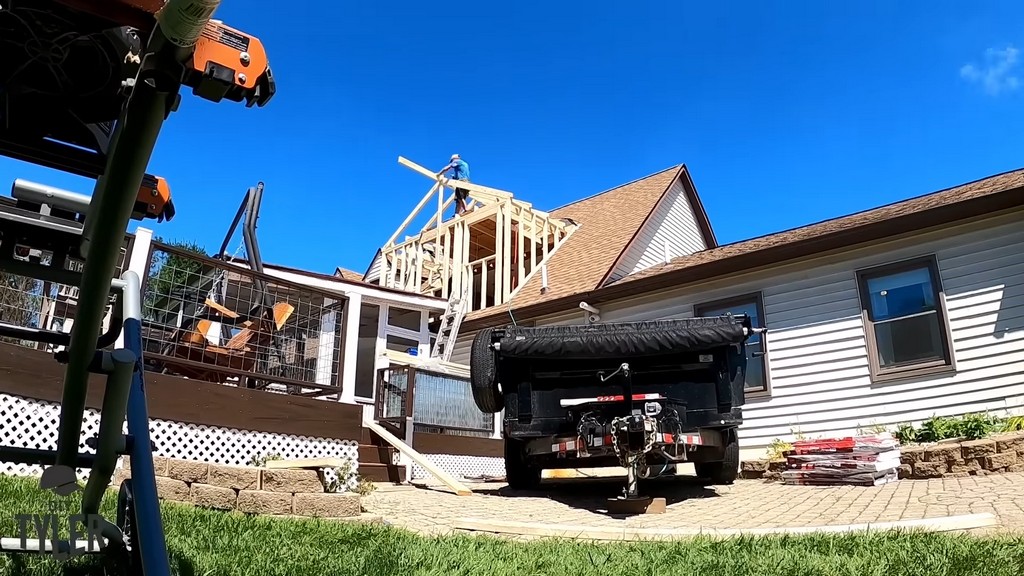
Sheeting and Master Bathroom Work
Next, we installed some sheeting for the walls and the roof.
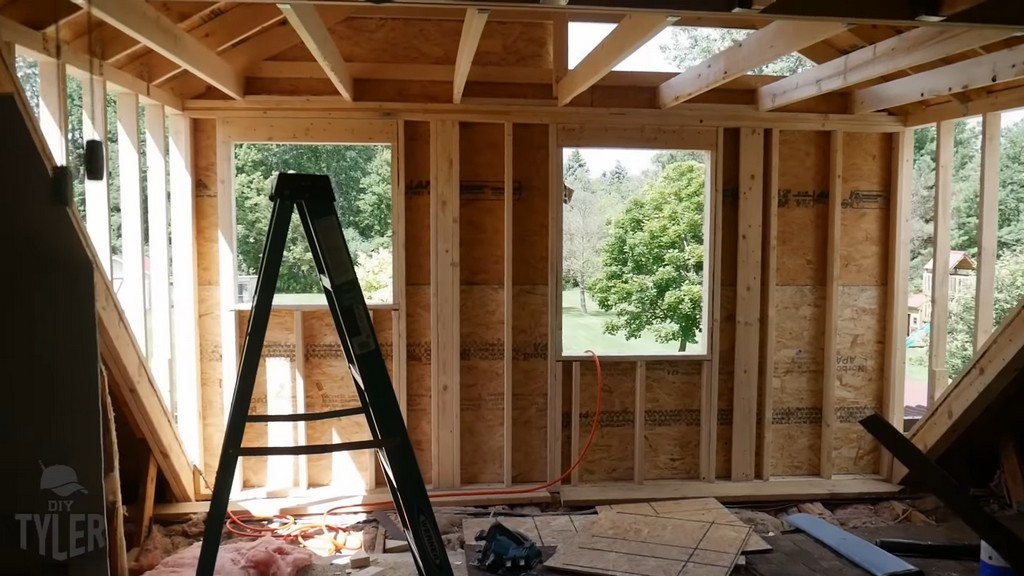
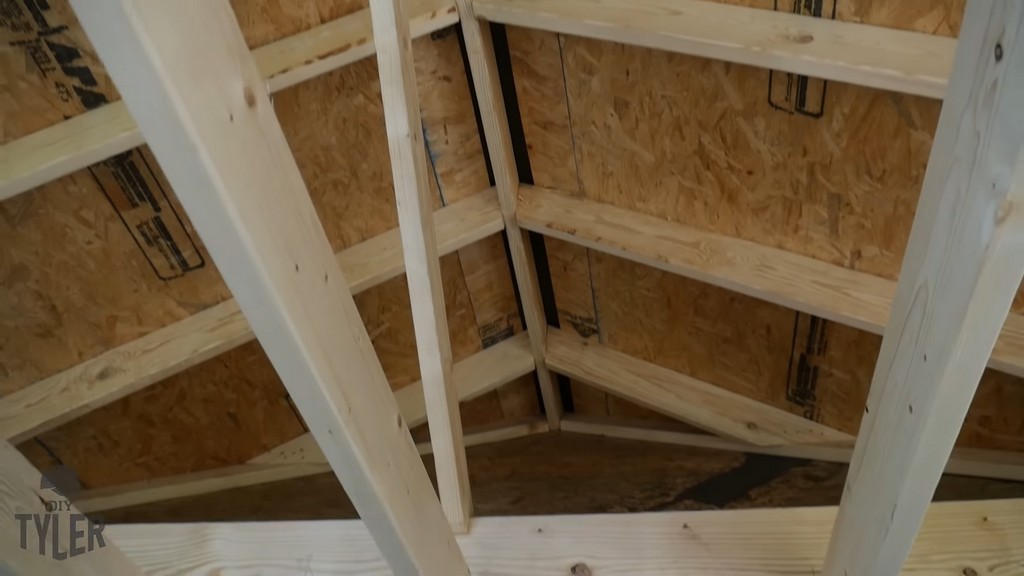
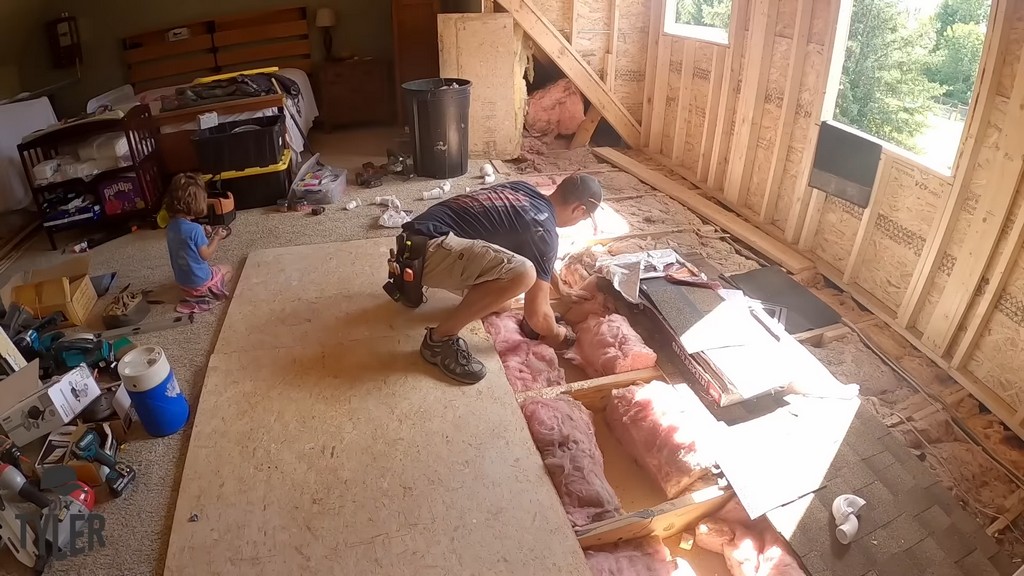
As Gerard was finishing up the outside and making sure it was watertight, with siding, shingles, and housewrap, we worked on plumbing so that we could put the floorboards back into place.
We drilled holes for the draining vent line so that we could run our 1.5-inch pipe across the floor with plenty of pitch. You’ll be able to see more of the in-depth plumbing work in later installments!
Here, we’re constructing what is going to be one side of the shower wall. Of course, we made sure that everything was square with the work that Gerard had already done.
You may notice the large door frame as well. That is going to be for a pocket door, which will also be covered in a future video.
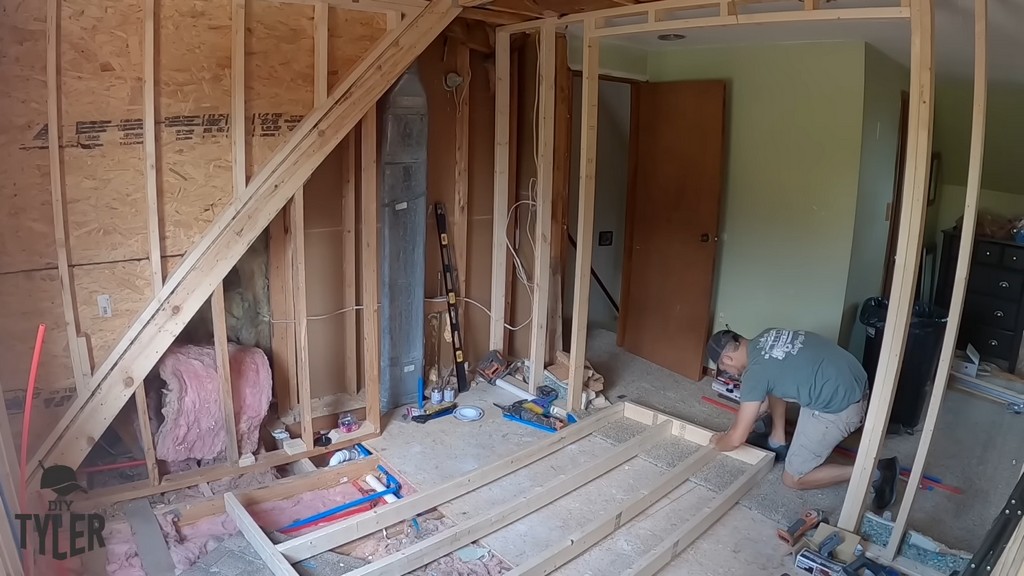
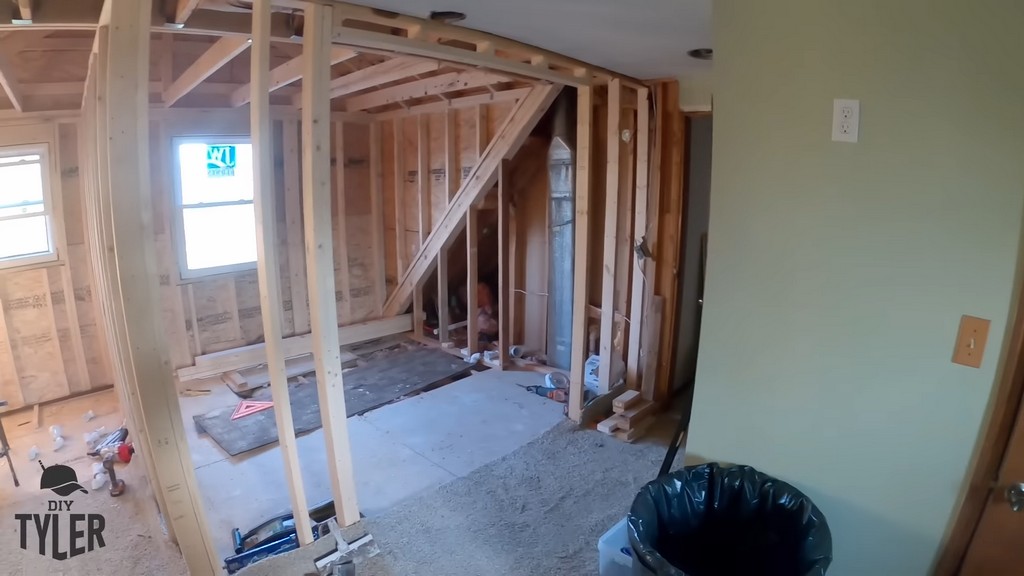
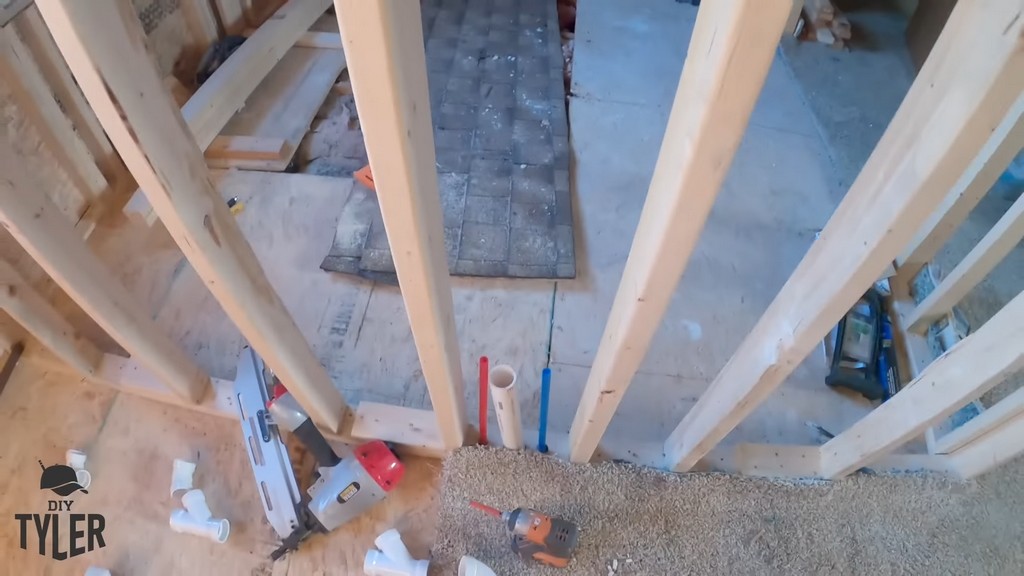
Here is the space with the interior framing completed. The plumbing is already running beneath the floor and popping up right where the sink is going to go.
Final Thoughts
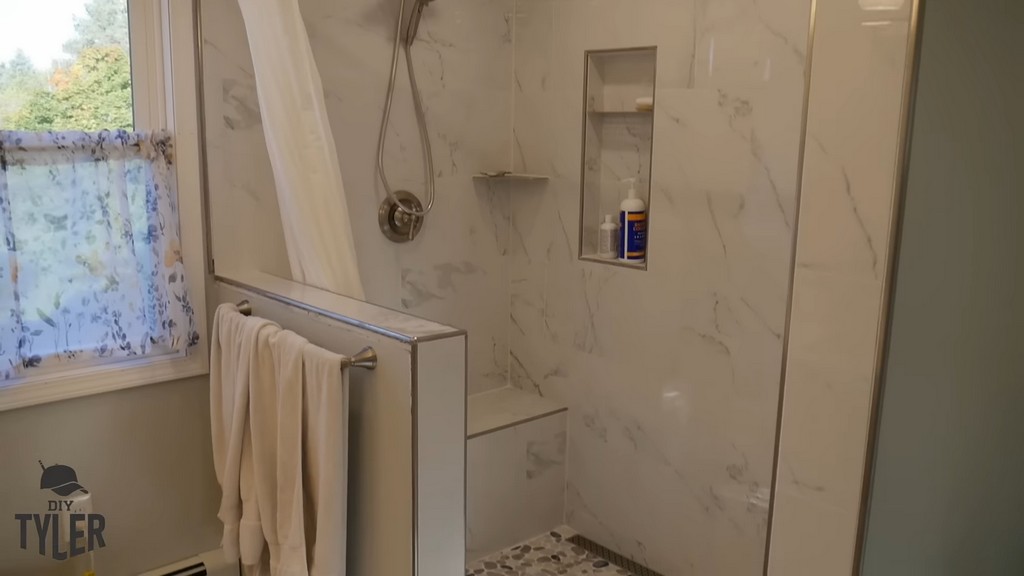
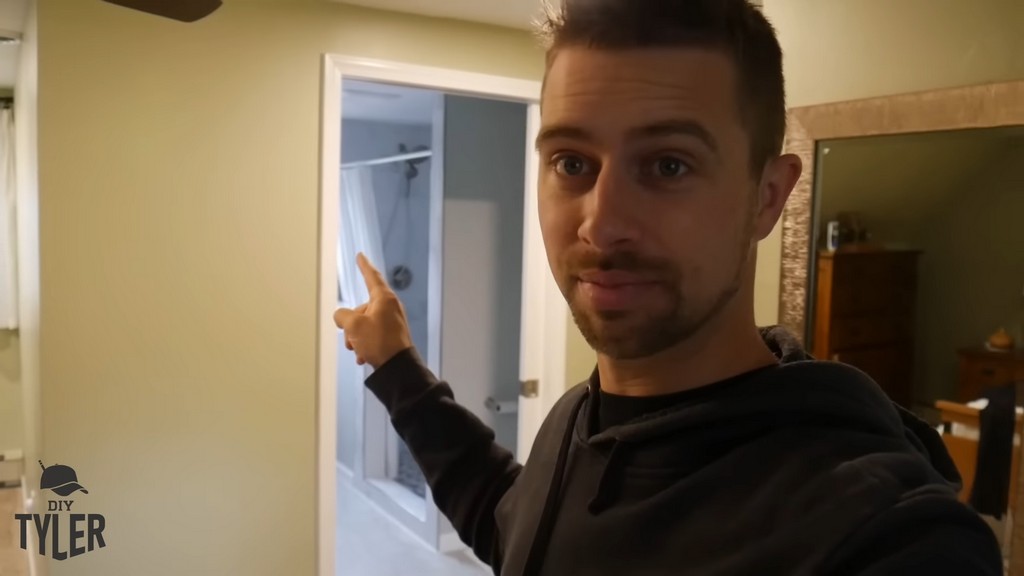
As we wrap up this installment of the dormer addition series, check out this sneak peek at the mostly-completed bathroom.
If you haven’t already, subscribe to the YouTube channel, and keep your eyes peeled for the next installment in this series, where we’ll cover our tile installation, vanity build, and more!


3 thoughts on “DIY Dormer Addition and Master Bathroom – Part 1”
Pingback: DIY Self-Leveling Compound....that Didn't Self-Level! - DIYTyler
Pingback: DIY Guide to Waterproofing Your Walk-In Shower - DIYTyler
Great start to an ambitious DIY project! Looking forward to seeing the final transformation.