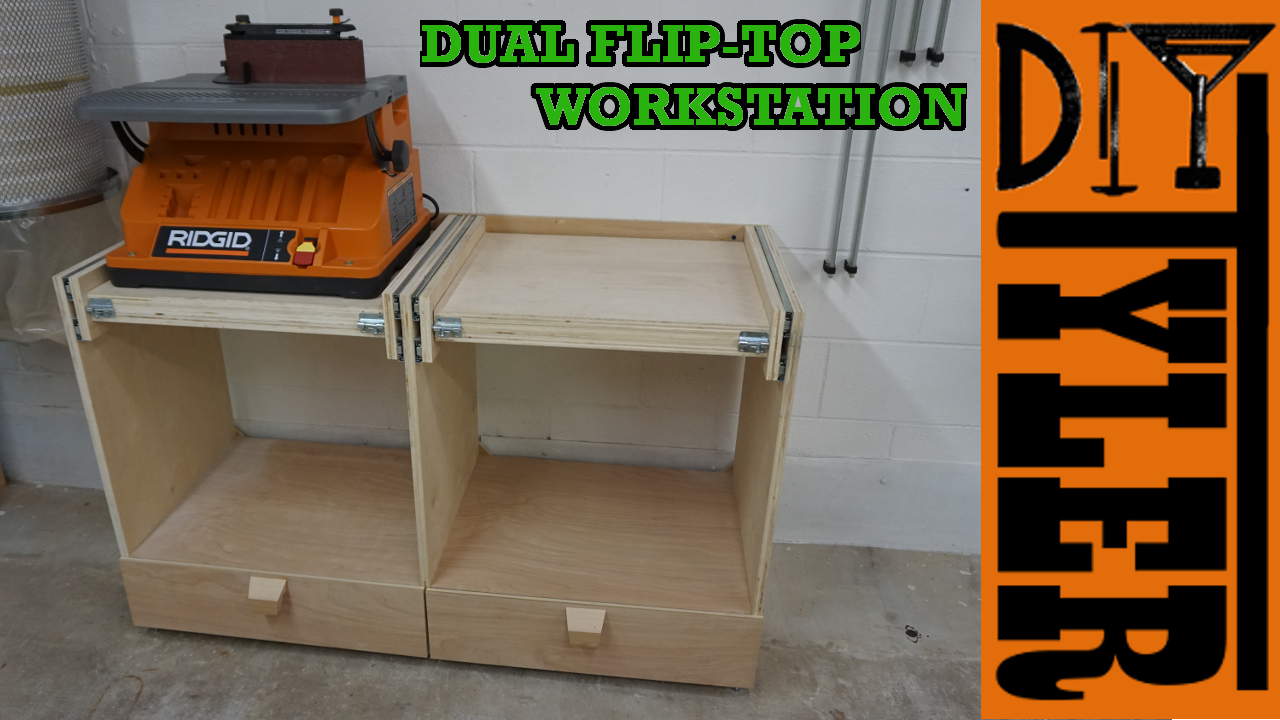
Like many of you folks I like tools and have enough now that I am running out of space around my shop. When originally laying out the shop I had allotted space for three different sanders over by the dust collector. After modifying my harbor freight dust collector into a two stage system I lost some of my “sanding station” space and needed a new solution. Have seen several flip top tables from various bloggers and youtubers but none that offered a double flip-top table that was stationary. After a bit of design work I came up with the Double Flip-Top Workstation and you guys can find the available plans below so you can follow along.
Materials List and Cut List
Materials List
- (1) 4’x8′ 3/4″ Plywood
- (1) 4’x8′ 1/2″ Plywood
- (2) 2x6x8
- (2) 3/4″ x 3′ Steel Tube
- (4) 3/4″ Shaft Collars
- (8) Barrel Bolt Locks
- 1 1/4″ Pocket Hole Screws
- (4) 5/16″x3″ Bolts
- (4) 5/16″ Nuts
- (4) 5/16″ T-Nuts
- (6) 20″ Full Extension Drawer Slides (Pairs)
Cut List
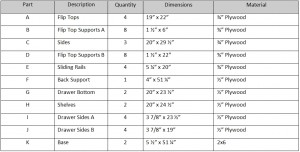
The available plans below include 11 pages of full color high detail drawings and cut list layout. Of course you can use our own layout if you are trying to use some scraps you have laying around.
Click the link below to purchase the plans.
Cut Double Flip-Top Workstation Parts
Lets build this thing! Started by using the table saw and circular saw to break down the sheets of plywood. For the 1/2″ plywood you need to make a cross cut with the circular saw before any rips as the rip dimensions are different for each side of the crosscuts.
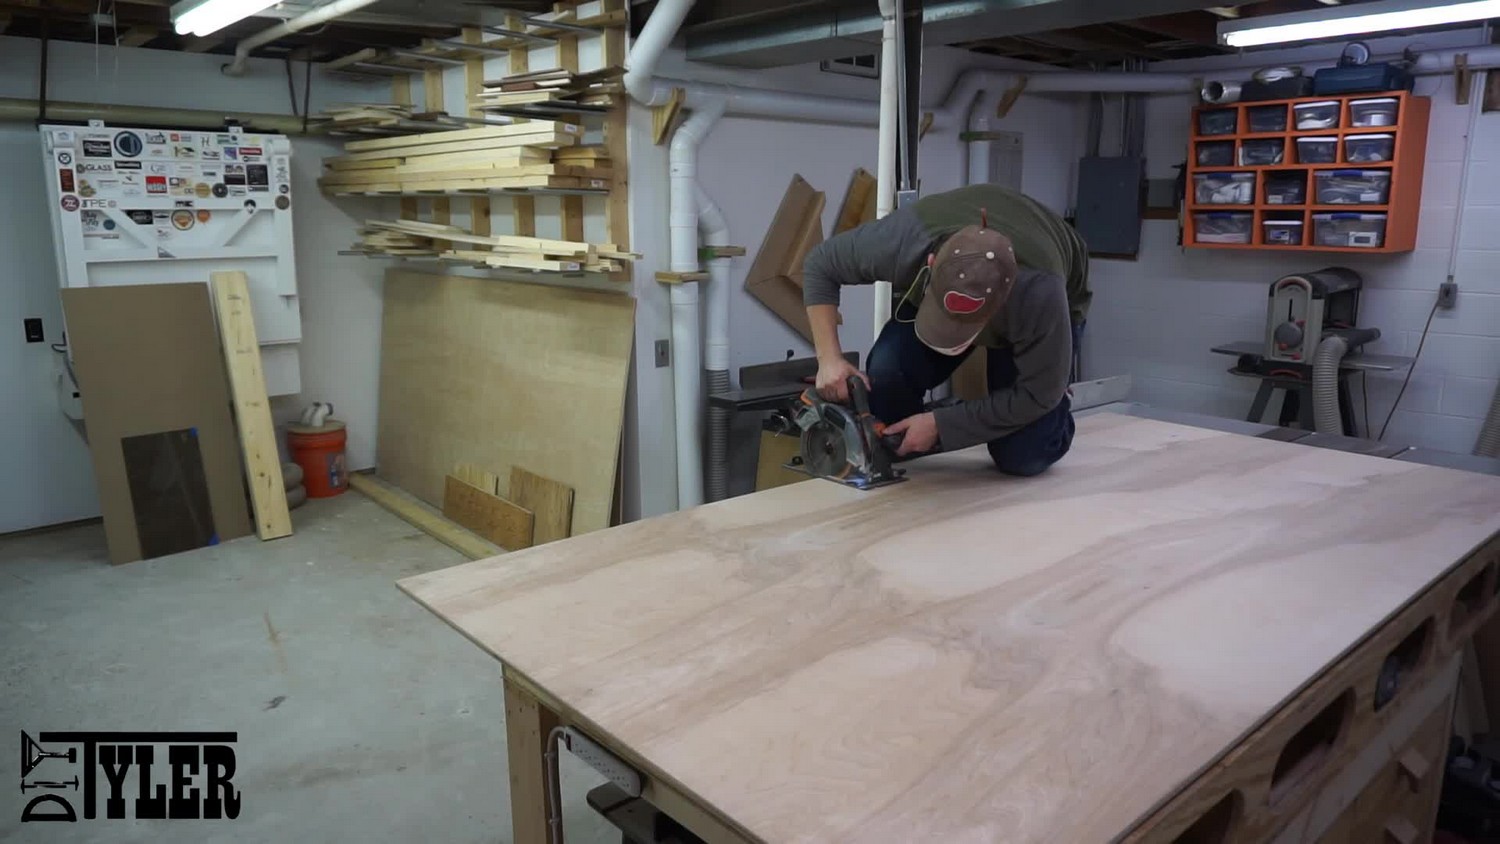
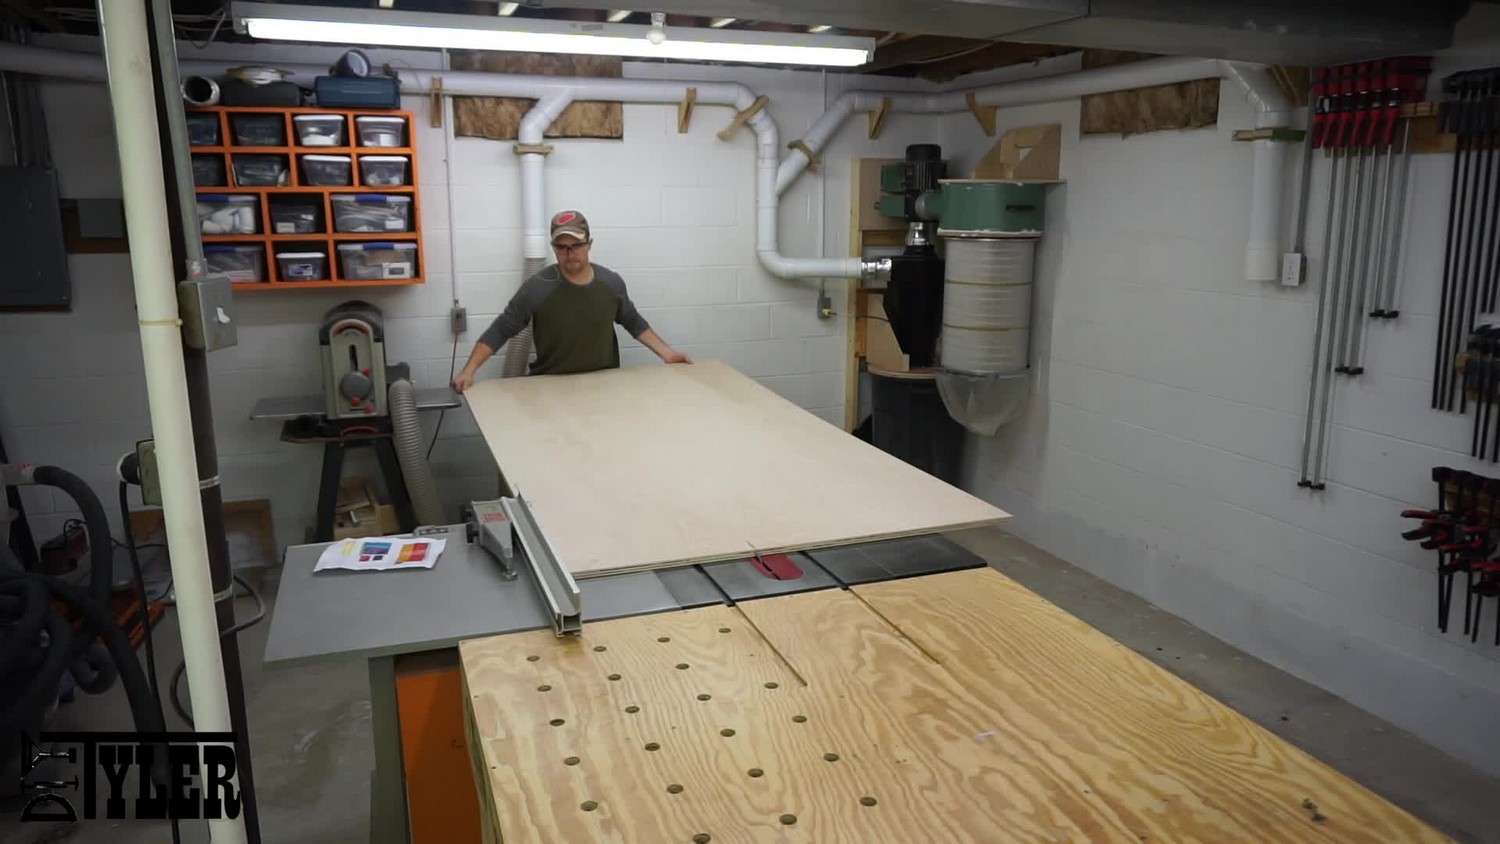 Since I didn’t need to be exact I simply struck a line and cut the 1/2″ sheet to rough size.
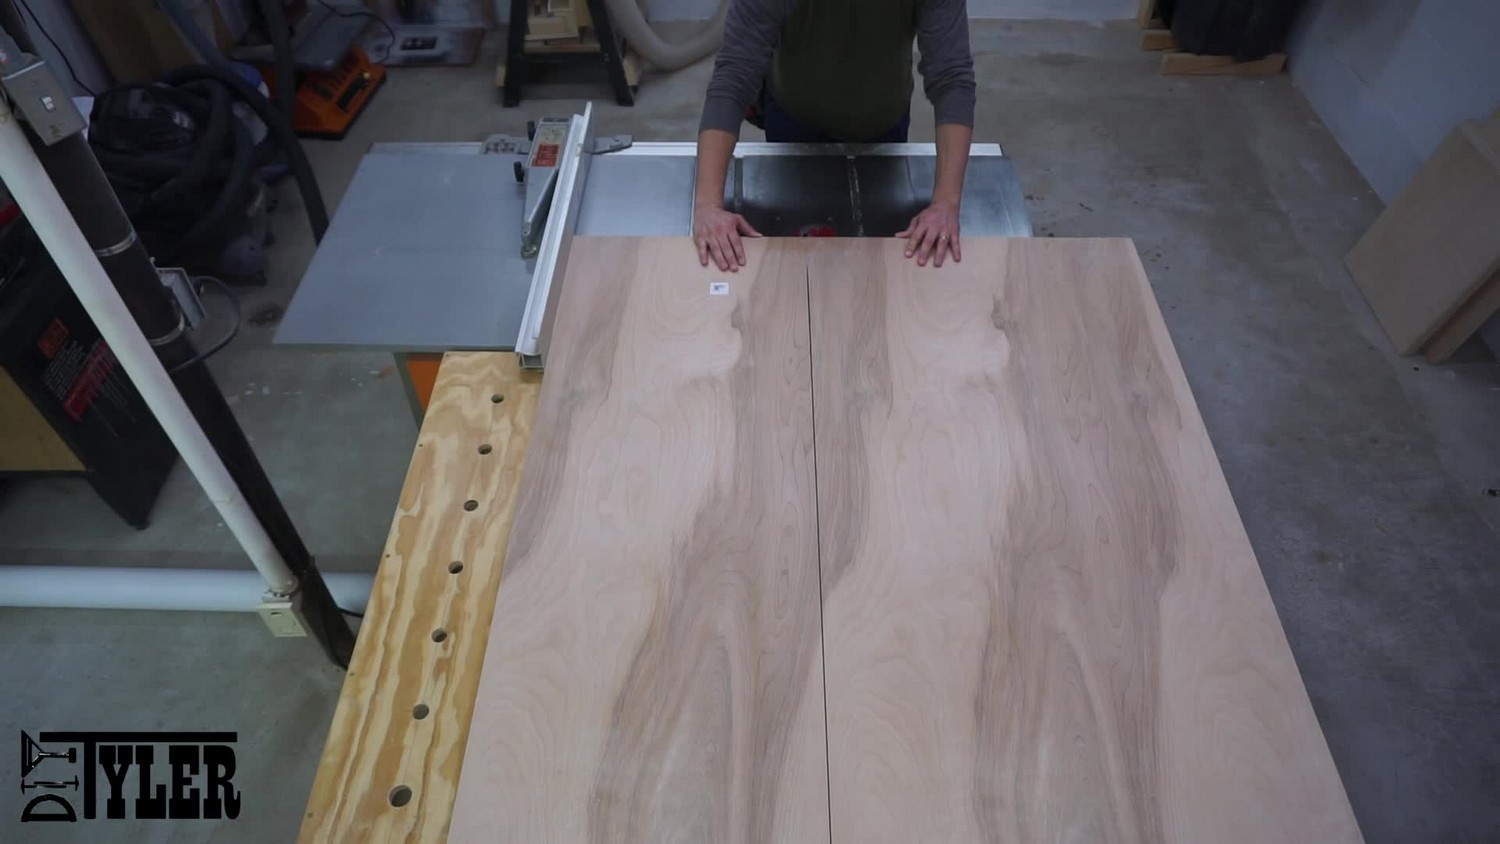
 And cut everything else to proper size using the table saw and cross cut sled.
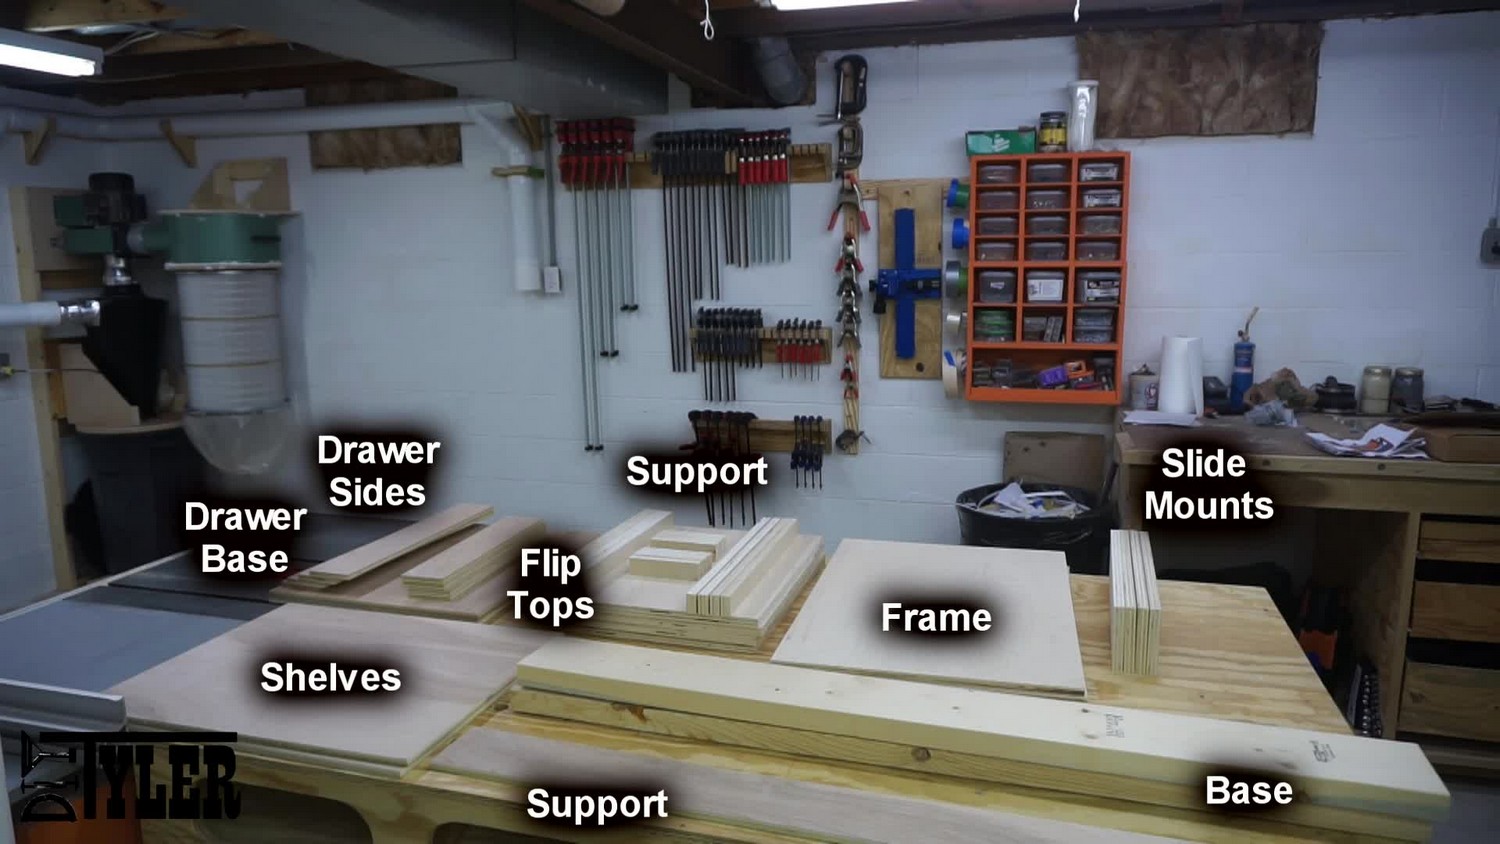
Shown below are all the pieces needed to build the flip-top workstation.
Prep for Assembly
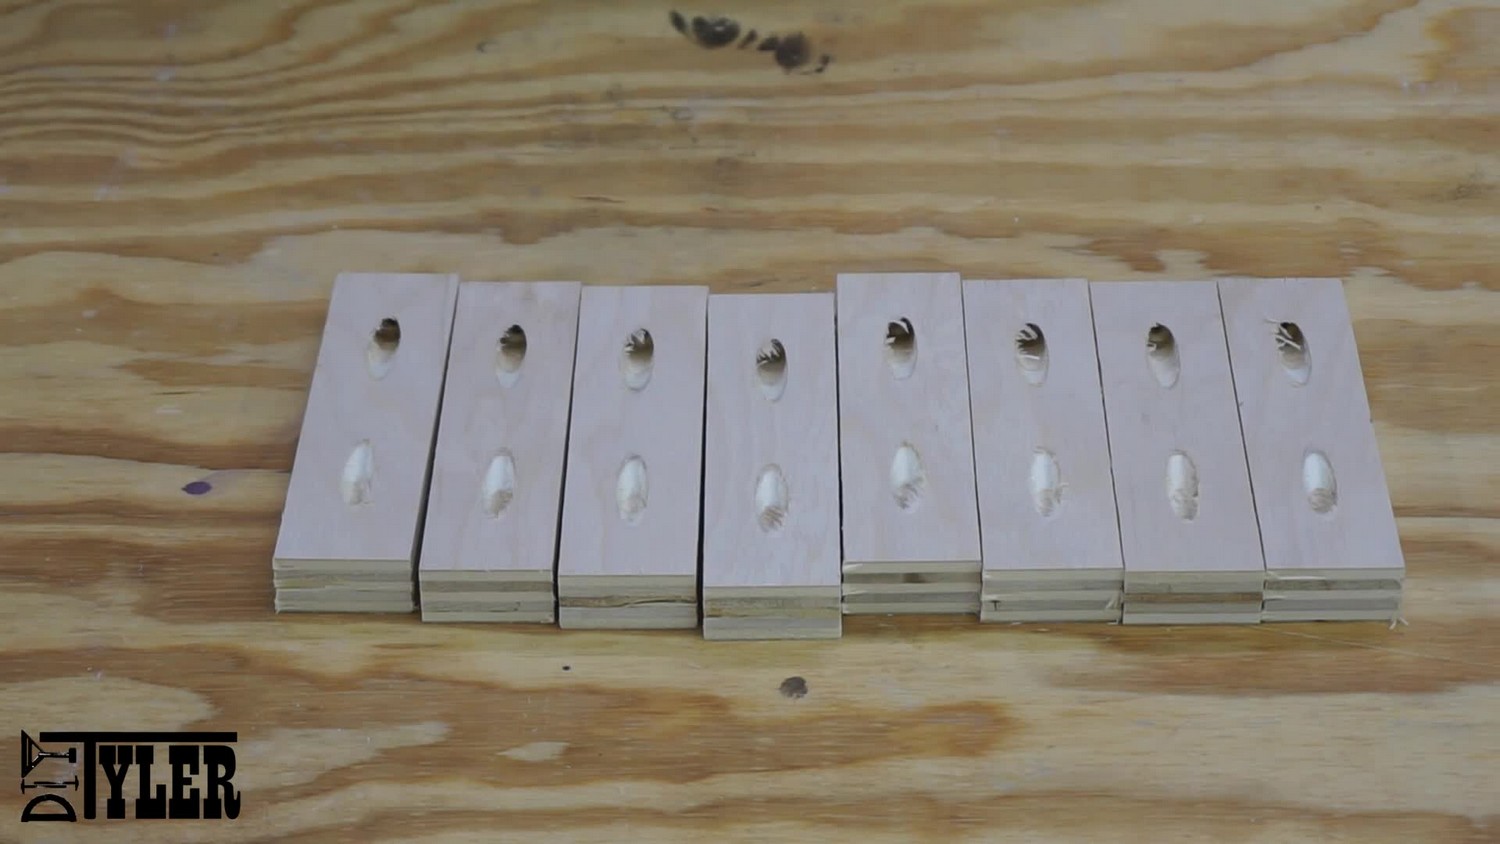
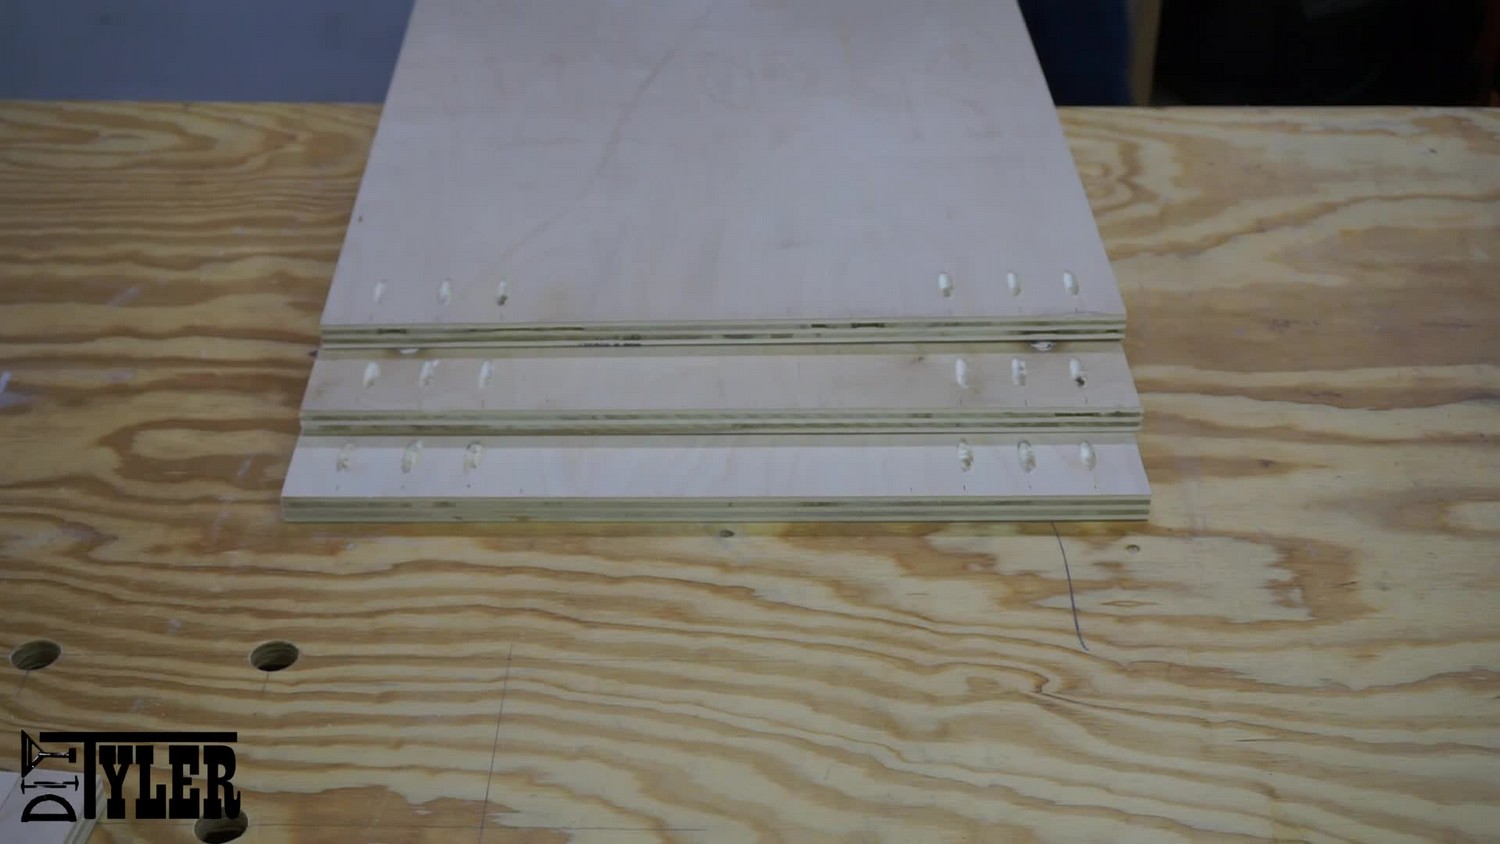
Several of the parts need pocket holes for assembly. The small flip-top supports and the frame sides, the frame sides only need pocket holes on the ends as that is where they attach to the base 2×6’s.
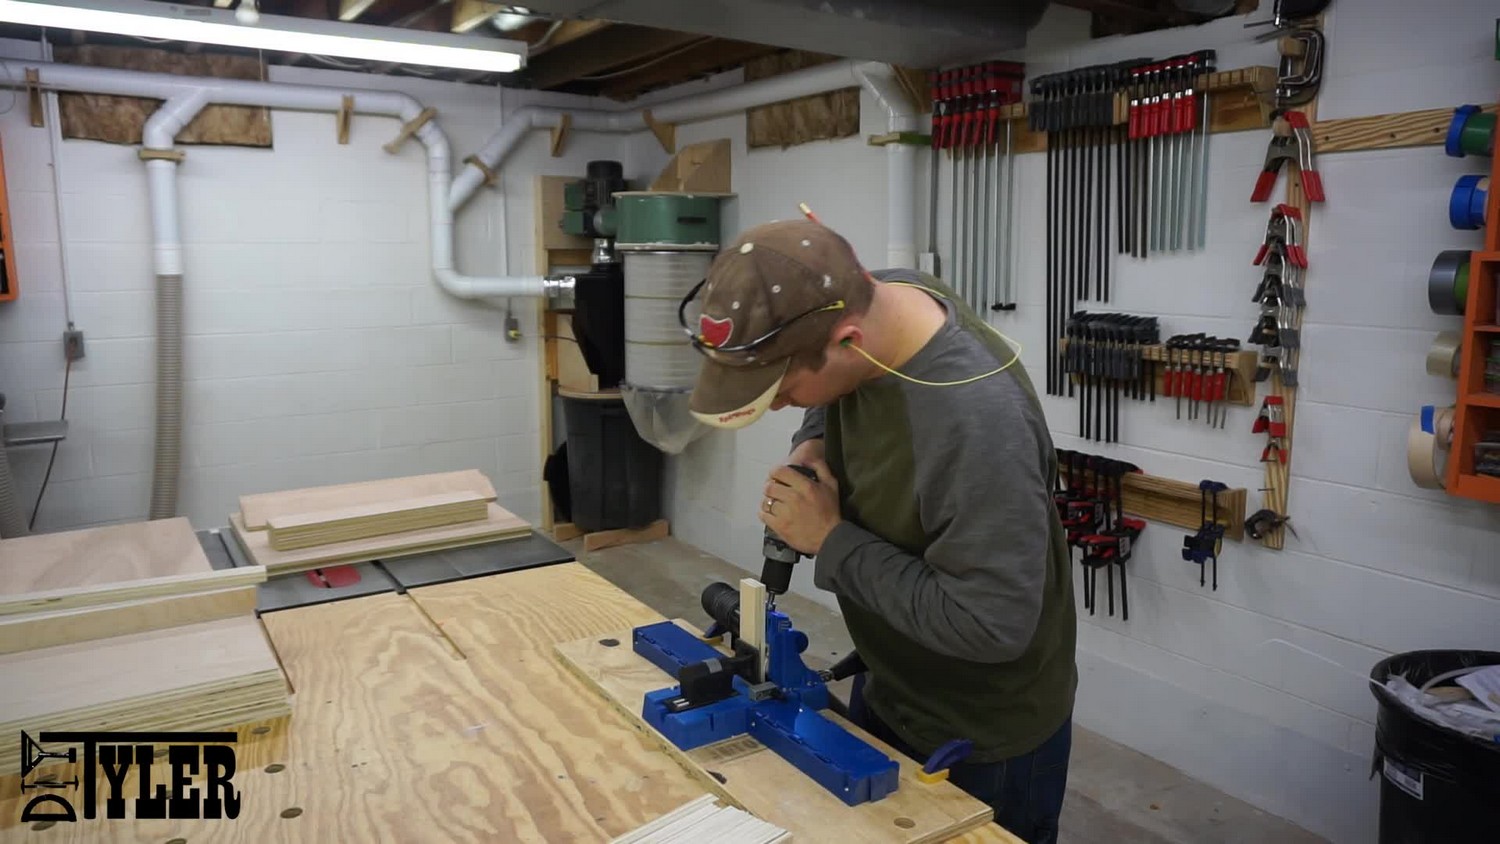
Small flip top supports.
Frame sides. You can see here how the pocket holes are only on either side where the 2×6 base attaches.
Assemble Flip-Top Tables
The table that the tools are bolted to is assembled from three layers, two table tops and a supporting layer between that is basically a frame. First thing you need to do is measure and mark so that you have marking lines for the 3/4″ pipe exactly in the middle of the table top.
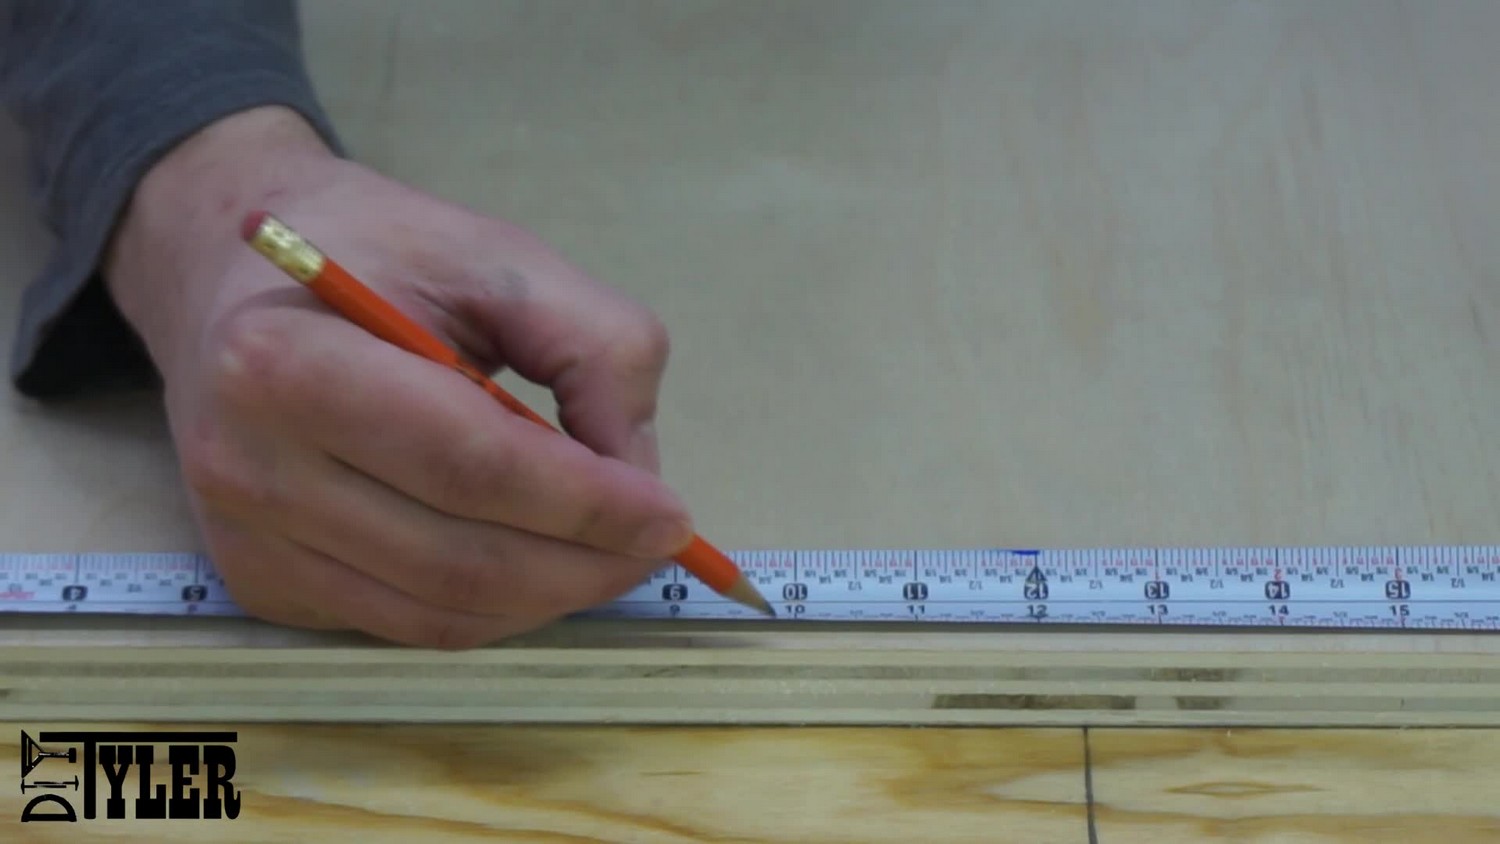
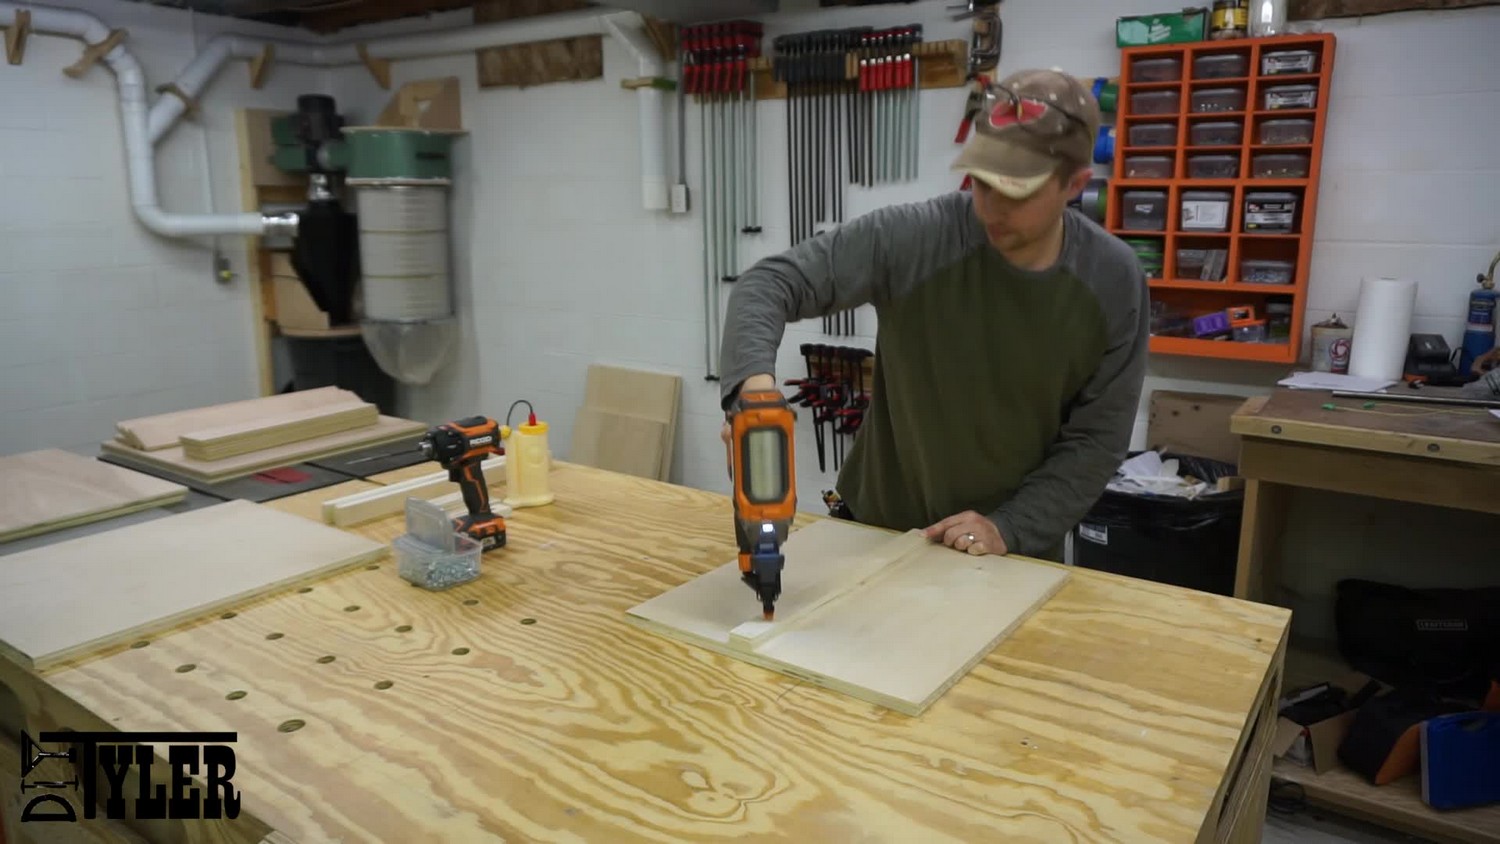
Take one of the longer support parts (Flip top support B) apply glue and brad nail it into place using one side of the marks to align it properly.
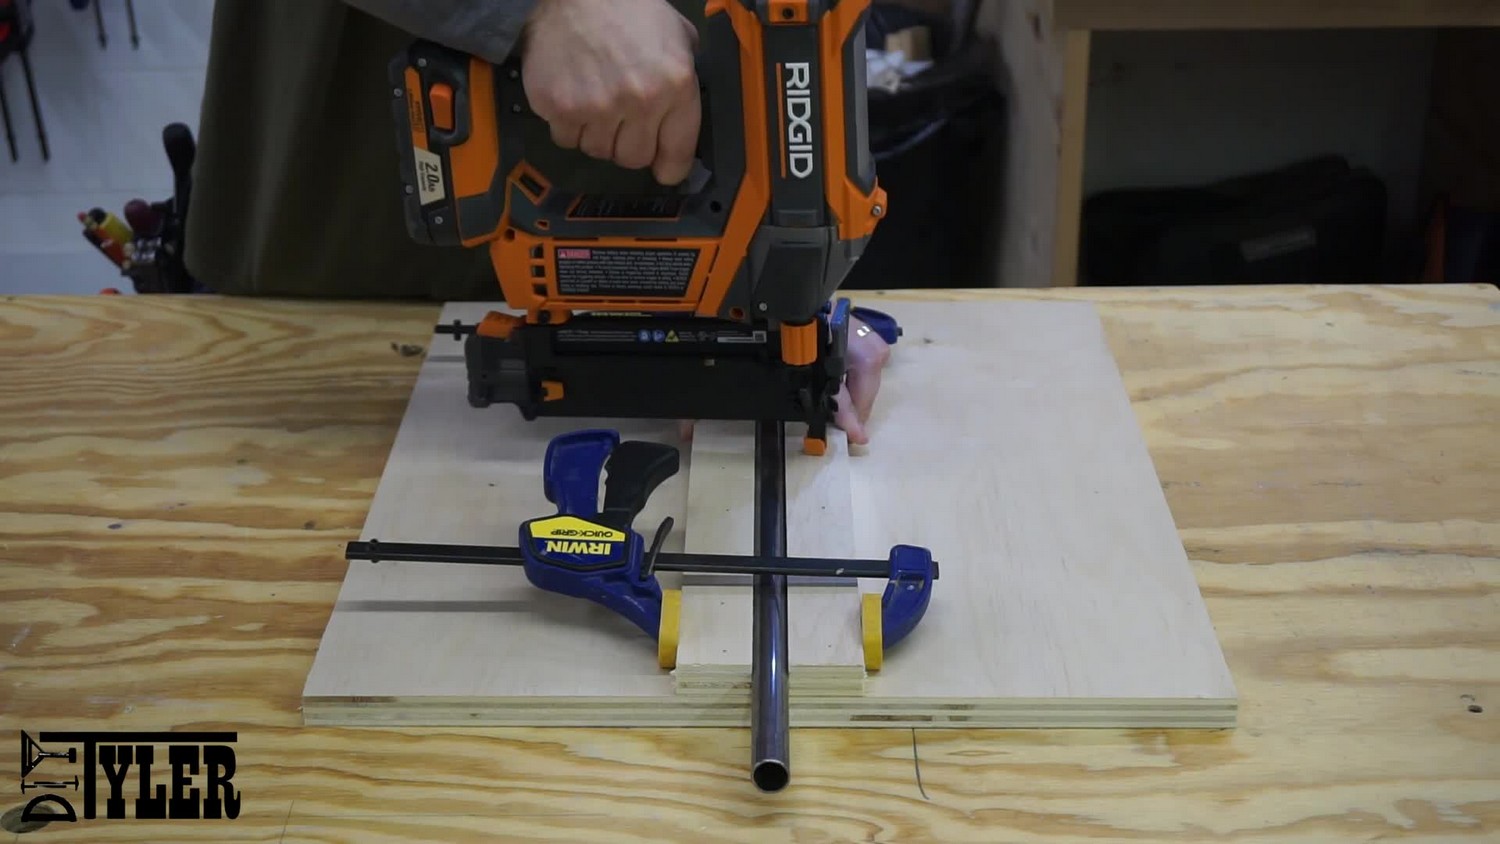
Take the other long support and brad it into place with the 3/4″ pipe clamped between the two supports.
Now glue the short supports into place by adding a pocket screw into the long support, by the pipe, and brad nail into place, pocket screw into the long support on the edge and brad nail everything into place.
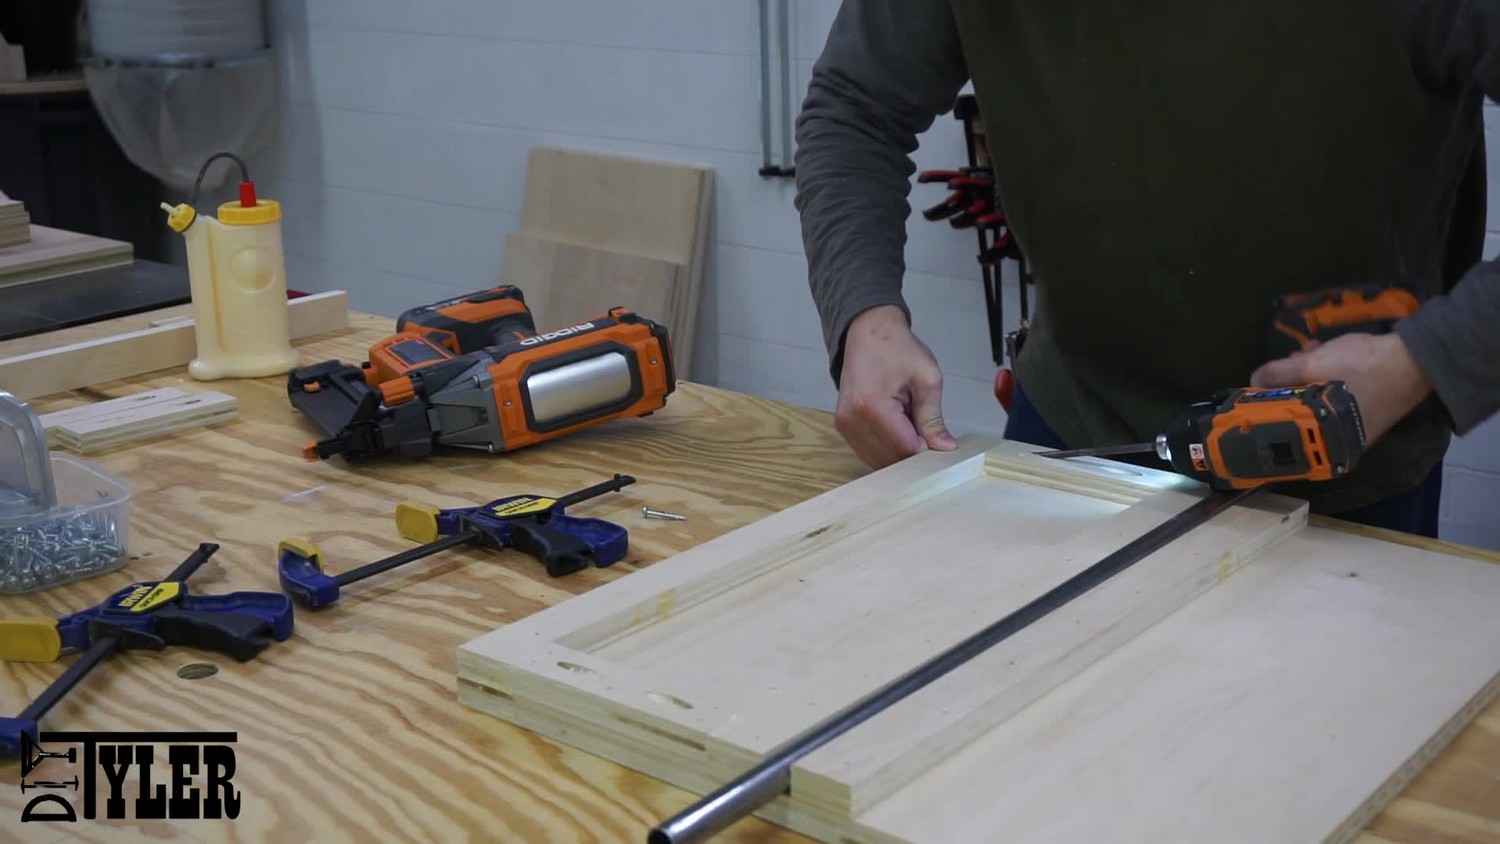
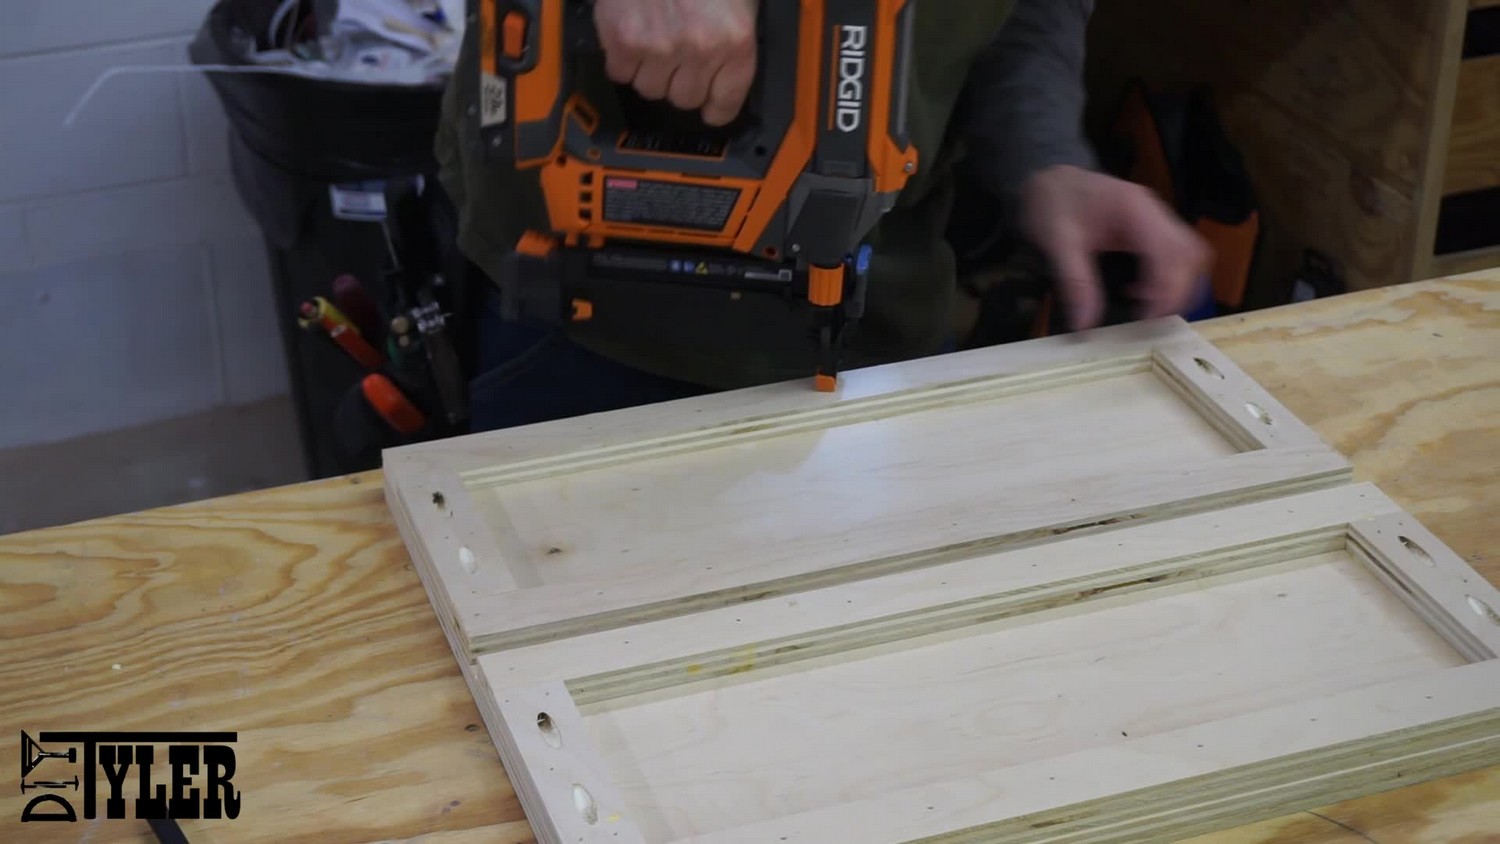
When all the supports are fixed in place apply a liberal amount of glue and add the other side of the flip-top.
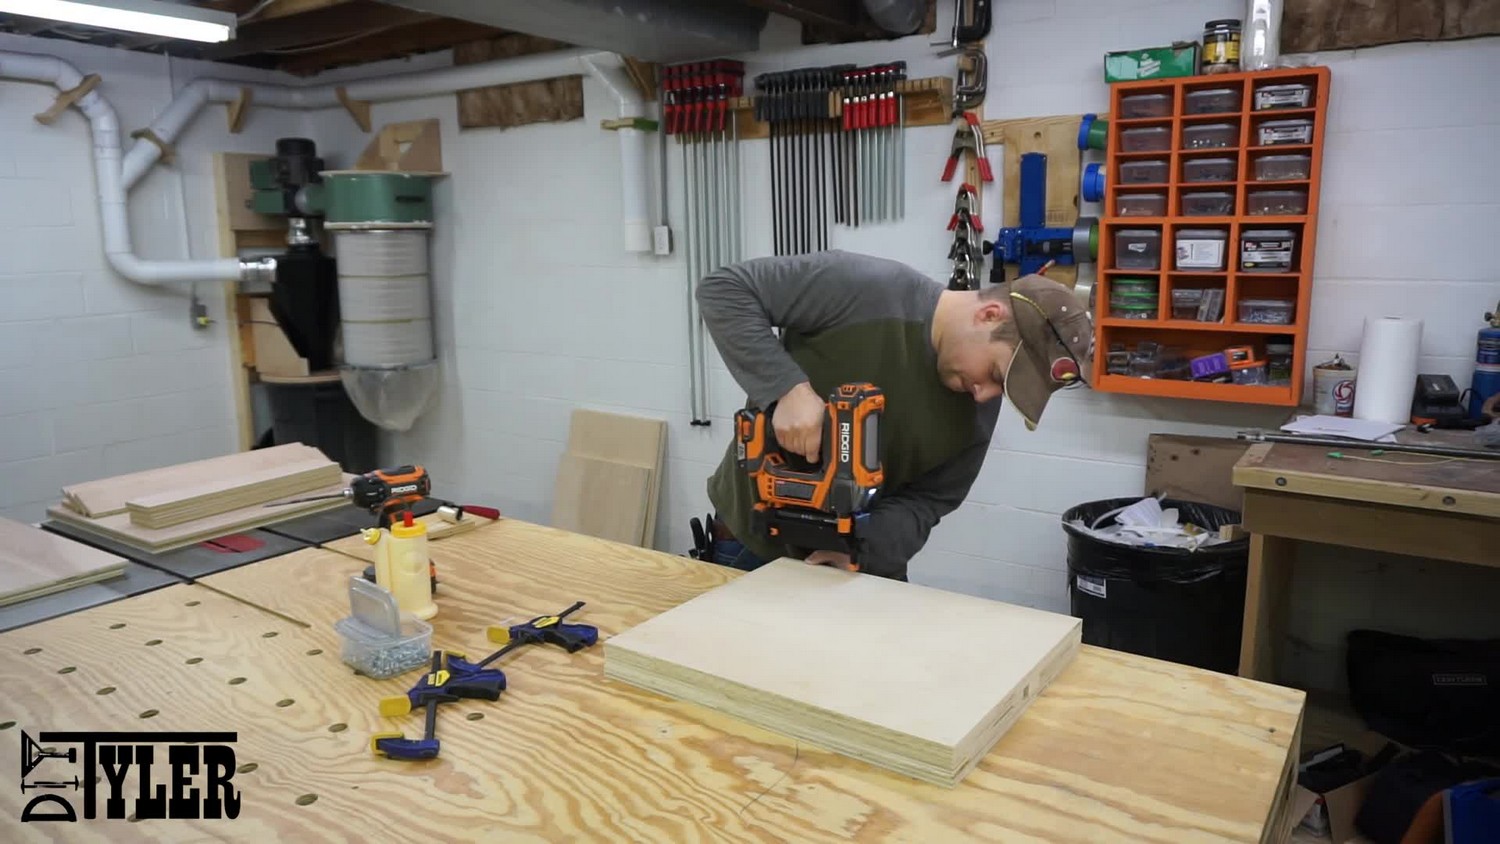
NOTE: I did add some extra support between the outer frame to allow firm holding for the bolts that will hold the tools in place. Each tool could be a little different so be sure to make sure you are adding support in the right areas.
Frame Assembly
Lay the two, cut to length, base 2×6’s on your workbench and apply glue to one of the frame sides….being careful to only apply glue where the side will rest on the base. Keeping it square to the base screw it in place using 1 1/4″ pocket screws. This same procedure can be used for both outer sides.
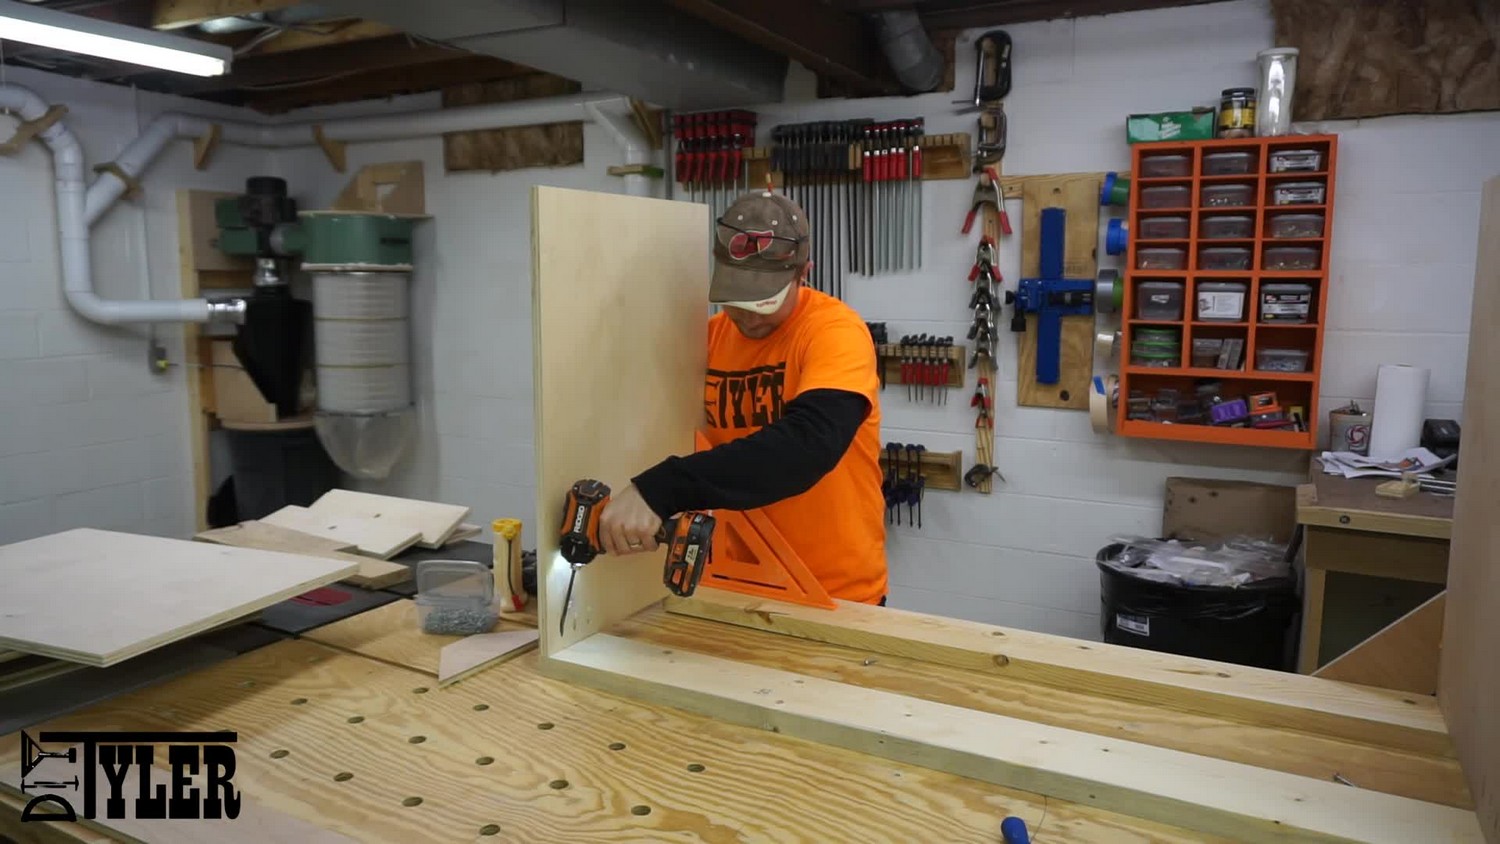
Not sure if this step is necessary so it is not included in the plans but I added it for extra strength. Cut a few short pieces of scrap plywood and added 45° miters to either side. Glue and nailed into place to add extra support for the frame sides.
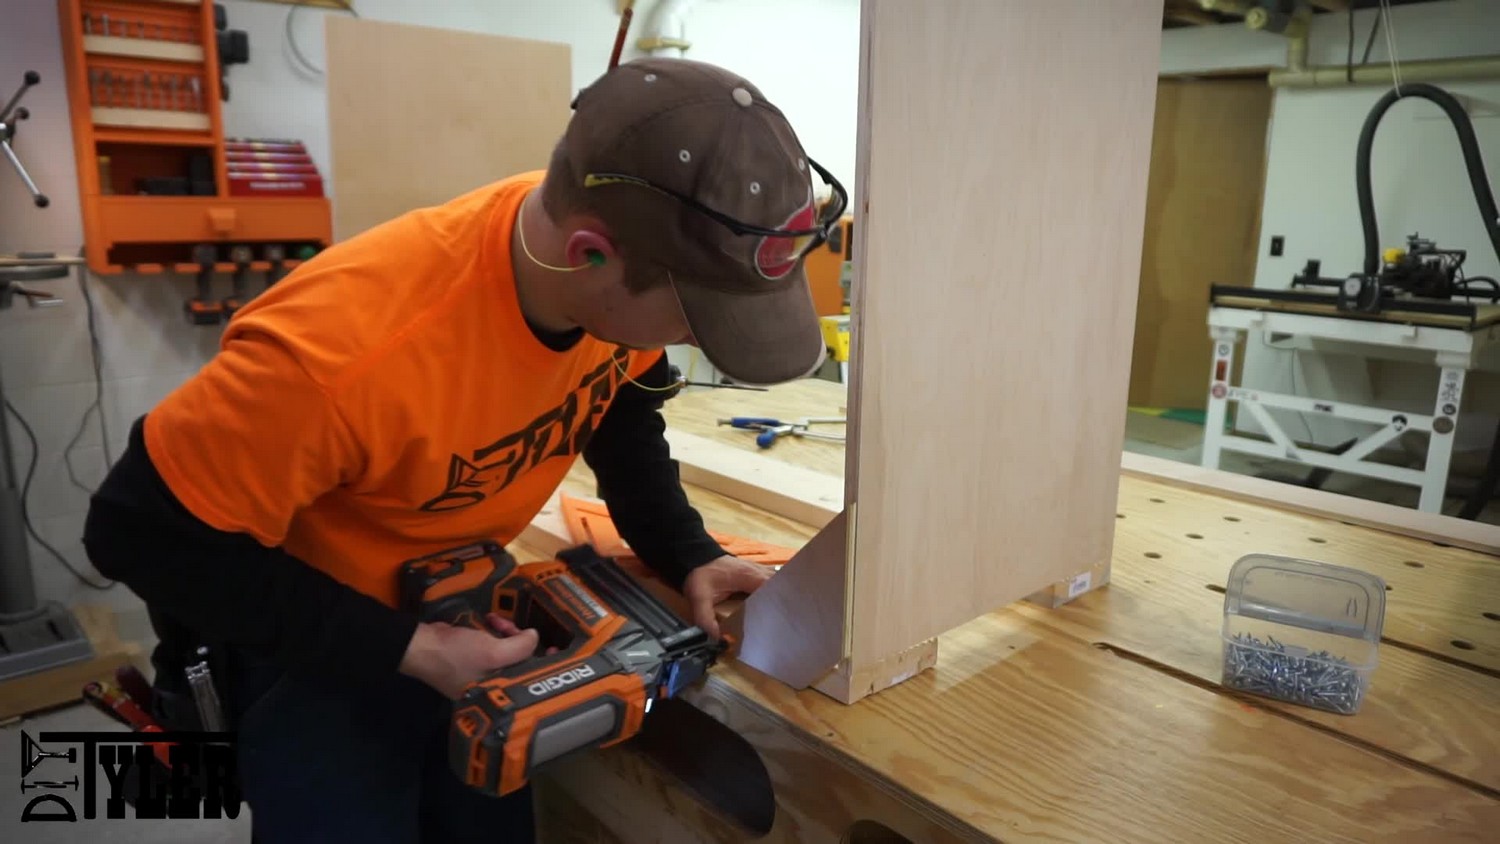
Measure from both sides of the frame assembly to the middle making marks to align the 3/4″ middle frame section. Add glue and screw into place. I also added supports on this section.
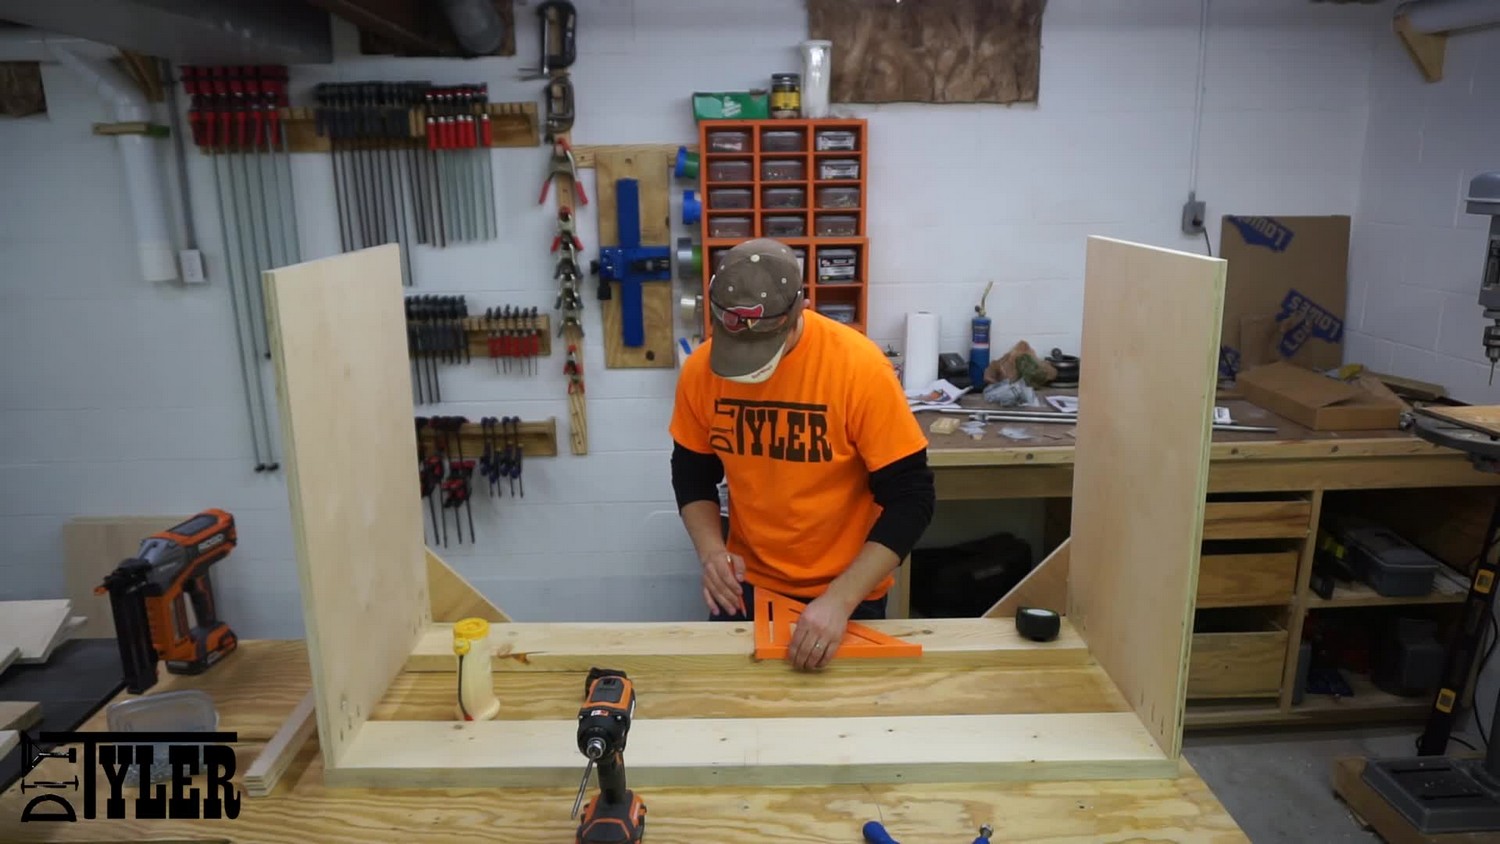
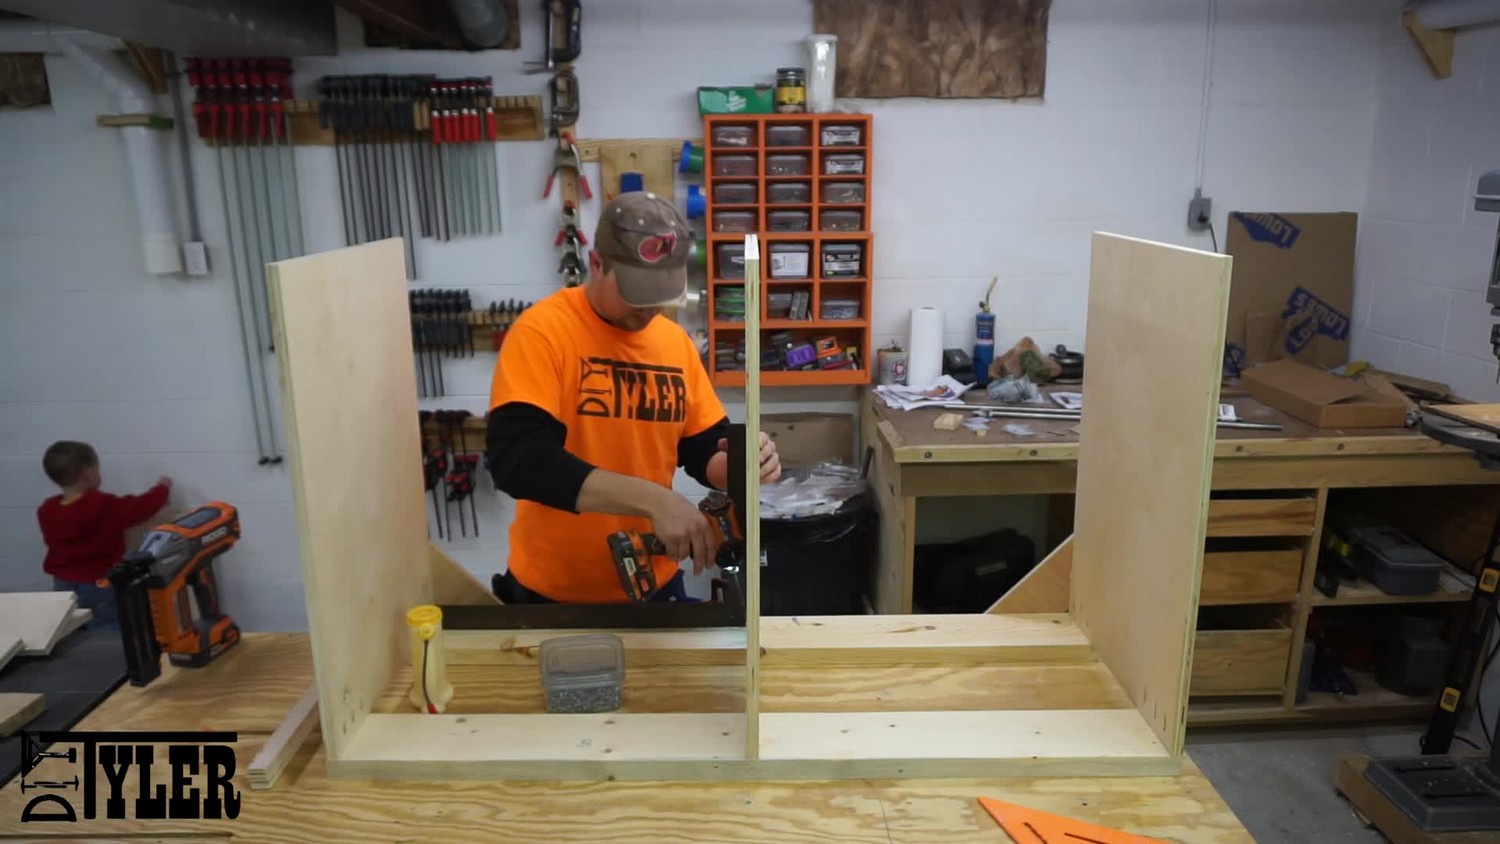
Add a few inch line of glue to the top of all the sides and nail the back support into place. This support helps keep all the sides aligned and gives you a spot to bolt the workstation to the wall to prevent tipping.
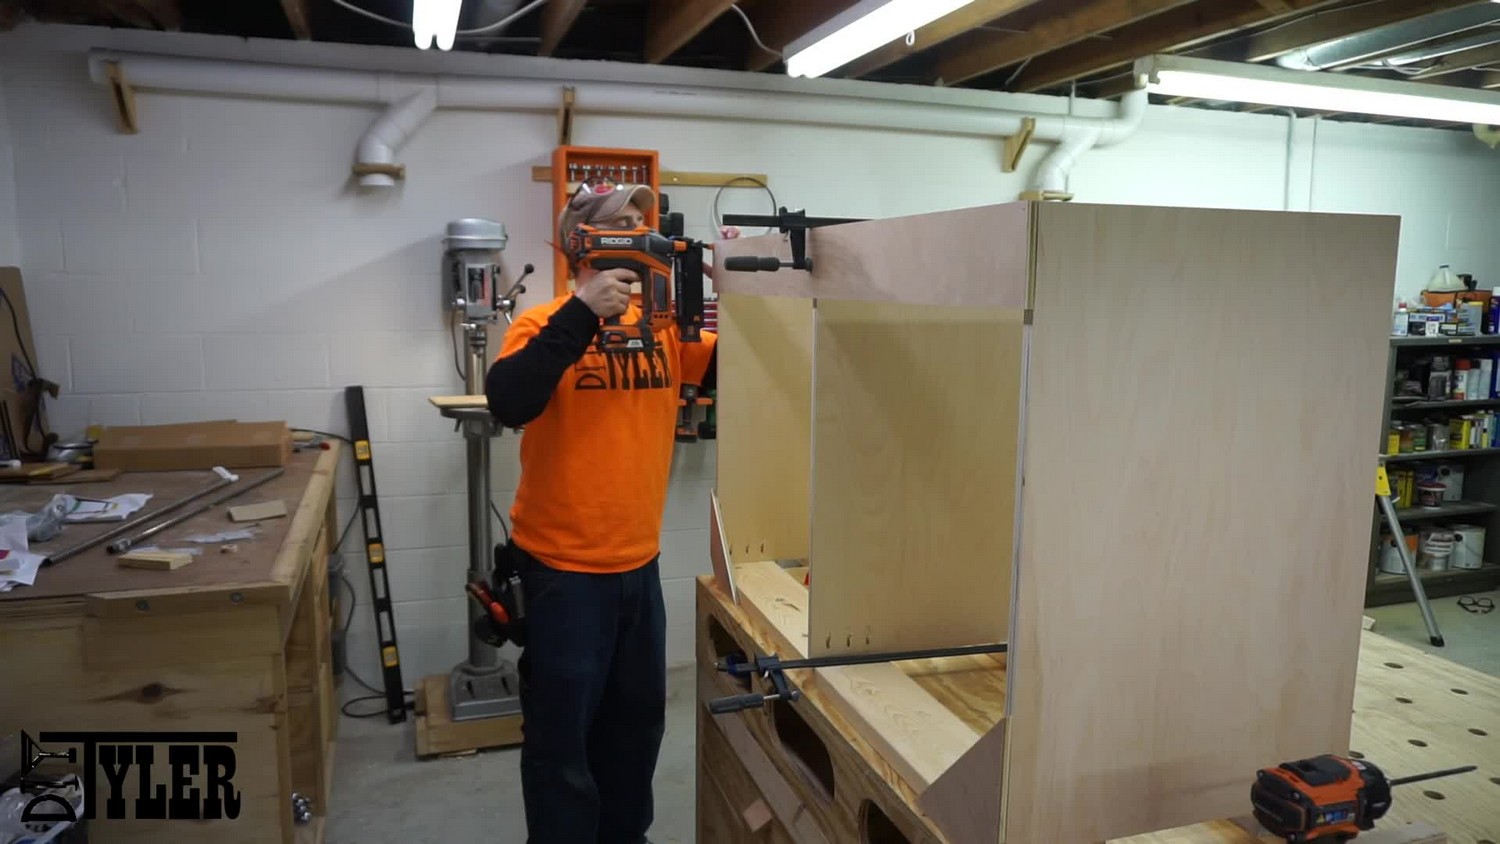
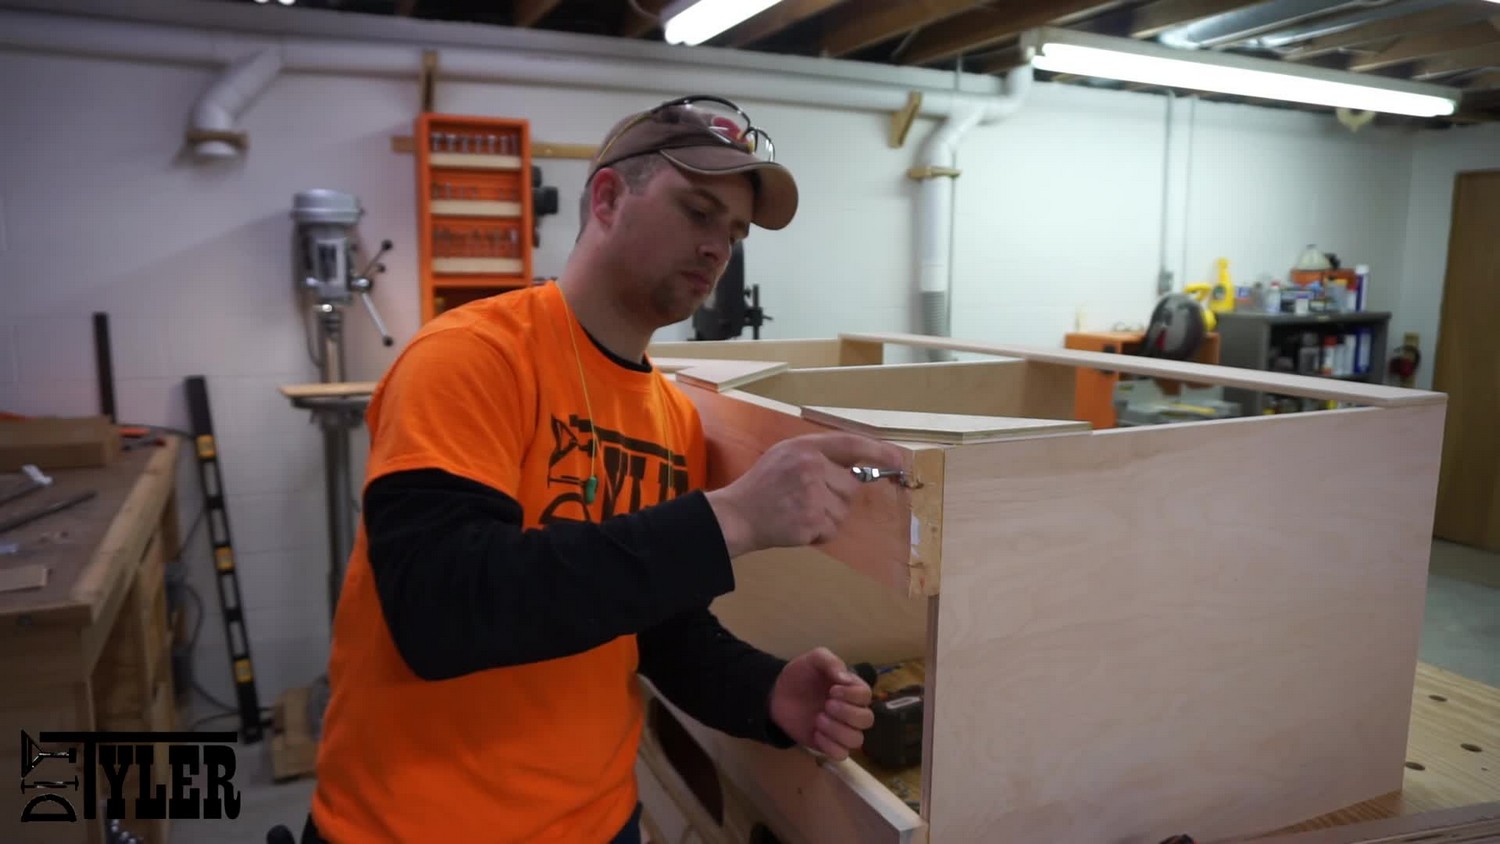
I like to have some level adjustment on all the tools in the shop to accommodate for any unevenness in the floor. I do this cheaply by using a t-nut and bolt. See our workbench video for more detail. (link will take you direct to the part of the video that explains the step.)
Adding Shelves and Drawers
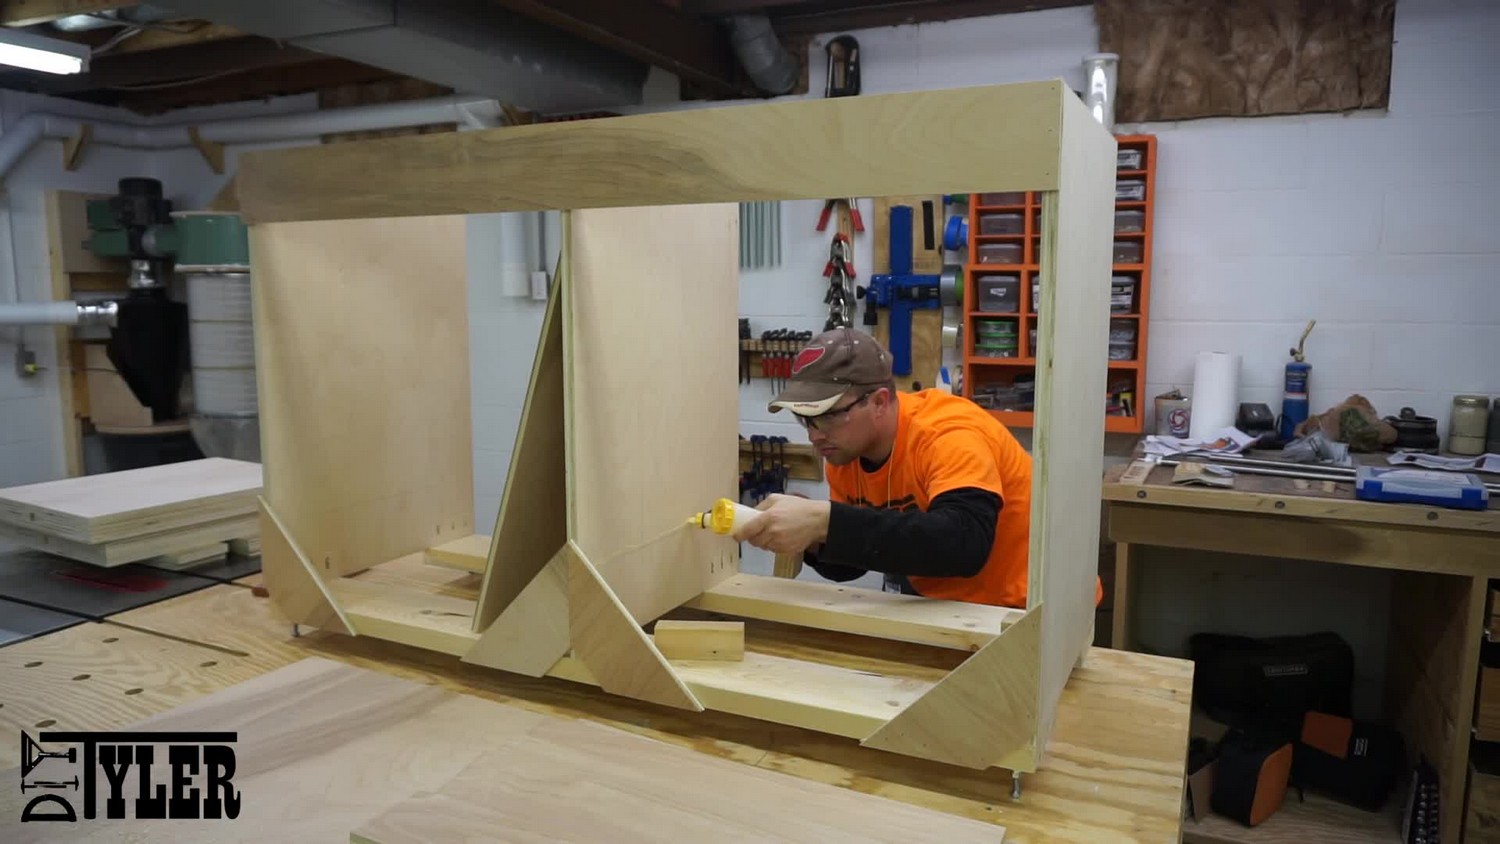
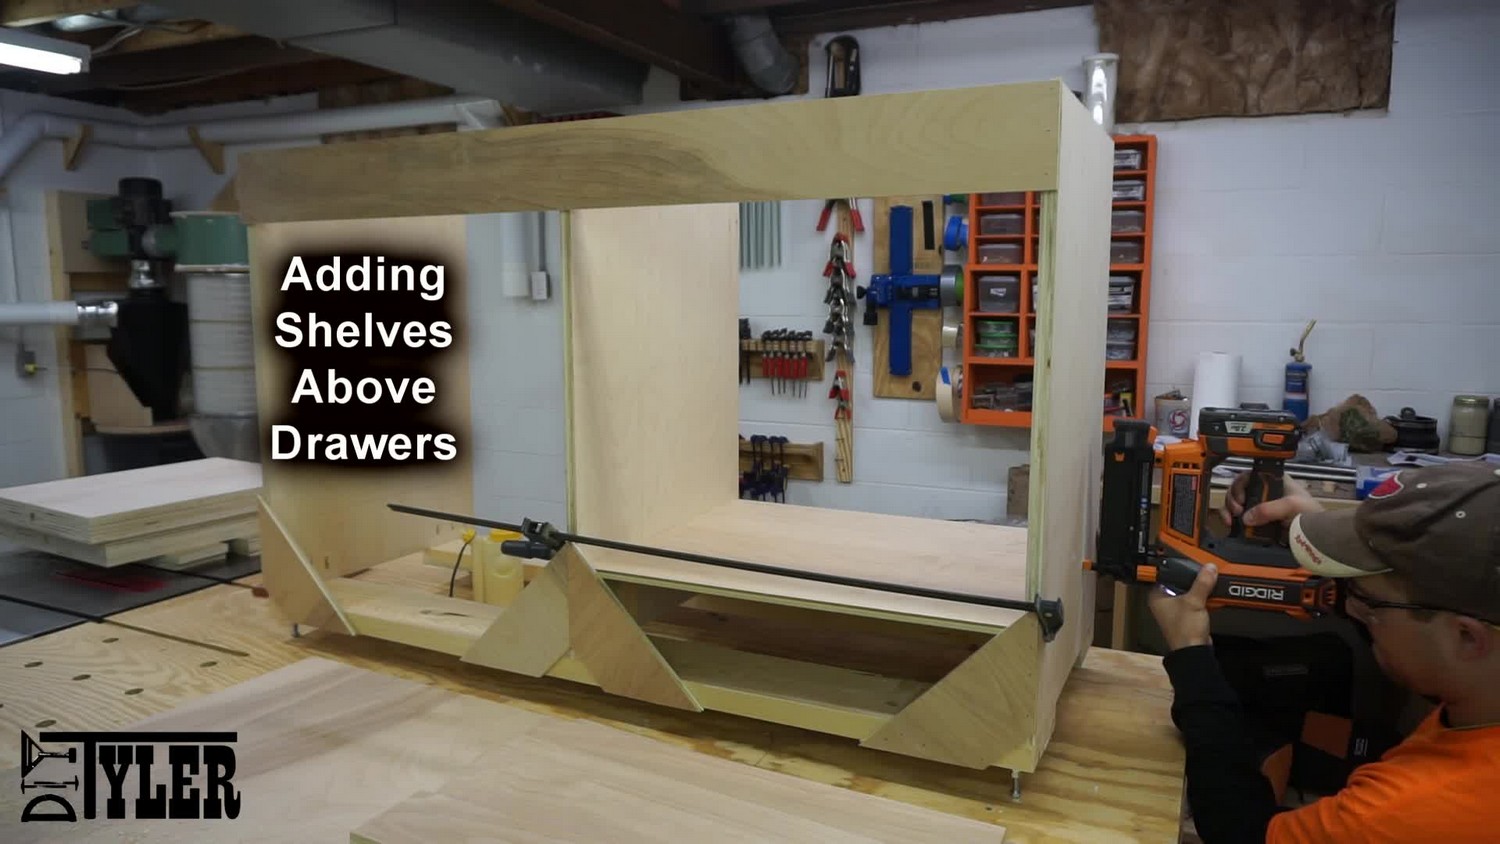
I cut a few spacers to hold the shelves at the correct height while I glued and nailed into place. I was able to nail the first shelf from both sides but the second shelf I added a few pocket screws on one side as you cannot nail since the opposite shelf is in the way.
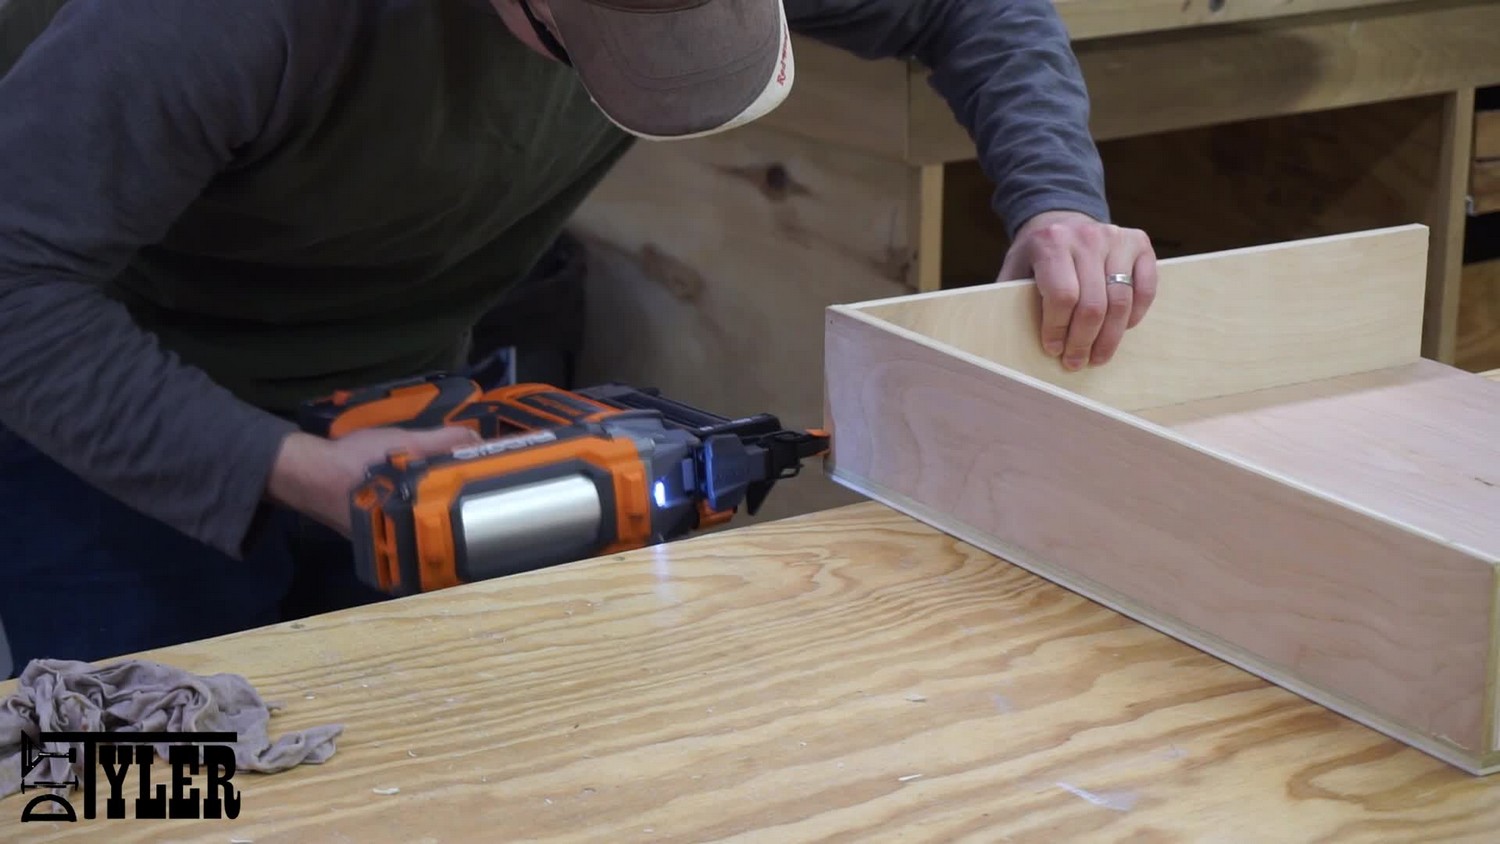
Assembled the drawers using glue, butt joints and brad nails. I set these aside until the flip-top workstation is set in place.
Installing Flip-Top Tables
First off I installed all the full extension slides. The top one was aligned with the top of the supports and the bottom one I cut a spacer to give me a proper distance between the two slides. The spacing is important, you want the top of the top slide to be 5 1/4″ from the bottom of the lower slide.
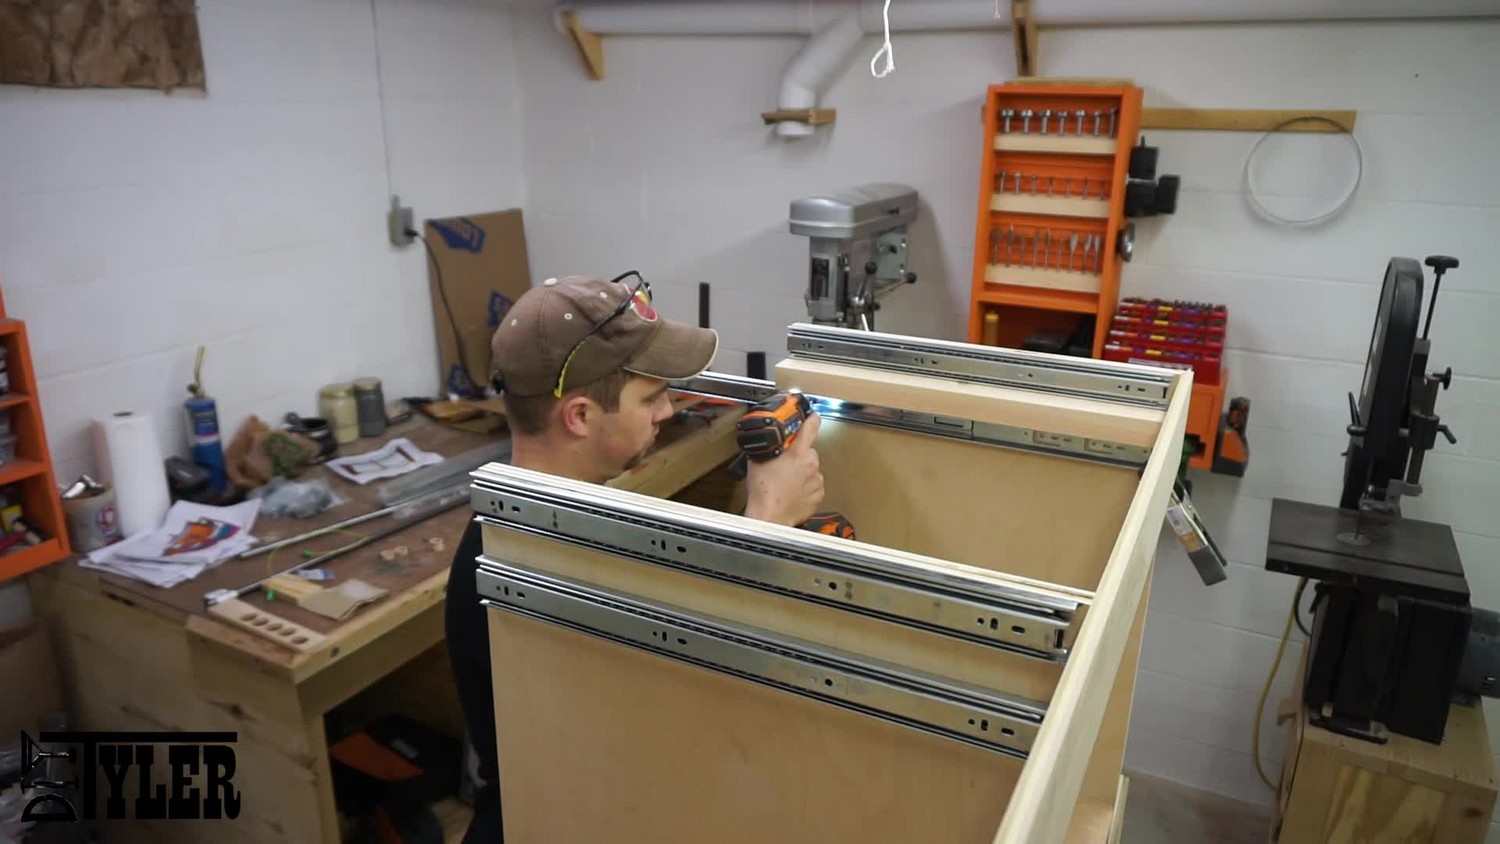
Measure and drill a 3/4″ through hole in the middle of the slide supports and fasten to the drawer slides.
NOTE:
You will also need to countersink around the through hole so allow the shaft collar to fit properly. I was hoping to make my own shaft collar but ended up having to use some that were wider than I planned so I had to countersink after I already had the slides in place. Much easier if you drill the recess first, then the through hole.
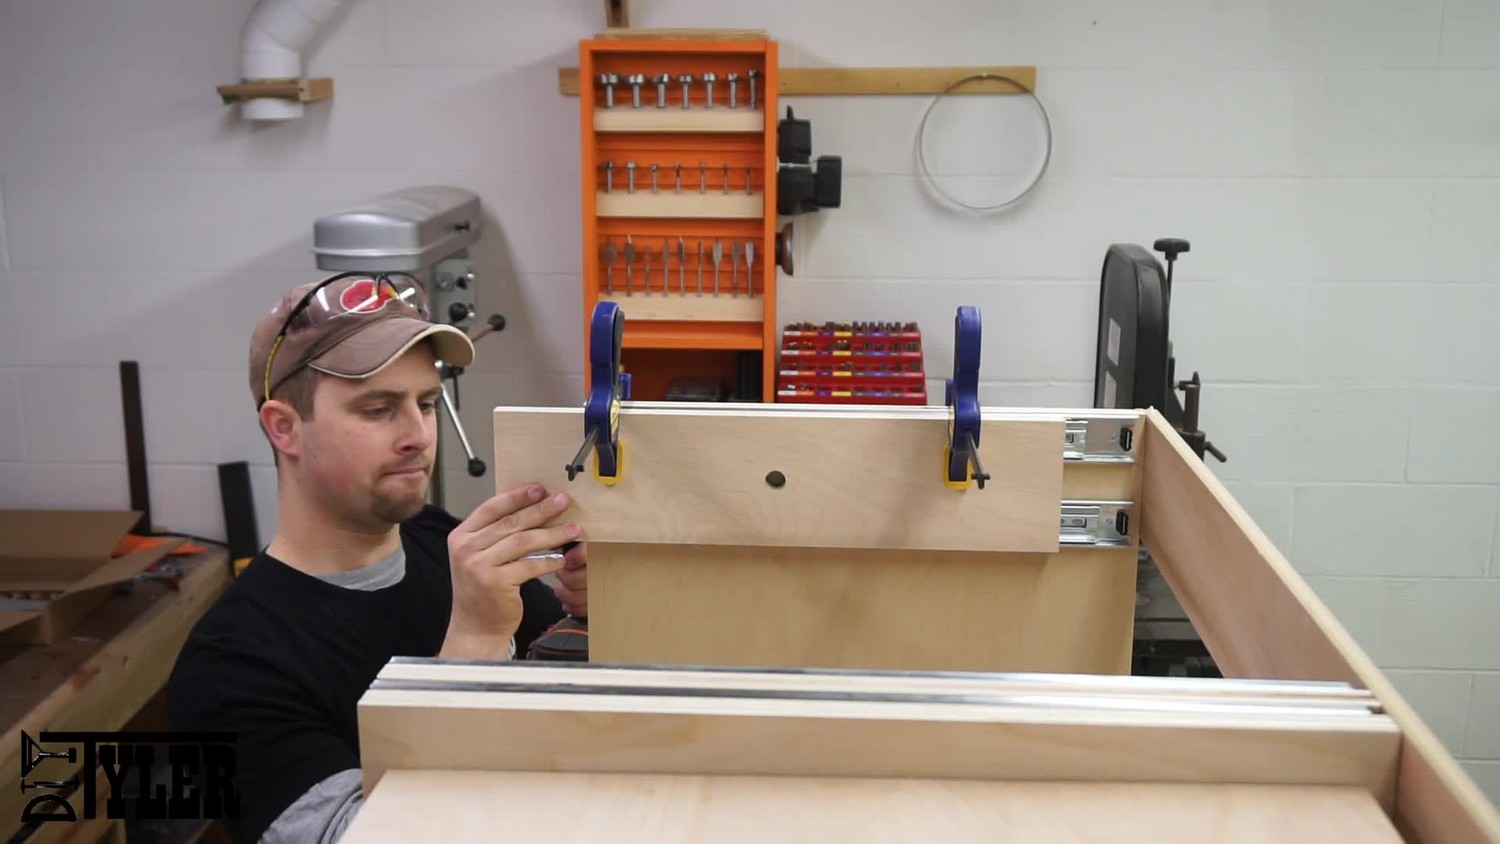
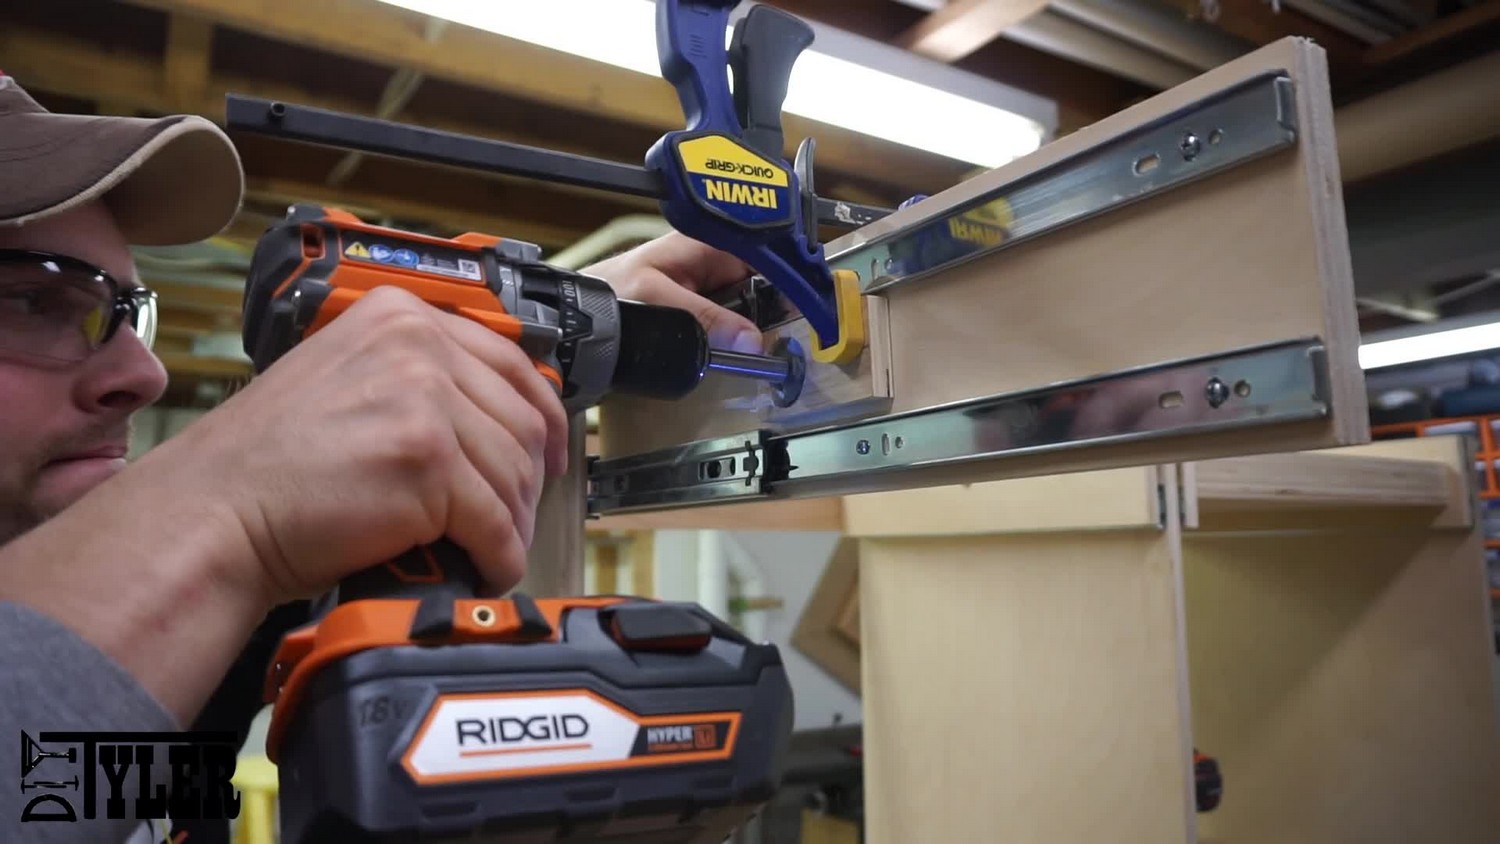
Take the 3/4″ tubing, align your flip-top table correctly and hammer the tubing through until it’s protruding ~1/2″ on the opposite side. Be sure you don’t put the tubing through too much as you will damage the tube if you have to hammer it back. After struggling a bit with the first flip table I used a scrap of pipe to help me align the table and it was way easier.
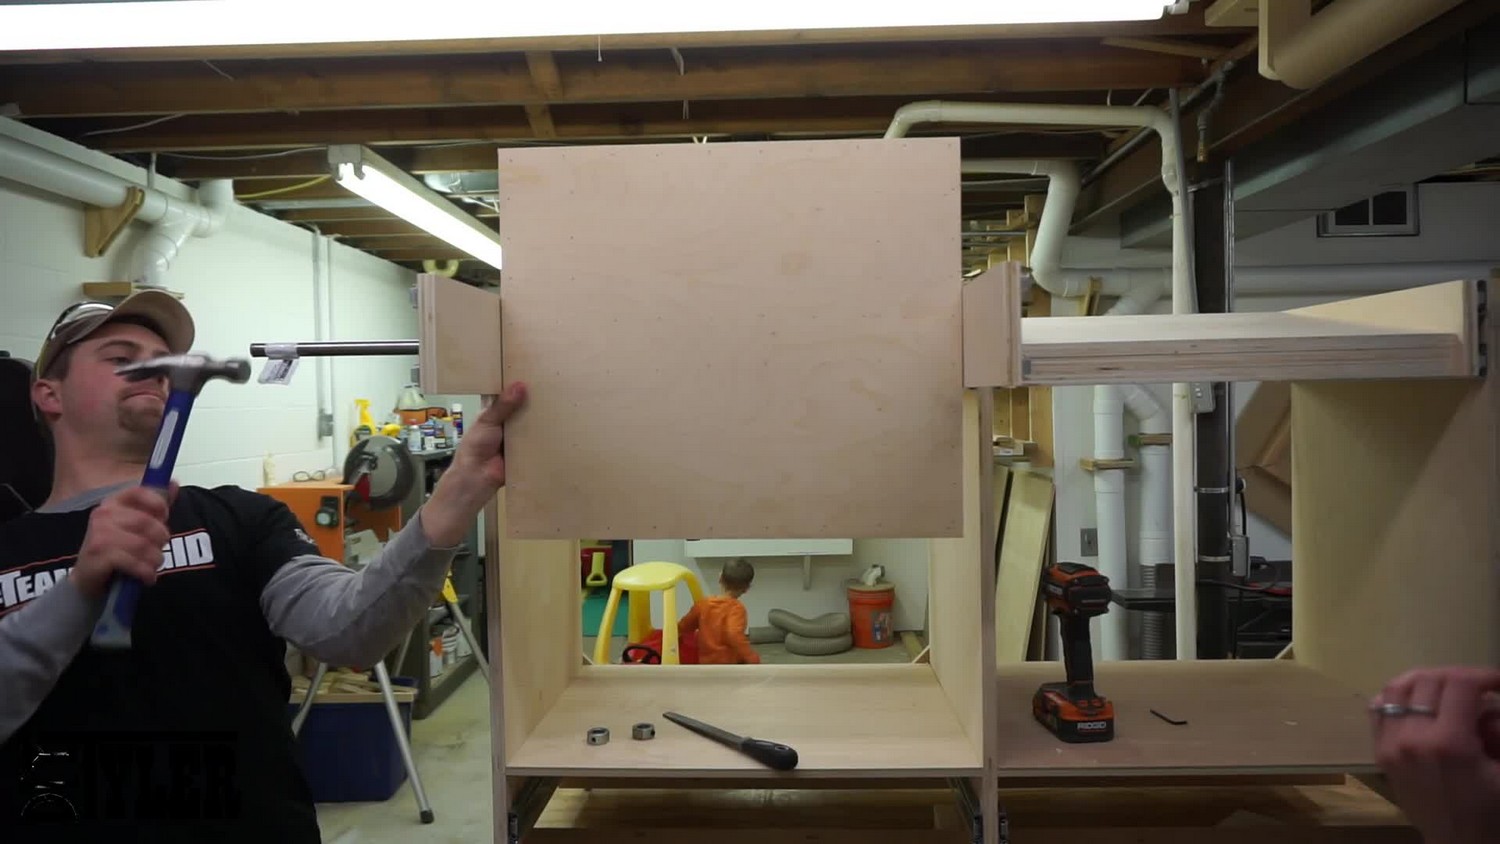
Use a reciprocating saw to cut off the excess tubing.
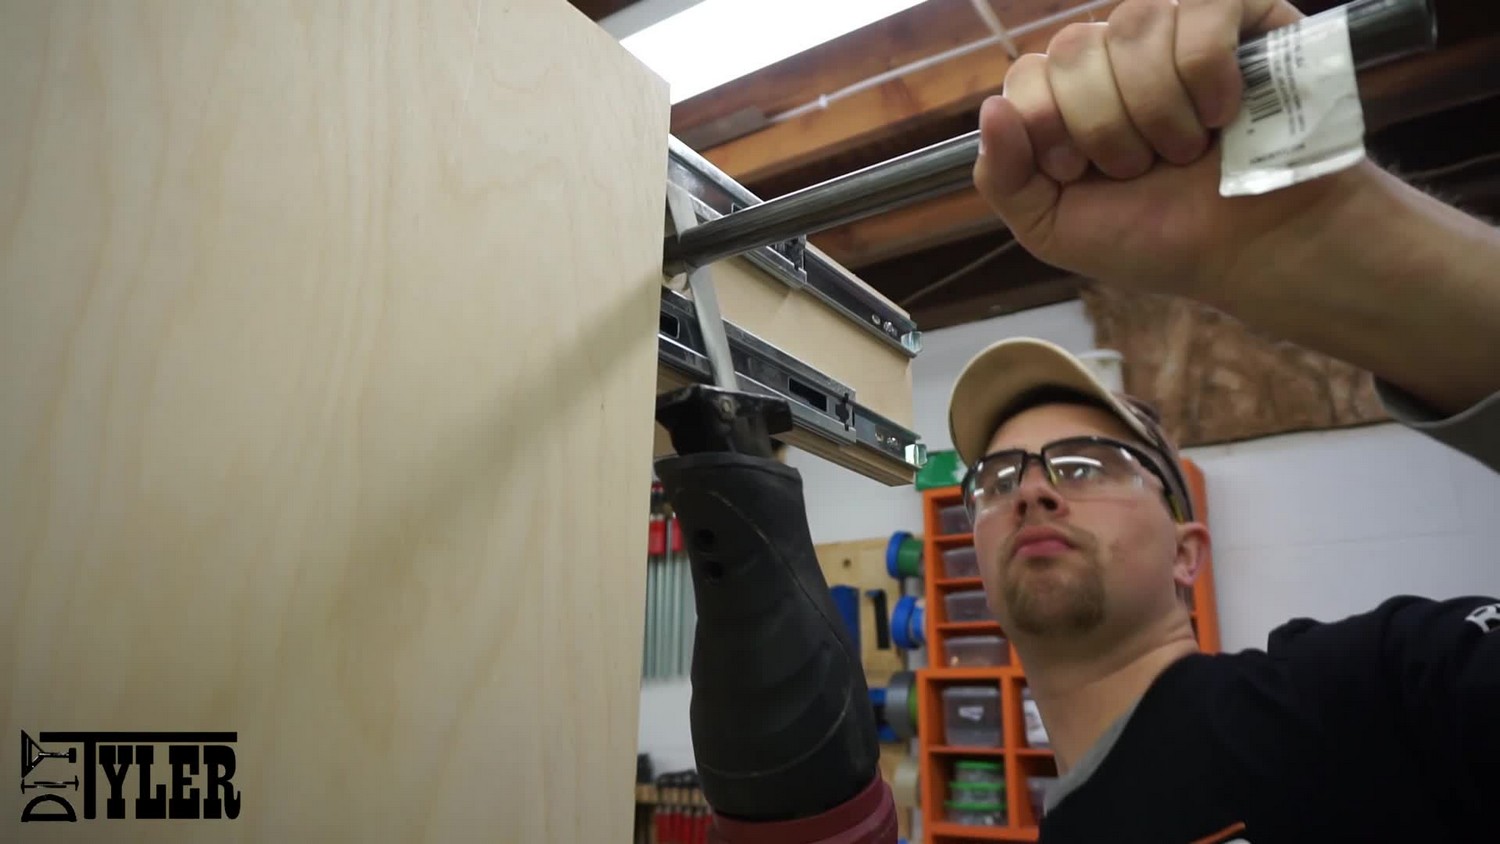
And install the shaft collars on both sides. Be sure not to have them so tight against the slide support that you can’t flip the table.
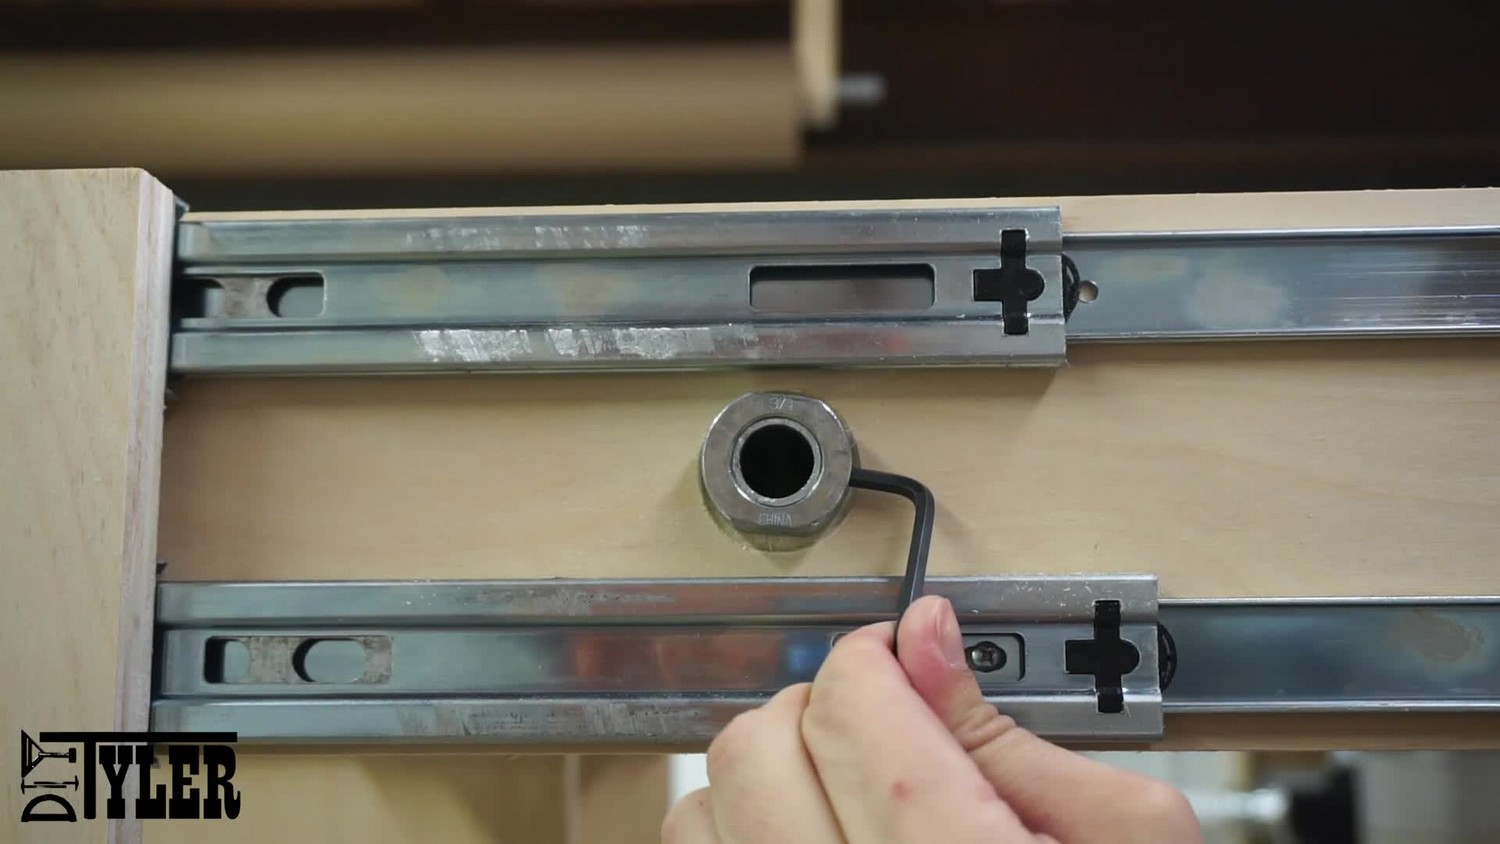
And give it a test!
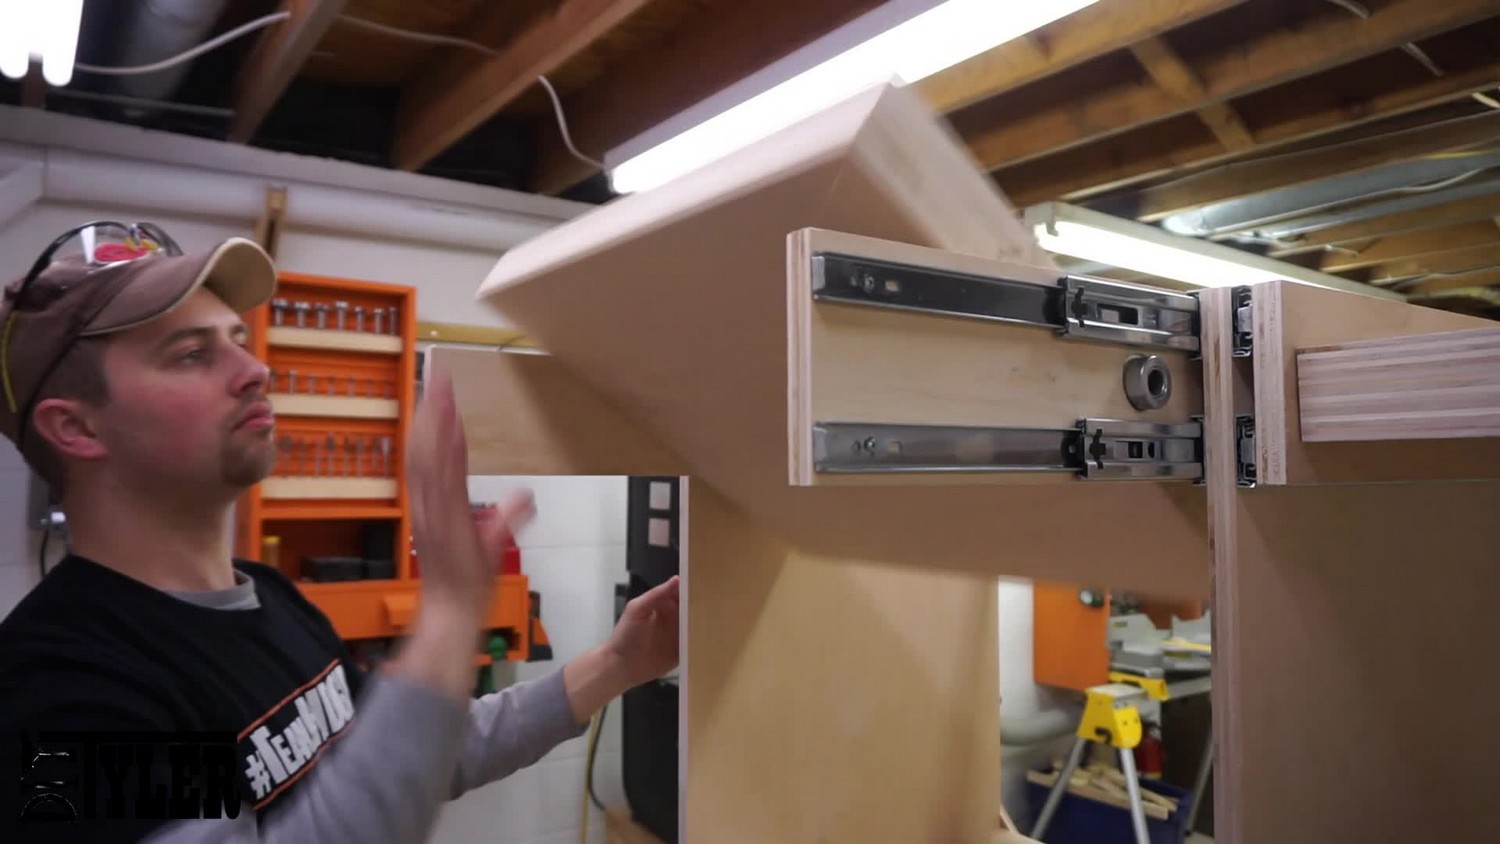
Locking Mechanisms
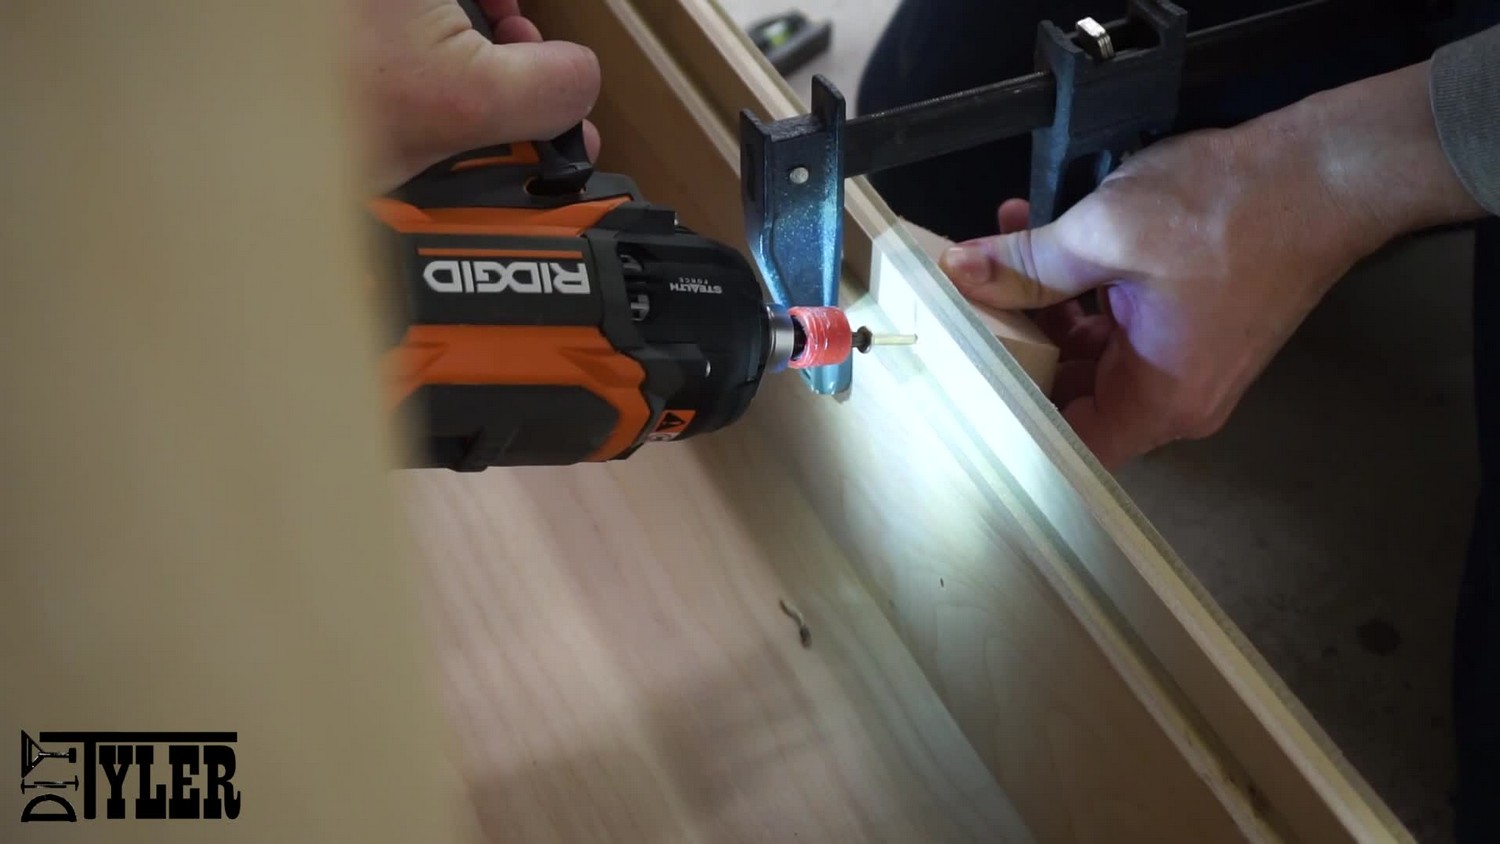
Once both Flip-Top tables were in place I added 4 barrel locks to each table to allow me to lock the table in place. There are 4 so that you will always have two in the locked position in the front of the workstation. These lock by actuating into a hole drilled into the slide support. You may have to plane the flip table down or add a few pieces of paper to get the movement of all the locks to work smoothly.
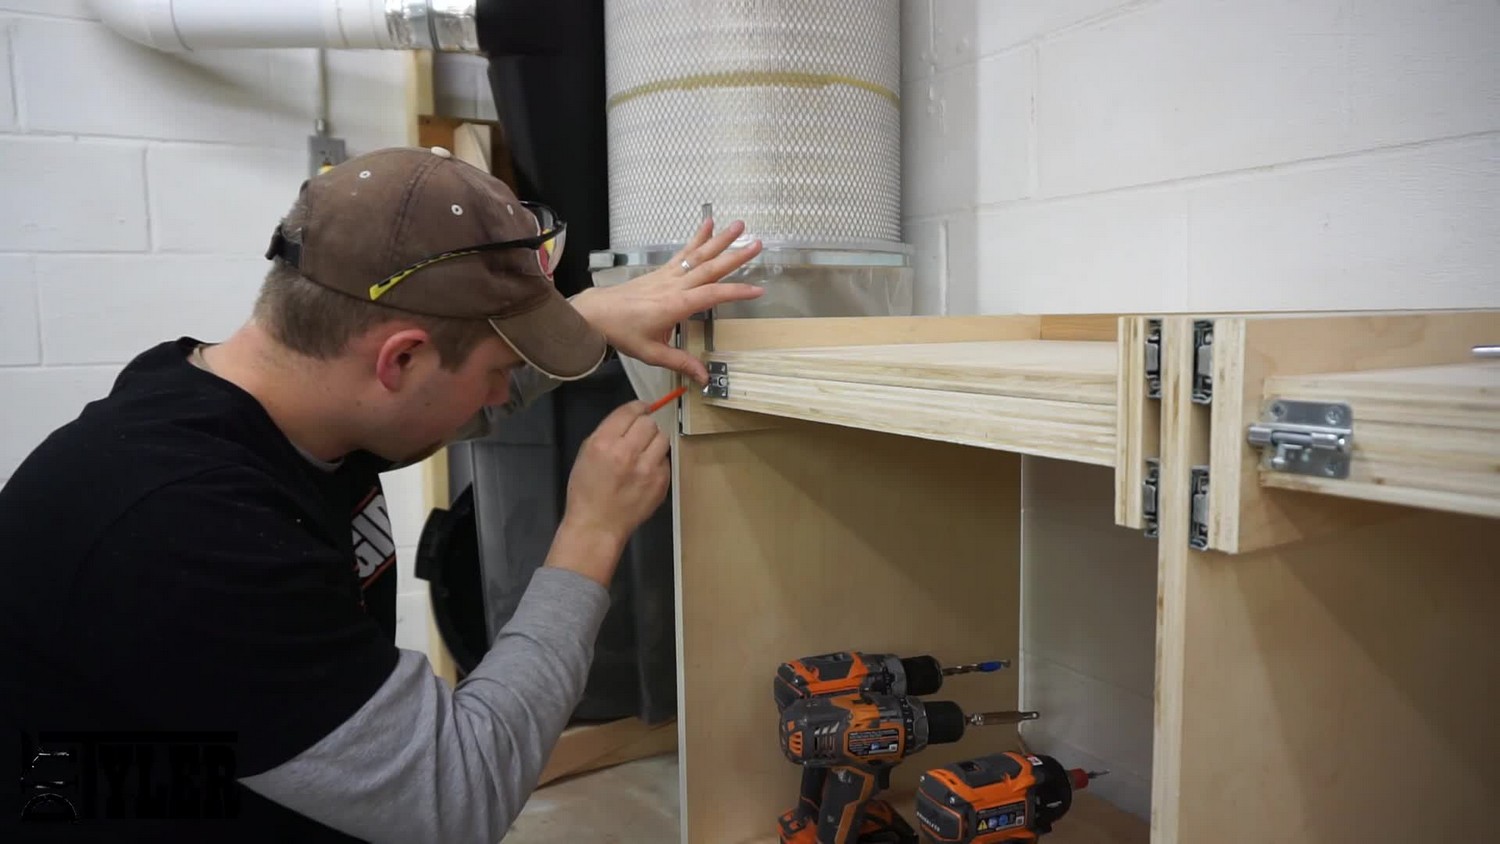
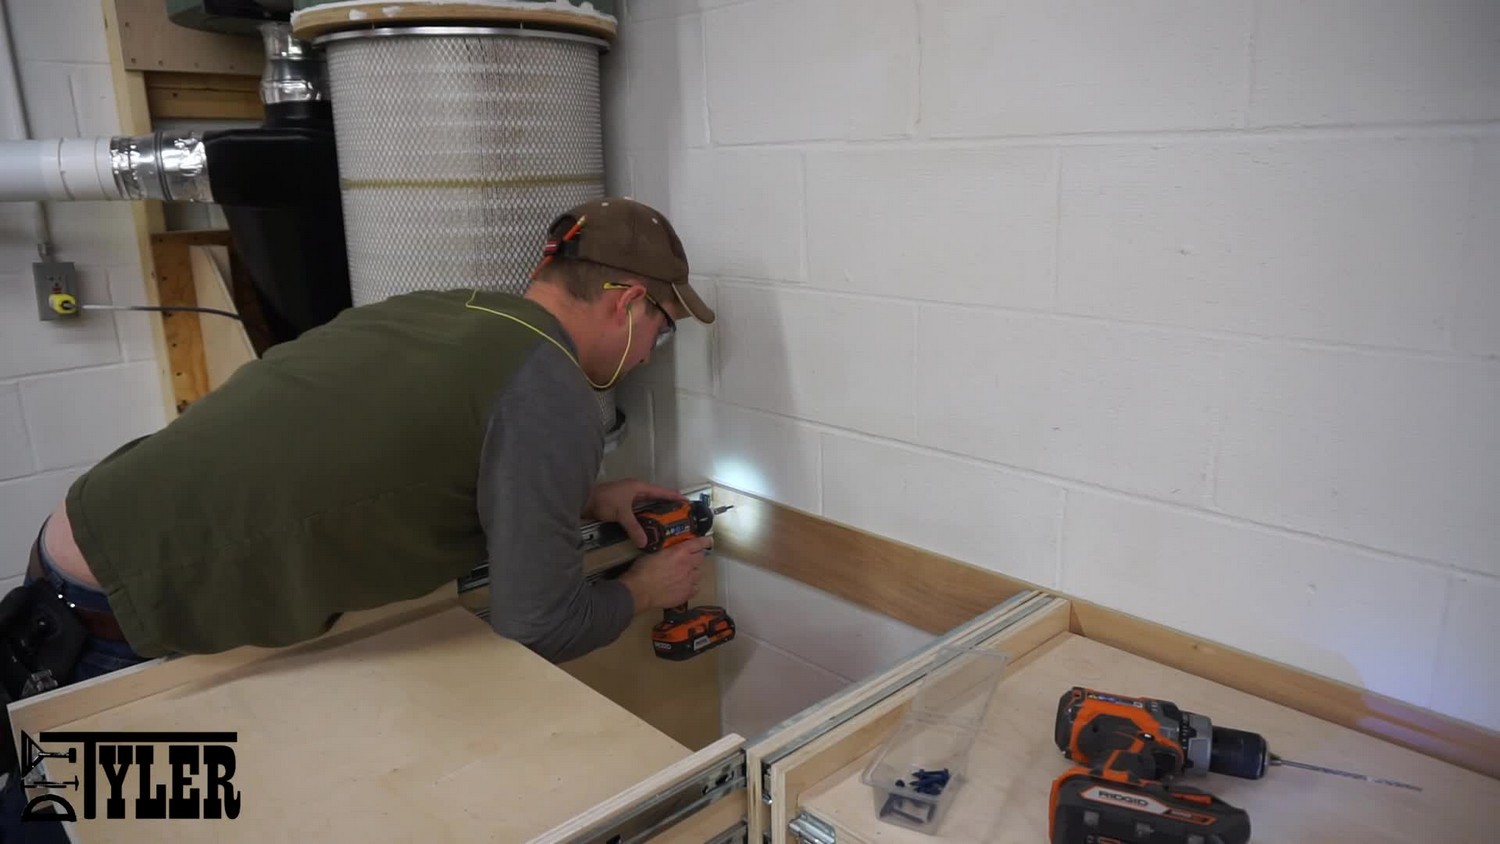
Bolt the flip-top workstation to the wall or it will tip when you have the tool extended on the drawer slides.
Install Drawers
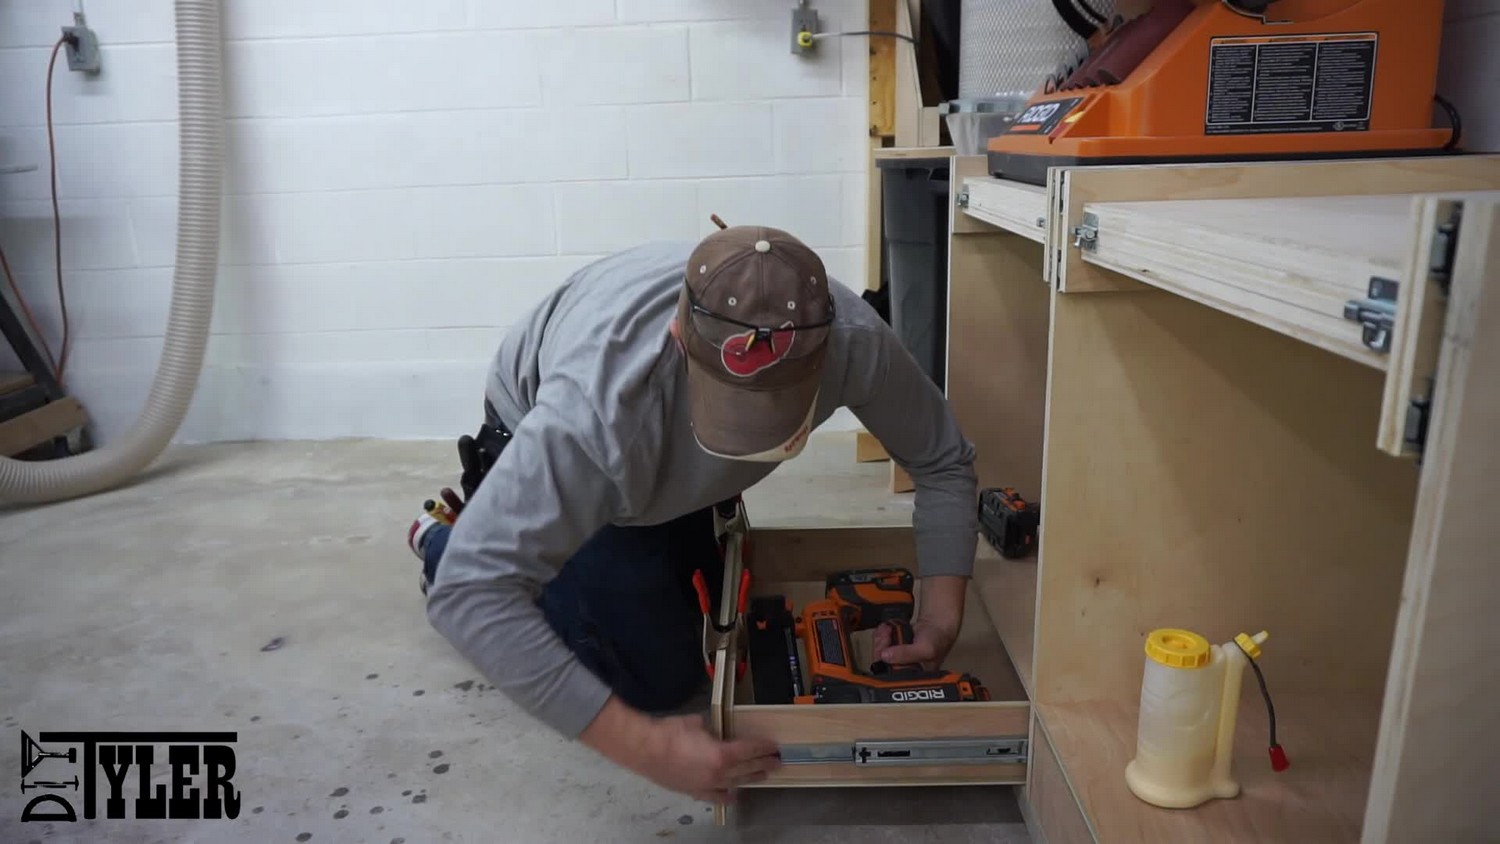
Install the storage drawers and add a drawer front and DIY handle. I show how I make these handles in great detail in this video.
Add Tools
Now it’s time to add tools to your flip-top workstation and see how it looks! I bolted the tools in place using 3″ deck screws and washers.
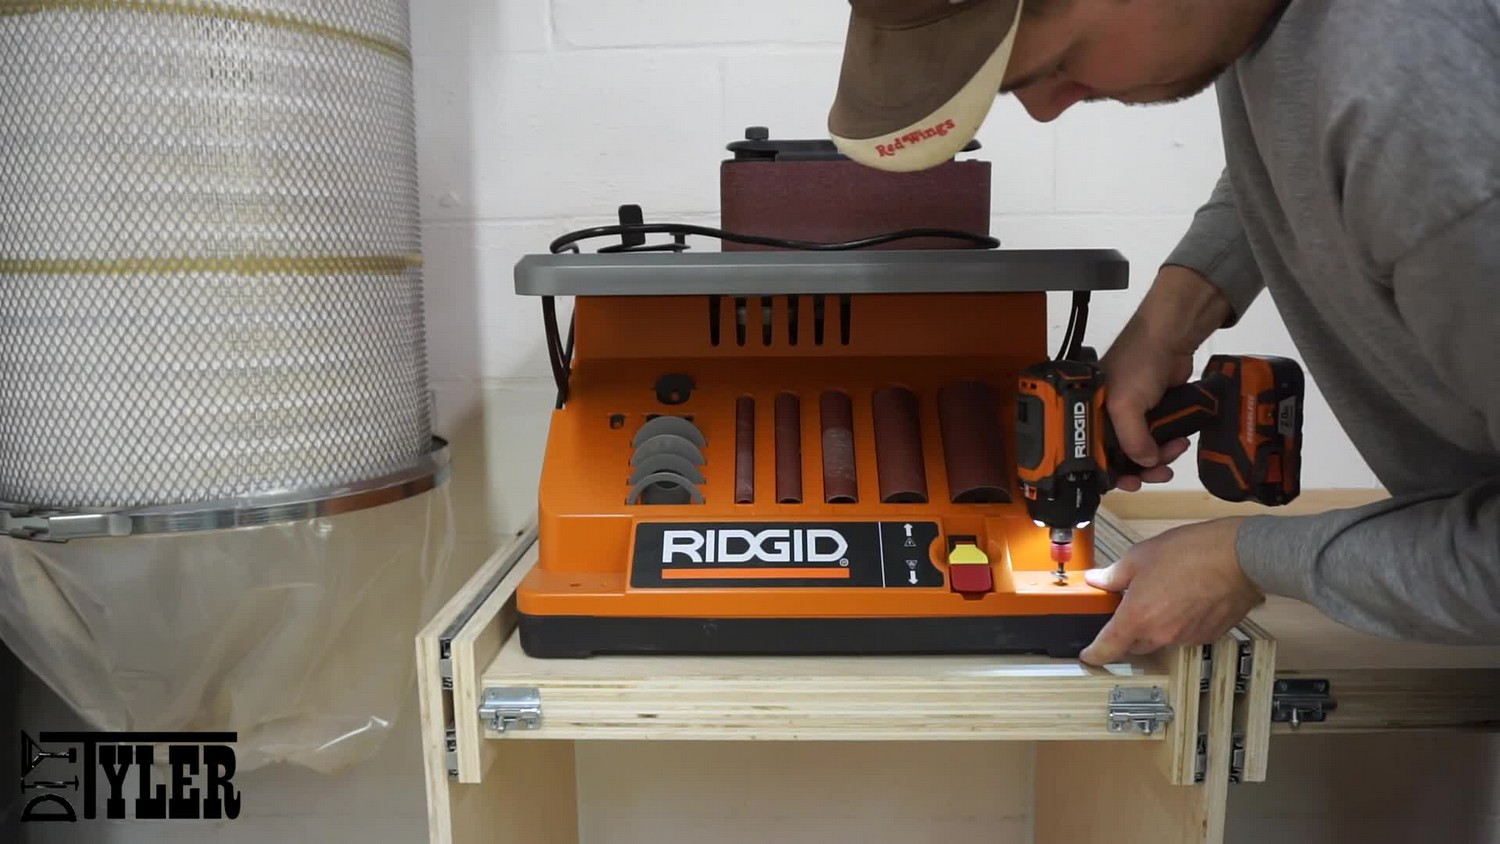
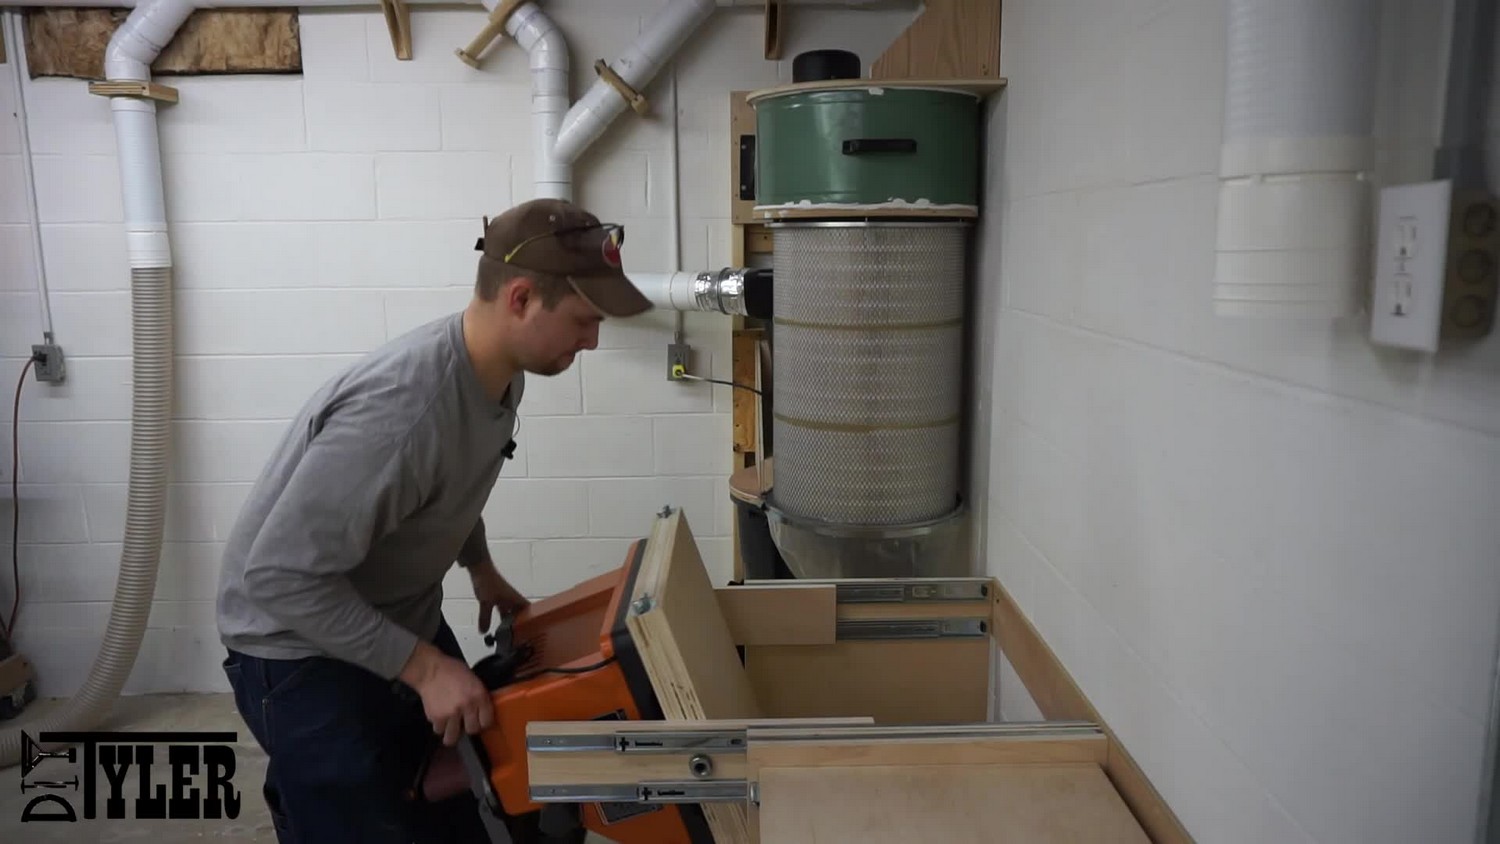
At the moment I only have a spindle sander but I plan on adding a disc sander and vertical belt sander in the near future. The extending flip-top mechanism works great!!
Things I Would Change
This was a super fun build and I really enjoyed all of it especially when it all worked! If I was to do it again I might add another level bolt in the middle of the base but I can easily add another now if I think it needs it.
Have thought for some time about a clever power cord solution but I can’t seem to come up with anything, let me know if you guys have a novel idea.
Now i just need to fill it up and use it! Thanks for checking this out and we will see you next time.


19 thoughts on “Double Flip-Top Workstation”
Nice job, Tyler. Your daughter was vertical cute in her cameo role! Where did you get the drawer slides? I’ve used Outwater Plastics, but am always looking for a potentially better deal (shipping is a killer with Outwater).
Thanks Ryan! I got these drawers slides off Ebay (http://www.ebay.com/itm/281810867477?_trksid=p2060353.m2749.l2649&var=580802562261&ssPageName=STRK%3AMEBIDX%3AIT) a tad cheaper than amazon and they showed up in TWO days all the way from CA, pretty amazing! I looked into outwater at one point when we were doing our kitchen and it was over $100 for shipping.
DIYTyler, This is probably one of the most innovative and practical shop builds I have seen on YouTube. Many YouTubers are highlighting skills, techniques, and their take on those. This is truly unique! Very nice!
Thanks Tony….glad you liked it!
Tyler
Love the project. I am in the middle of building my wife her art studio/workshop in our backyard
When I finish, your flip work station will be first on the agenda. I’ve got a planer, oscillating sander, grinder and a vice that need a home!!!!!
Roscoe
Awesome man! Please share a picture with me when you’re done!
This work station is exactly what I was looking for and the plans are very detailed and accurate. I did find a difference on the length in the diagram vs. the cut list for parts G and H, but I was able to determine which one was right after looking at the other parts. You might want to correct this on the next revision. It looks like they just got transposed. I have all the parts cut and I am getting ready to build it, but I have one question. Why do we not install the 3/4 inch pipe when we assemble the flip top vs. hammering it in after the flip tops are put together. I am new to this and mostly self taught so I must be missing something. Can you explain why we need to hammer it in instead of placing in the channel that was made for it when we secure the two halves of the flip top and clamp it together?
Thanks again for all the work and look forward to using the finished product.
Scott
Thanks for the feedback Scott…though I had already changed that discrepancy in the plans for parts G and H….guess not. Only reason I did not build the flip top around the pip as suggested is I was not sure exactly of the size of the pipe, there are several factors that add up to the proper length. That being said I am pretty sure you can calculate pretty dang close to what you need and build the table around the pipe like you mentioned. Thanks for using our plans, Scott, and please send me a picture when your done!
Great design and build instructions. I started the build today and plan to have my Dewalt planer and Rigid sander on one side and a grinder and buffer on the other side. Mine will be on wheels since I have lots of square footage but wall space is taken. Thanks for the great videos!
Awesome! Just be careful about the unit possibly tipping over since you won’t be bolting it to the wall.
Tyler. I’m confused about the plan I purchased. A 3/4″ steel pipe is too big to “add the other side of the flip table part A” in step 5. Can you clarify?
It’s probably because you purchased a pipe labeled with an inner diameter of 3/4″ instead of an outside diameter of 3/4″
Great table and video. I’m starting the build next week but just one question. Would this flip top workstation be acceptable for mounting my planer and jointer? The jointer is Delta 6″ jointer (17 x 35 x 13 in 76 lbs) and the Harbour Freight 12.5″ Planer (22 x 24 x 19 60 lbs). My thinking was to make one side of the workstation wide enough to support both planer and jointer, the other side with a sander and maybe grinder. What think you? ALSO – GO BLUE!
AWESOME – Question Is it me or does the materials list say 6 drawer slides and then immediately below it we have part I & J calling for 4 drawer slides each, making it 8 in total. Just a typo, correct?
6 “PAIRS” of drawer slides.
Extremely good build with excellent instructions. I could build this without purchasing the instructions based on your page here, but I’ll buy them because you did such a good job. And anyone with such a cutie for a daughter (I’ve got two) is going to need it when she gets older, LMAO!! I have all the knives and other items to scare potential suitors, so I’m good for now, haha.
If I buy the plans for the double flip top table, how would I receive them? Email or regular mail?
Great build.you just solved some of my space problems in my new shop,thxs
Pingback: DIY Pedestal Game Table with a Removable Table Top - Dal Cuore Furniture