Long ago in another shop, in another house, far away, I built a drill and bit organizing shelf to keep everything tidy and at the ready.
This shelf, hung on french cleats, worked so well we brought it with us when we set up our current shop space, and it has continued to serve me well. Time passed, and with time, more drills….more chargers….more bits… and the need to improve upon the old design.

Today I would like to take the shelf off the wall and start afresh, using existing concepts and adding on features new and improved.

Here we go!
Step 1: Remove and Renovate
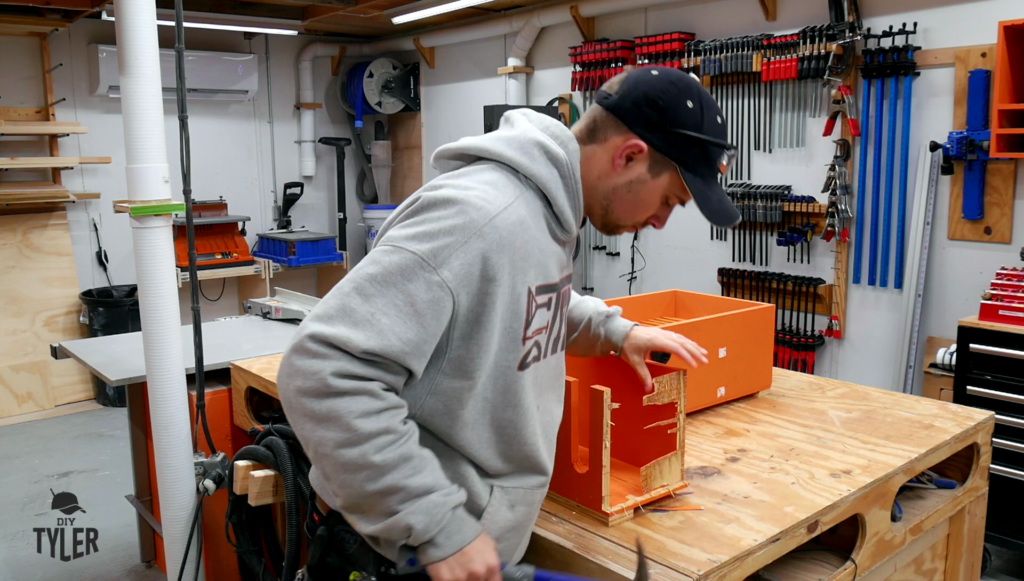
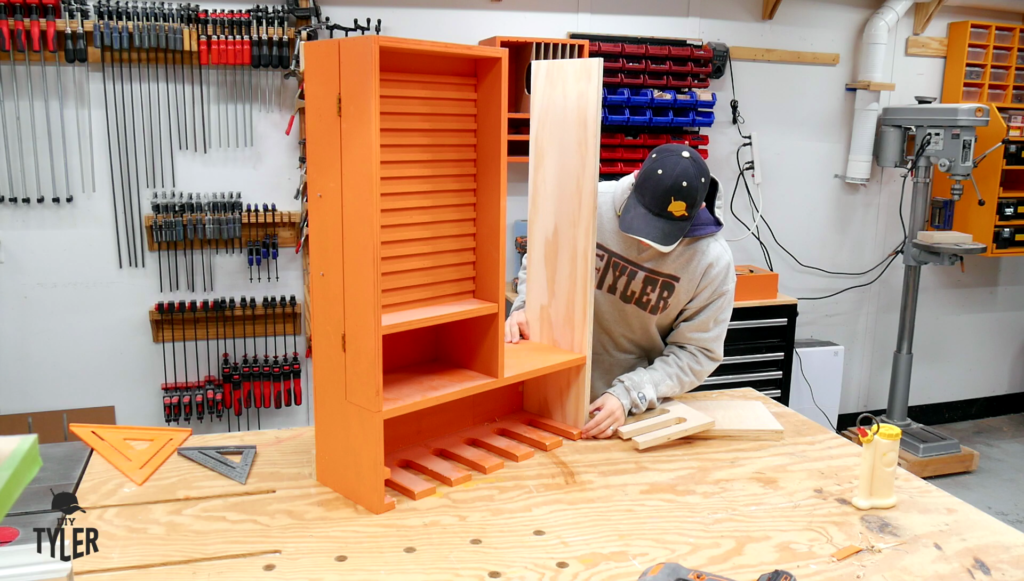
First step in the process was removing all of the drills, bits, charging apparatus etc and take the thing off the wall. Then, I ripped off the end to make room for my improvements. Never doubt the strength of wood glue. The wood itself snapped before my glue job did.
Step 2: Cut the material
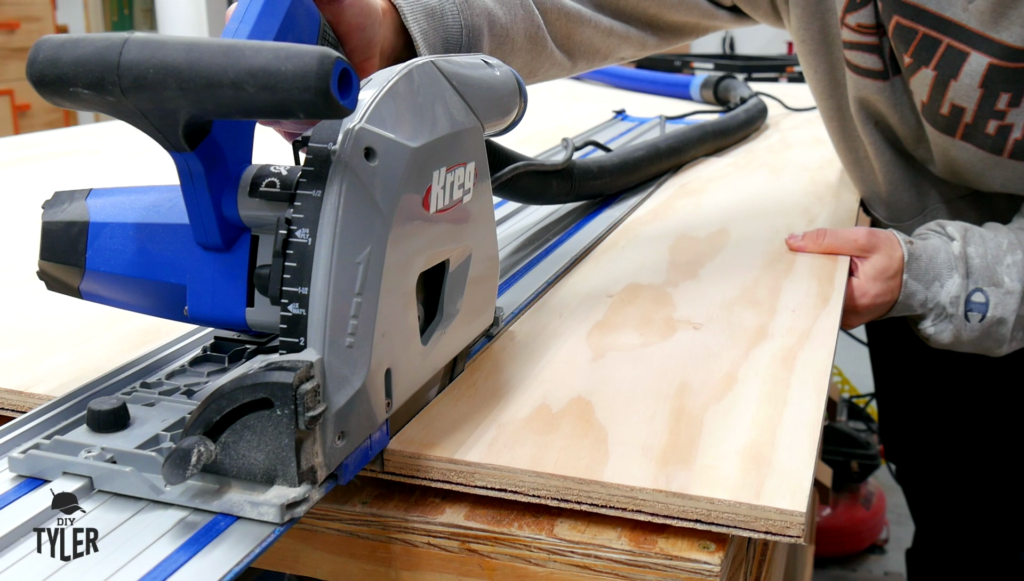
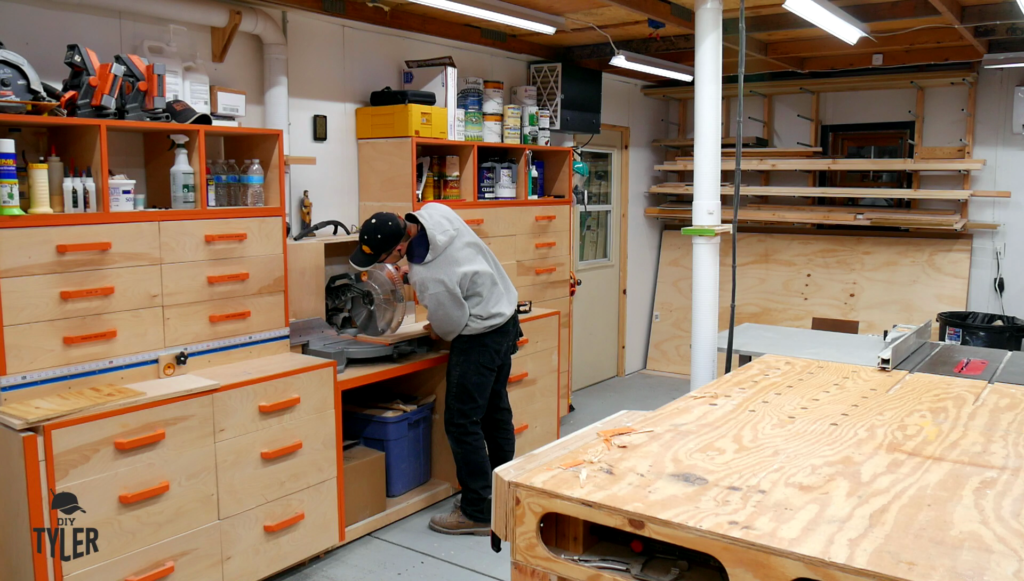
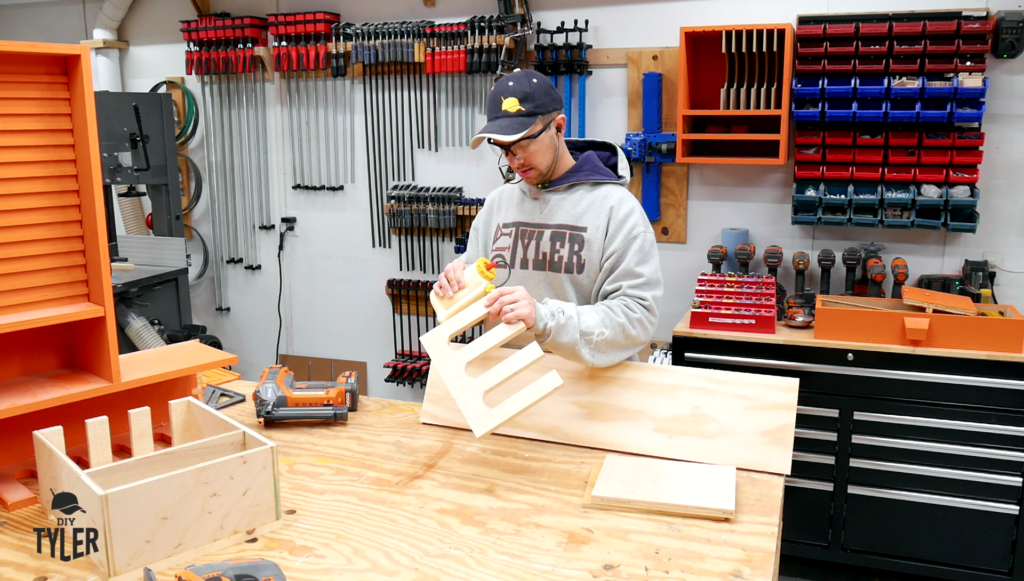
Next came a strip of plywood, cut down from a full sheet to a sizable portion with my track saw, and then to dimension on the miter saw.
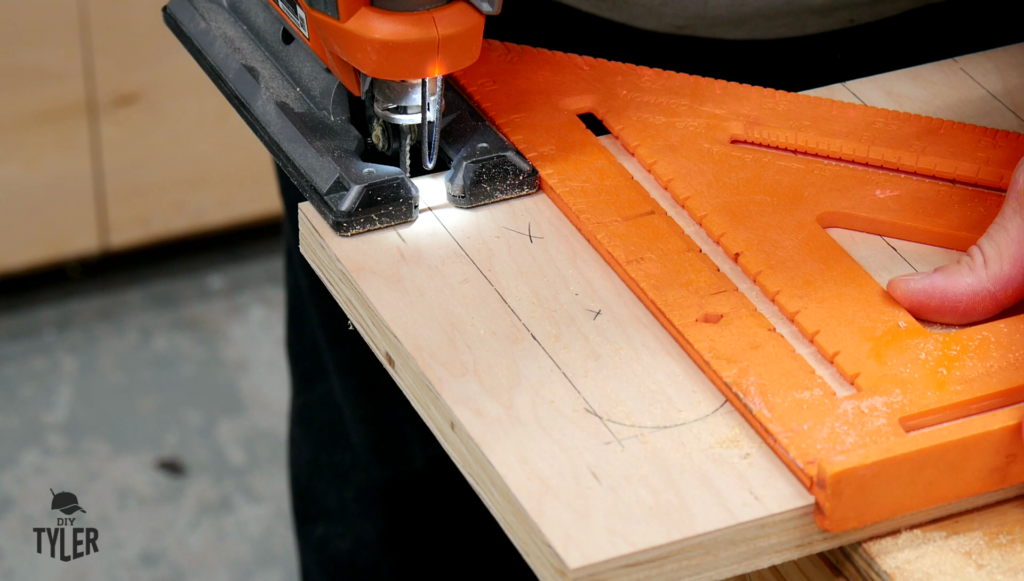
I took the time, in your honor, to make the drill holding cutouts with my speed square and jig saw.
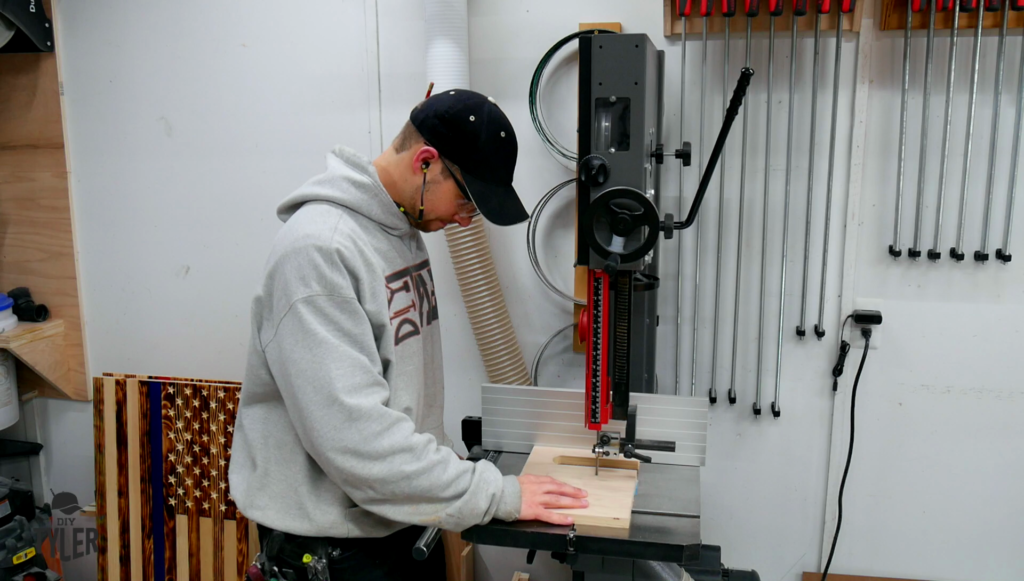
Heck with that, you’ll figure it out. I have a nice band saw, and so I used it. Much cleaner, with dust collection.
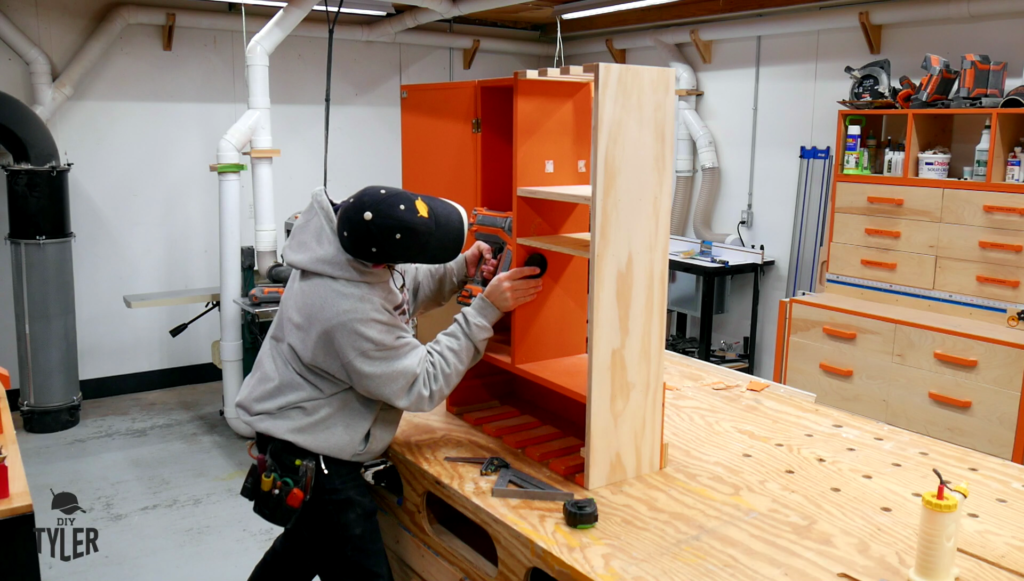
Step 3: Assembly
Already time to assemble!
My little elves came in for painting. They love to lend a hand whenever they can, and I love that they’re interested.
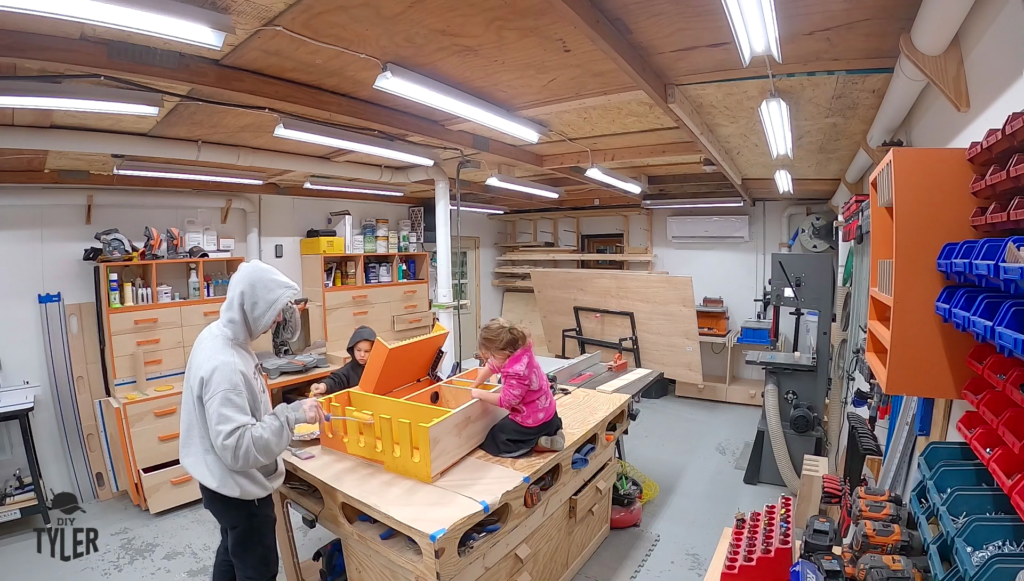
Sidenote here: I have been slowly changing over the orange paint around the shop to match our Logo’s brighter and fresher orange hue. It’s still orange (of course!) but it’s not as dark as before. Last week I updated my screw shelf (VIDEO HERE) and liked it so much I had to update this one hanging next to it.
Step 4: Hang and Fill
I replaced the french cleat hanging system on the back of this guy and returned it to it’s special place on the wall.
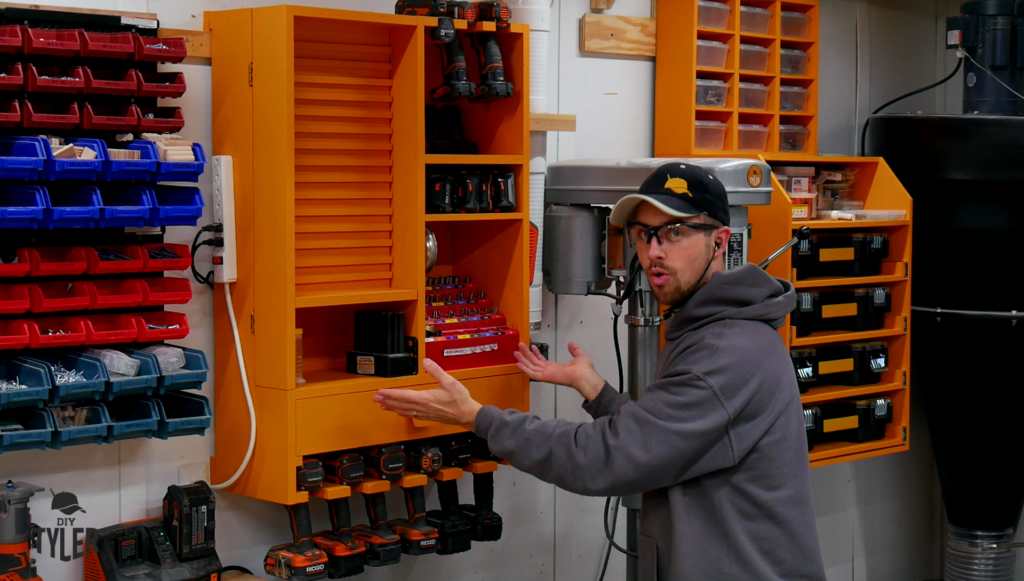
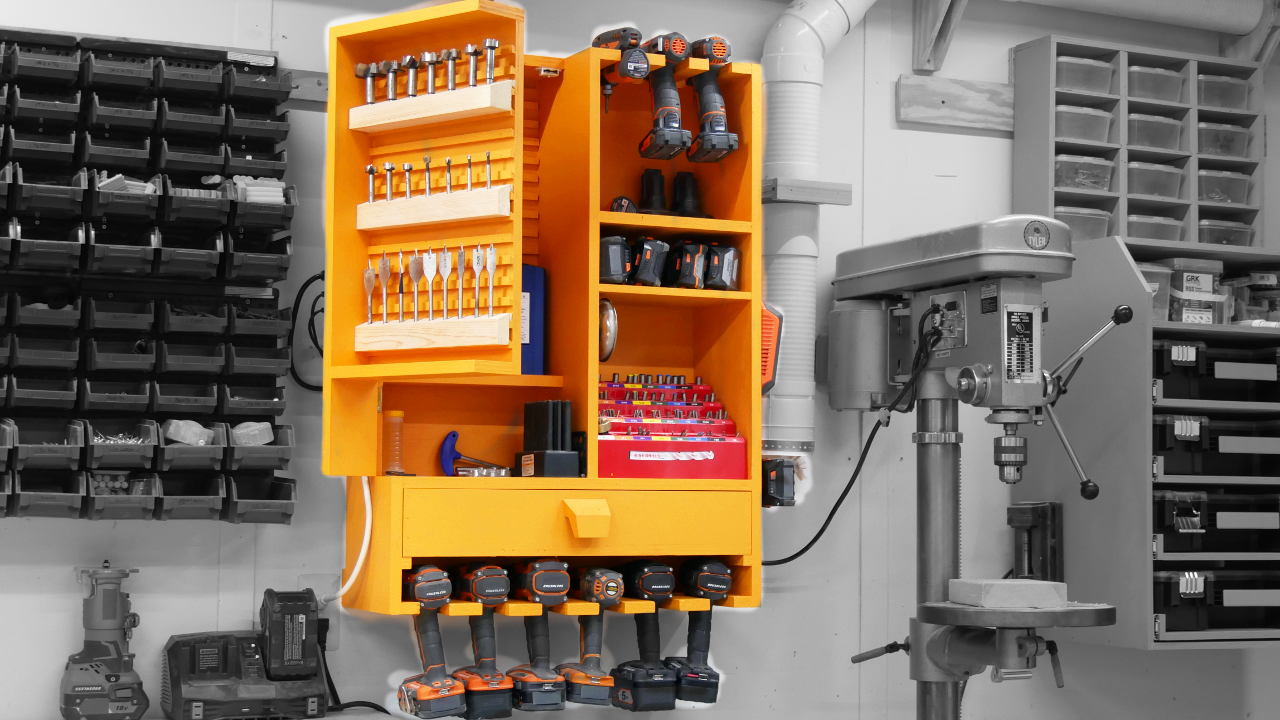
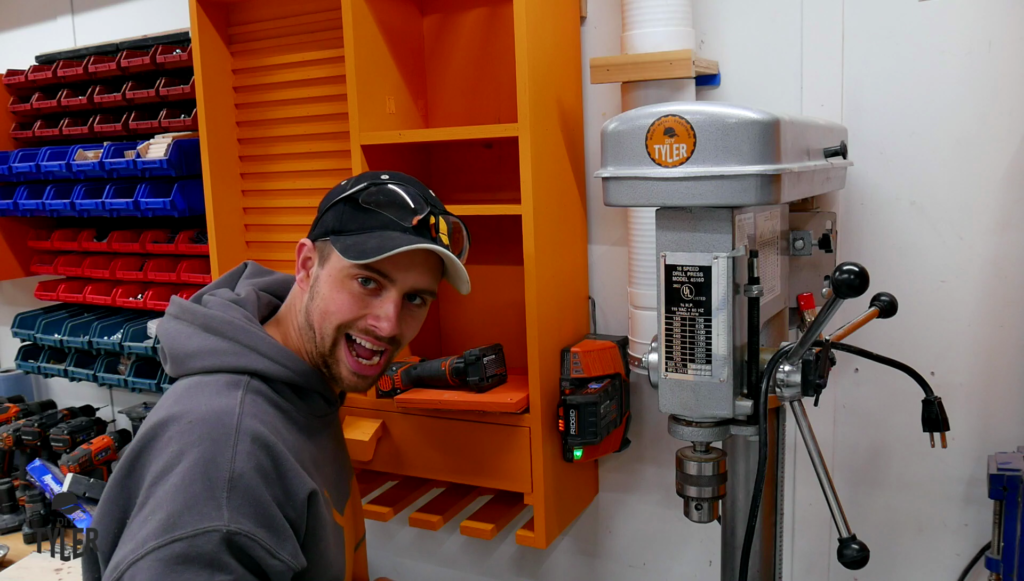
Then I put all the drills, bits, and other goodies back where they belonged, now even more organized!
I am putting the chargers on the side of the shelf once more, but oriented for quick and easy access when I need to swap out a battery.
OOPS.
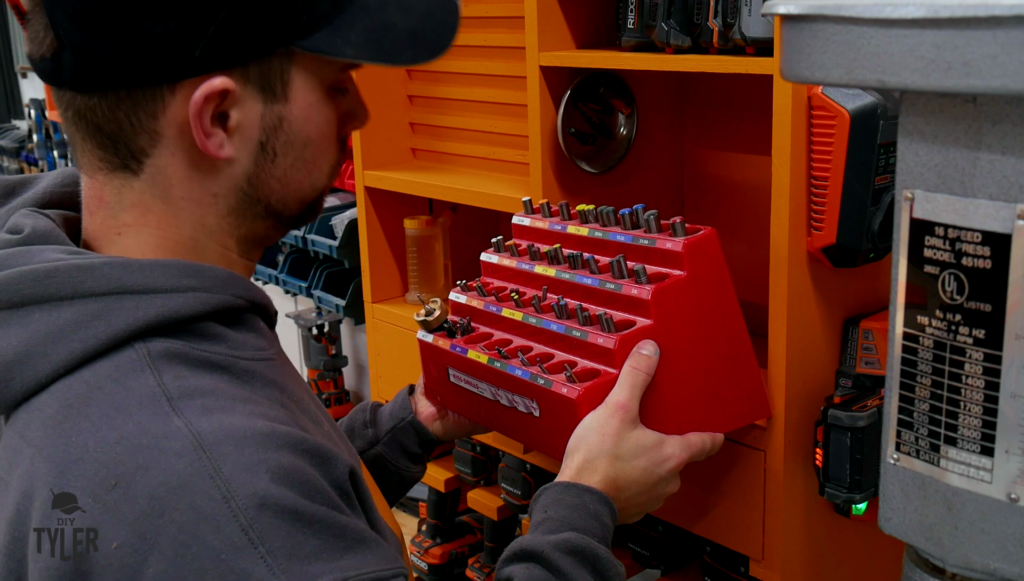
I made the new space too narrow to accommodate my FASTCAP bit organizer. I’ll admit, I had a few minutes of feeling pretty foolish.
Then:
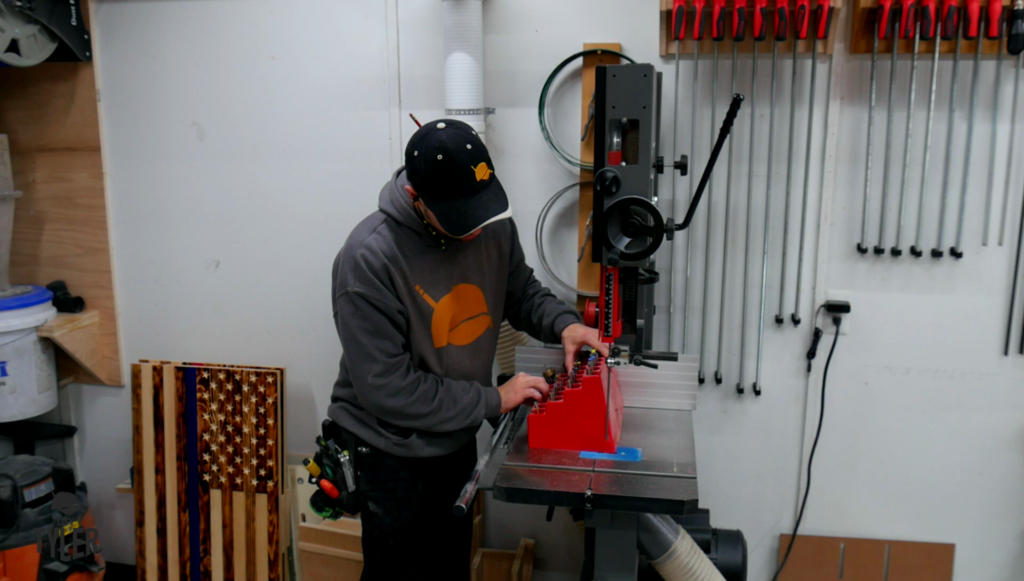
Don’t do this at home. You shouldn’t need to, however, since my updated plans have taken this into consideration.
It worked perfectly though!
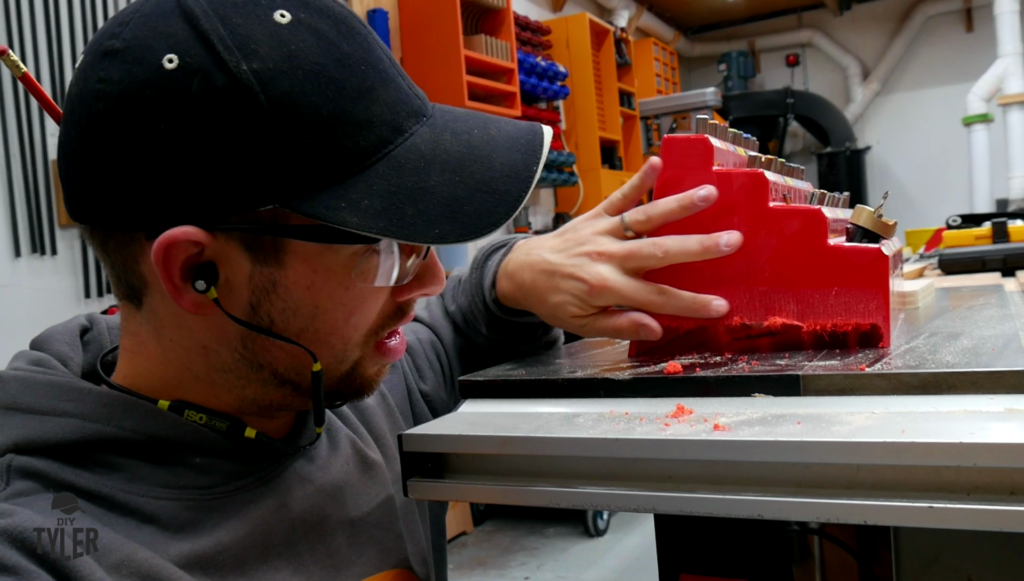
Yeah?



3 thoughts on “Drill and Bit Organizer shelf 2.0”
I would love to get the plan for your Drill and Bit Organizer shelf 2.0
How can I get the plans and dimensions of this? I’m just getting into making things like this and this I think would be a great first project to get all my tools out of the way.
Tyler, if you can , what is the color orange paint you use?