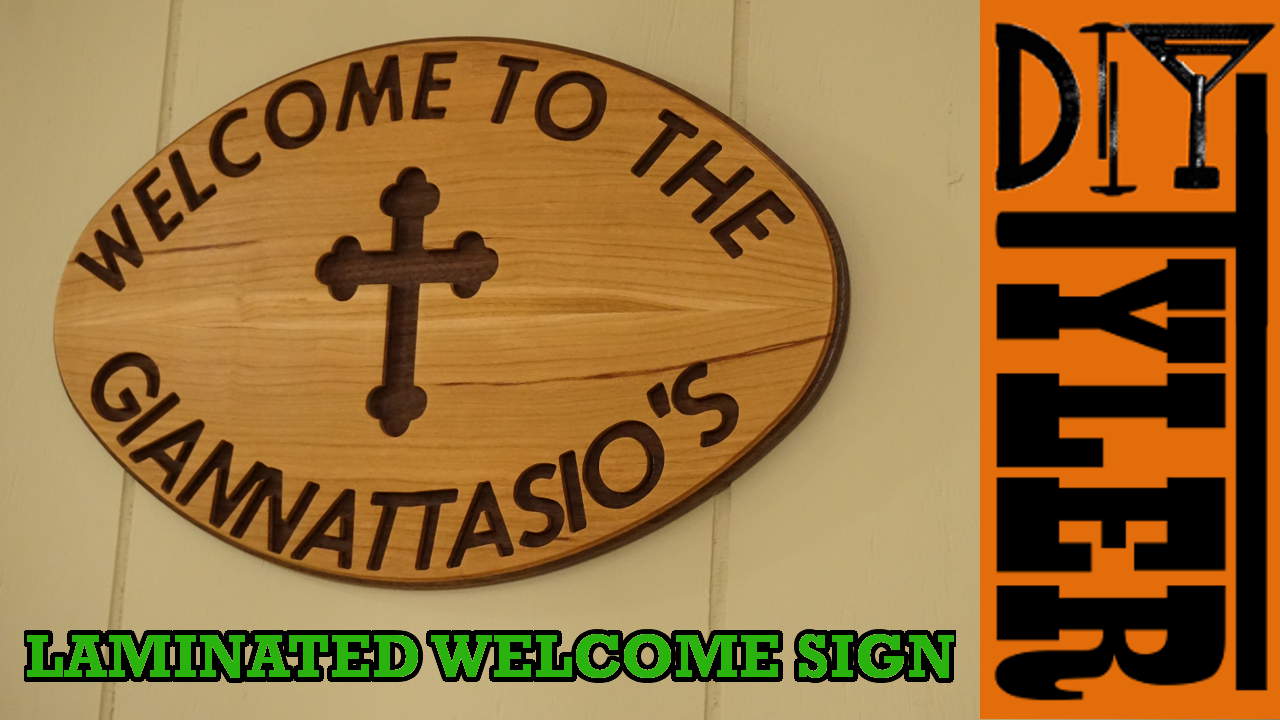
Wanted to make a welcome sign for my parents house but to make it a bit unique I wanted to make it out of two different species of wood laminated together. What this will allow is for me to CNC through the top layer of wood to reveal the second layer below giving the letters and symbols a different color. Video where I make this below.
https://www.youtube.com/edit?o=U&video_id=Twqp0GPP5FU
Making the Welcome Sign
Ok, on to the build now!
I wanted to use a lighter colored board on top and a darker on the bottom so I chose some pieces of walnut and cherry from my Uncle down in Missouri. As you can see these boards were not perfect but I was able to cut out the parts that I needed, as is the case with most rough lumber builds.
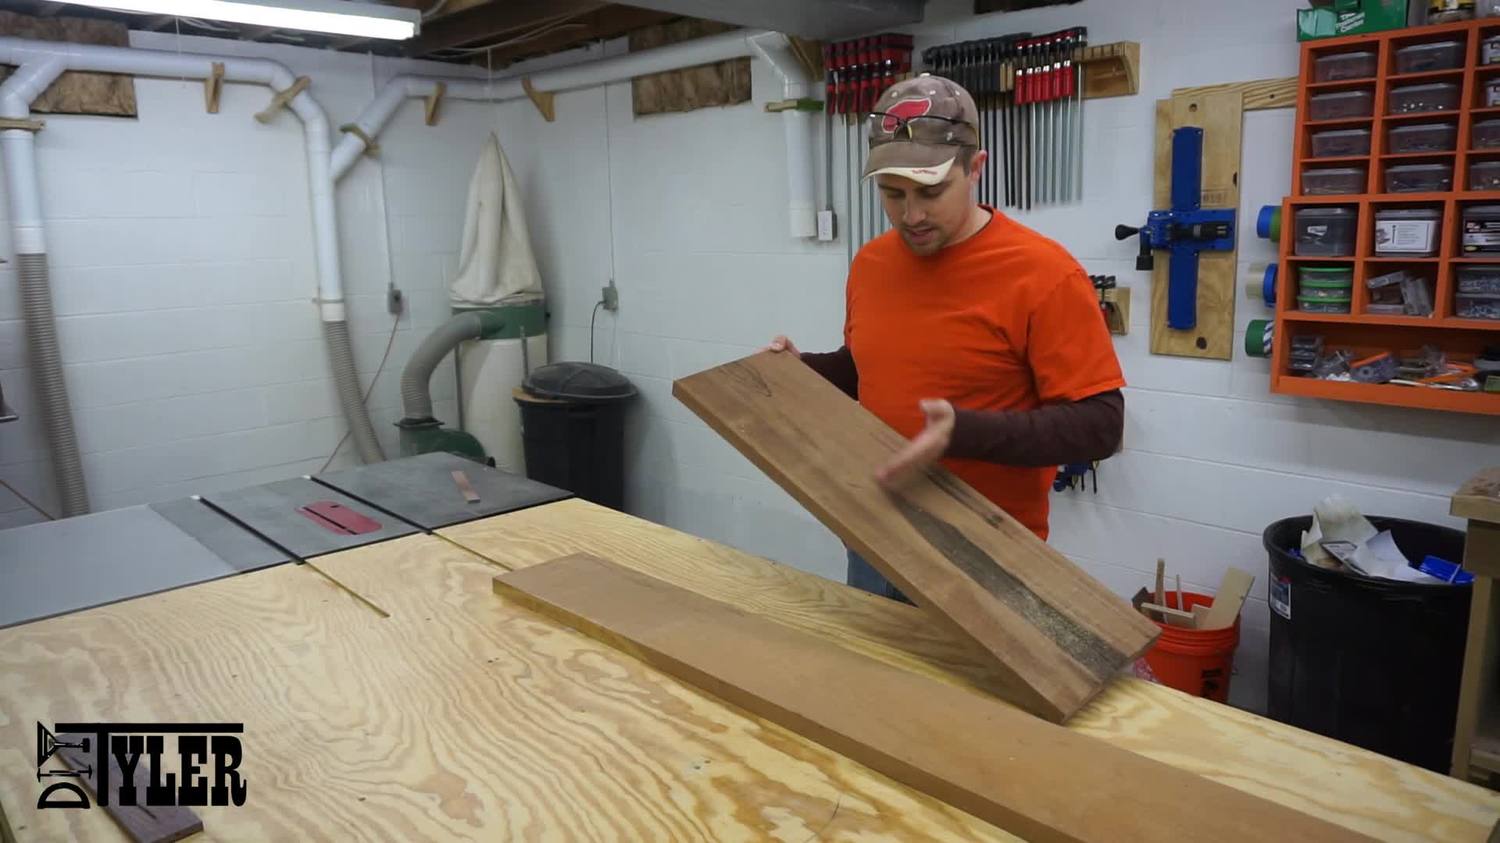
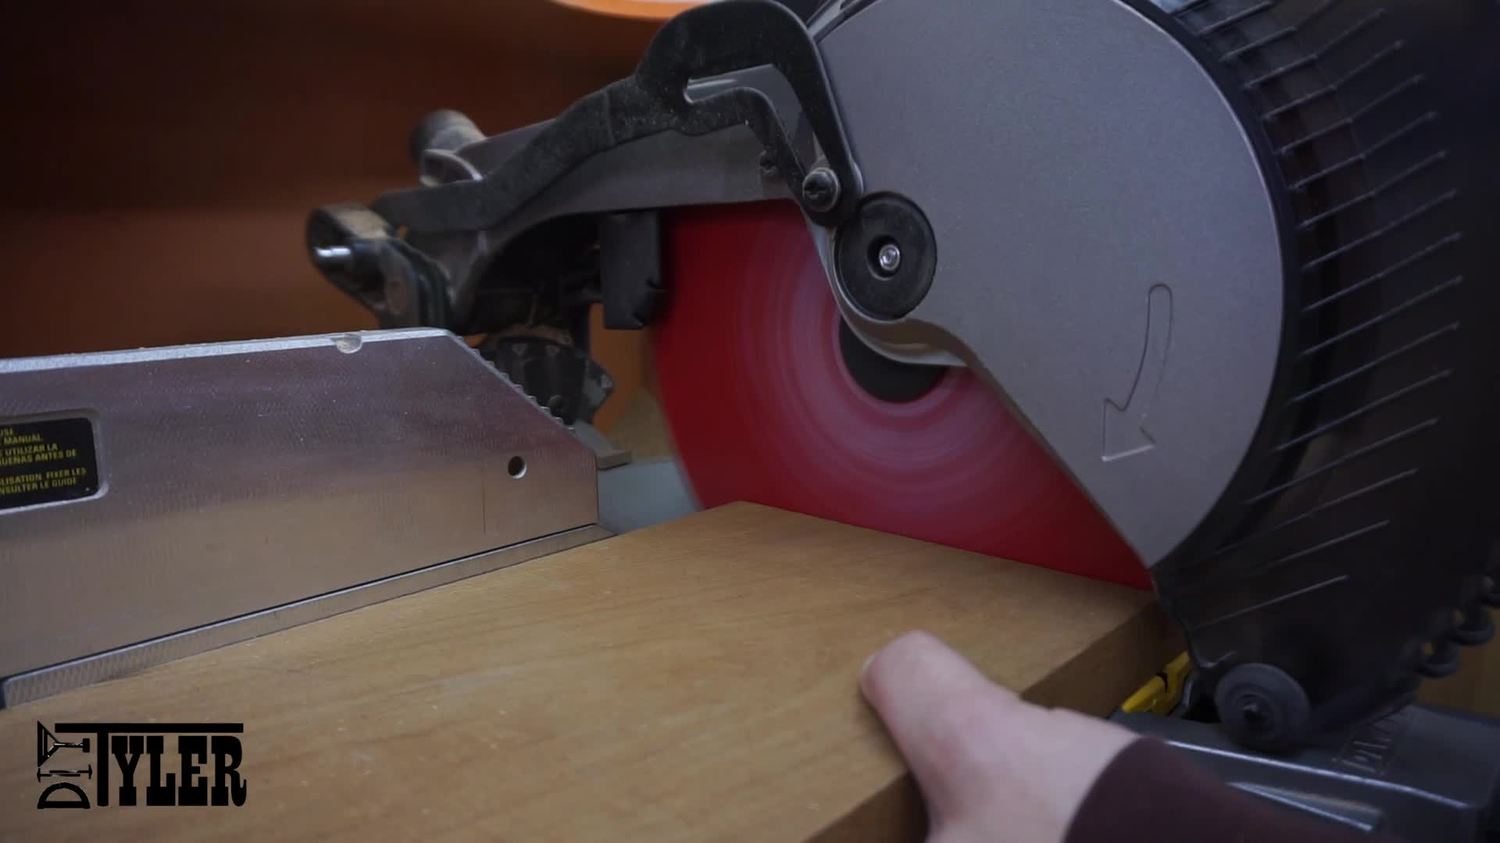
And over the the chop saw to cut out the sections I chose.
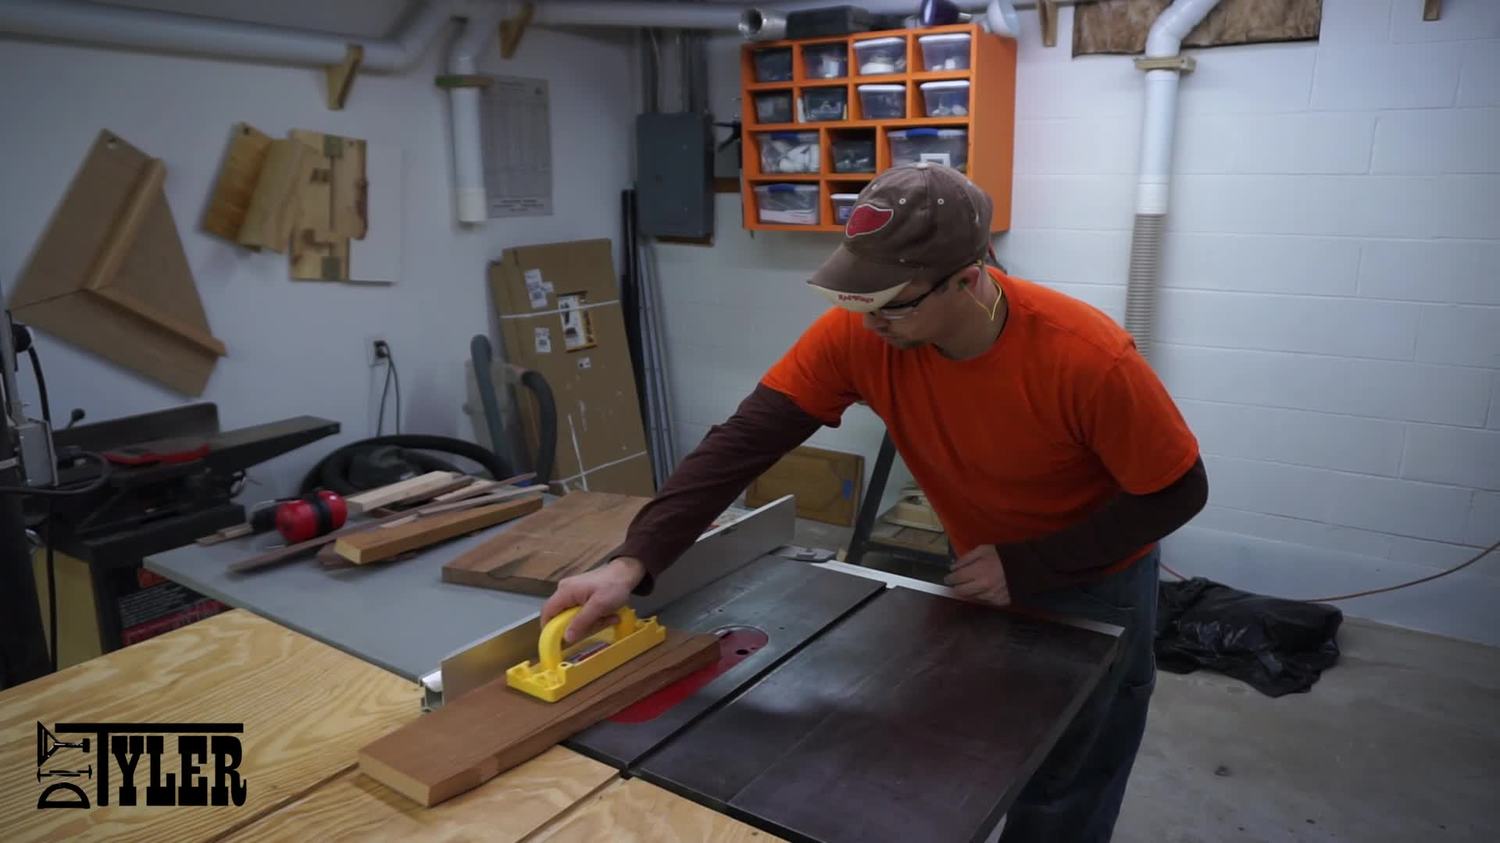
Since I only have 6″ of vertical capacity on my bandsaw I needed to cut to rough width using the table saw before I could resaw.
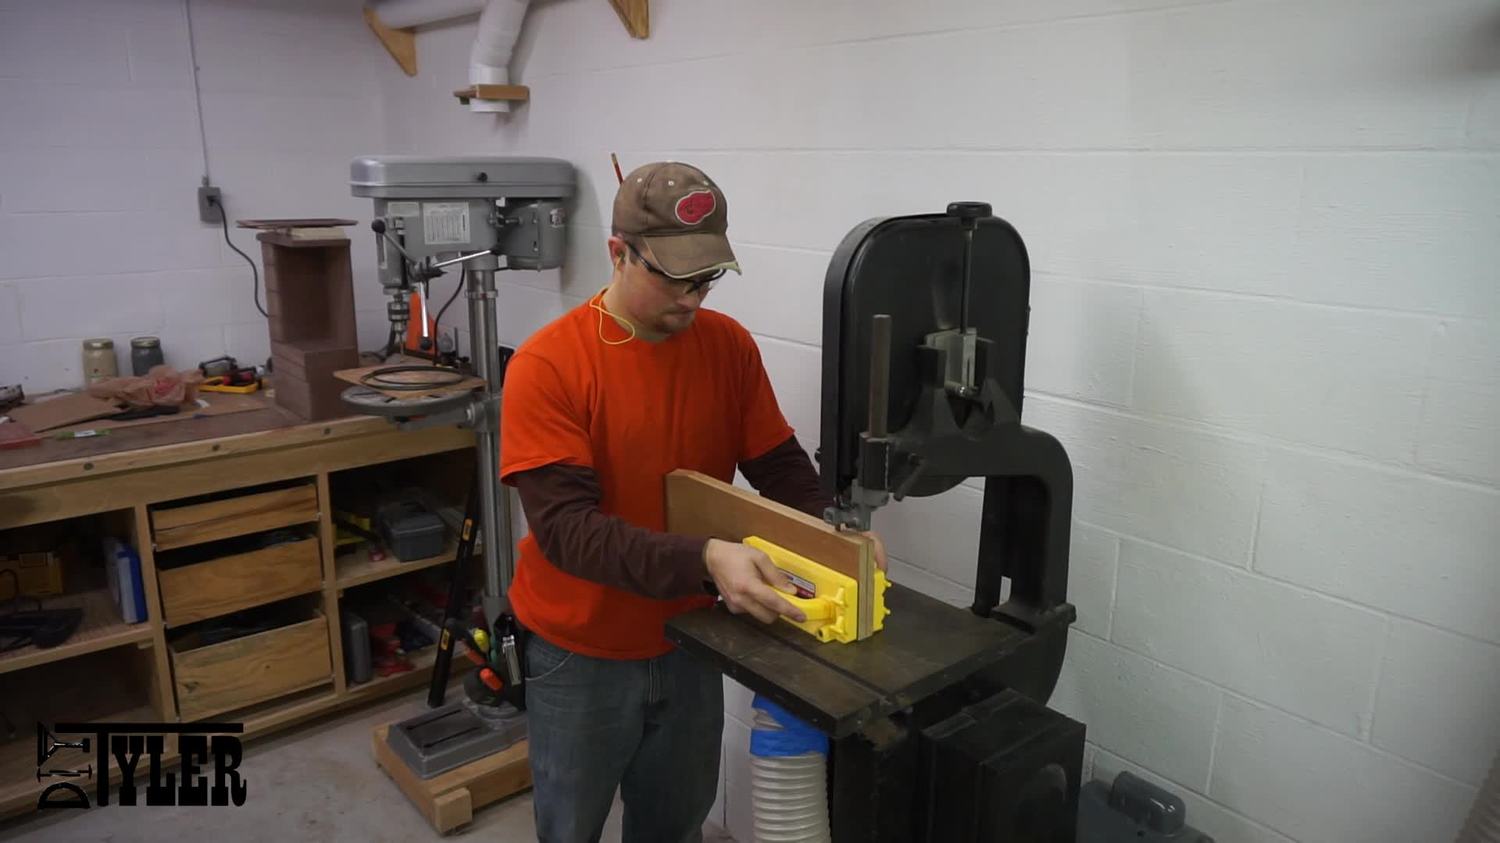
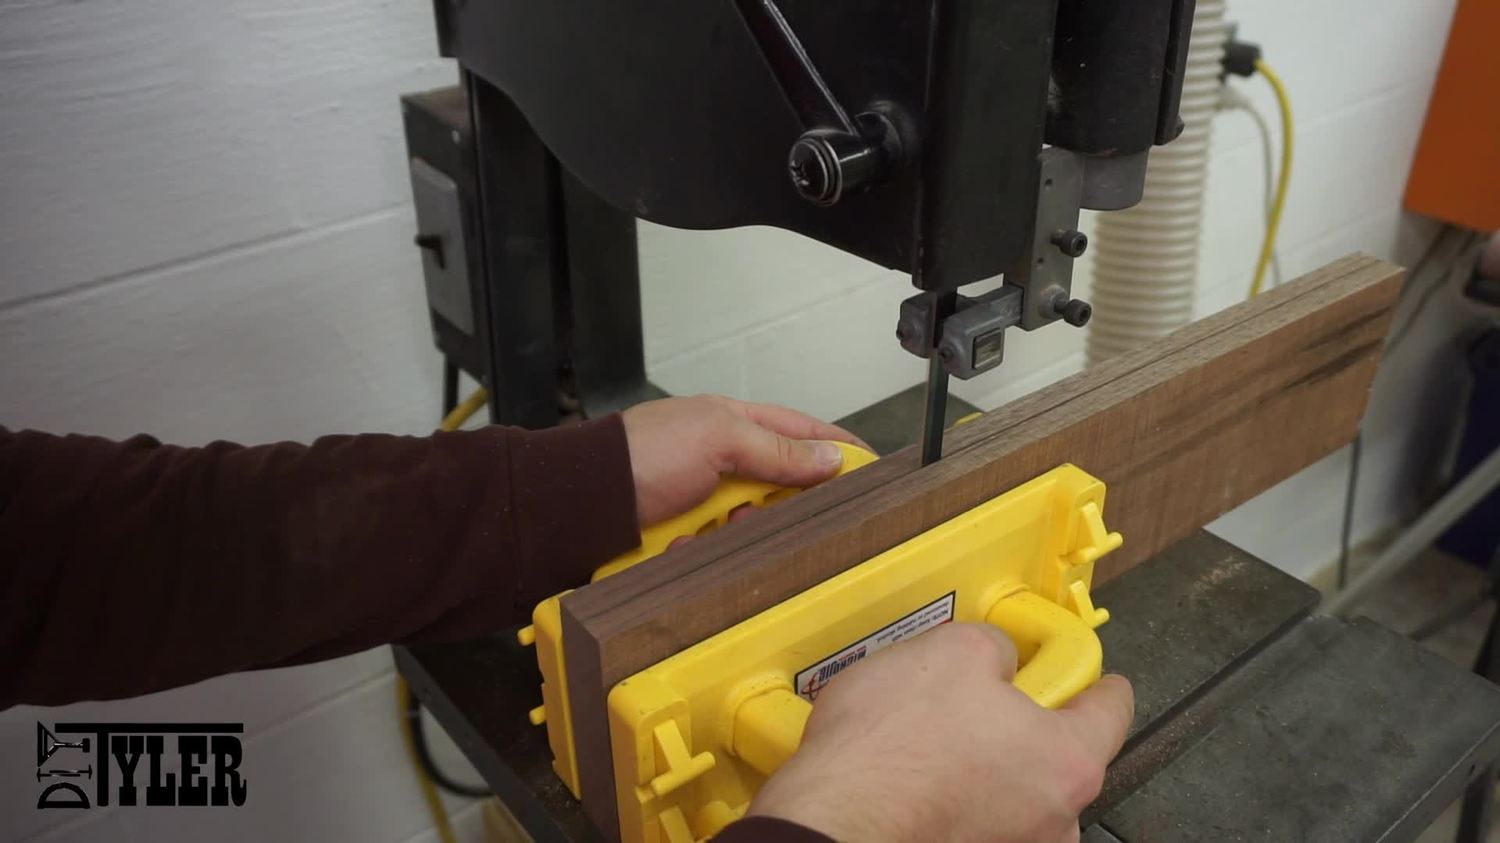
And resaw on the band saw using a 3/4″ resaw blade. I just cut these boards in half as I will use the jointer and planer to finesse them to thickness.
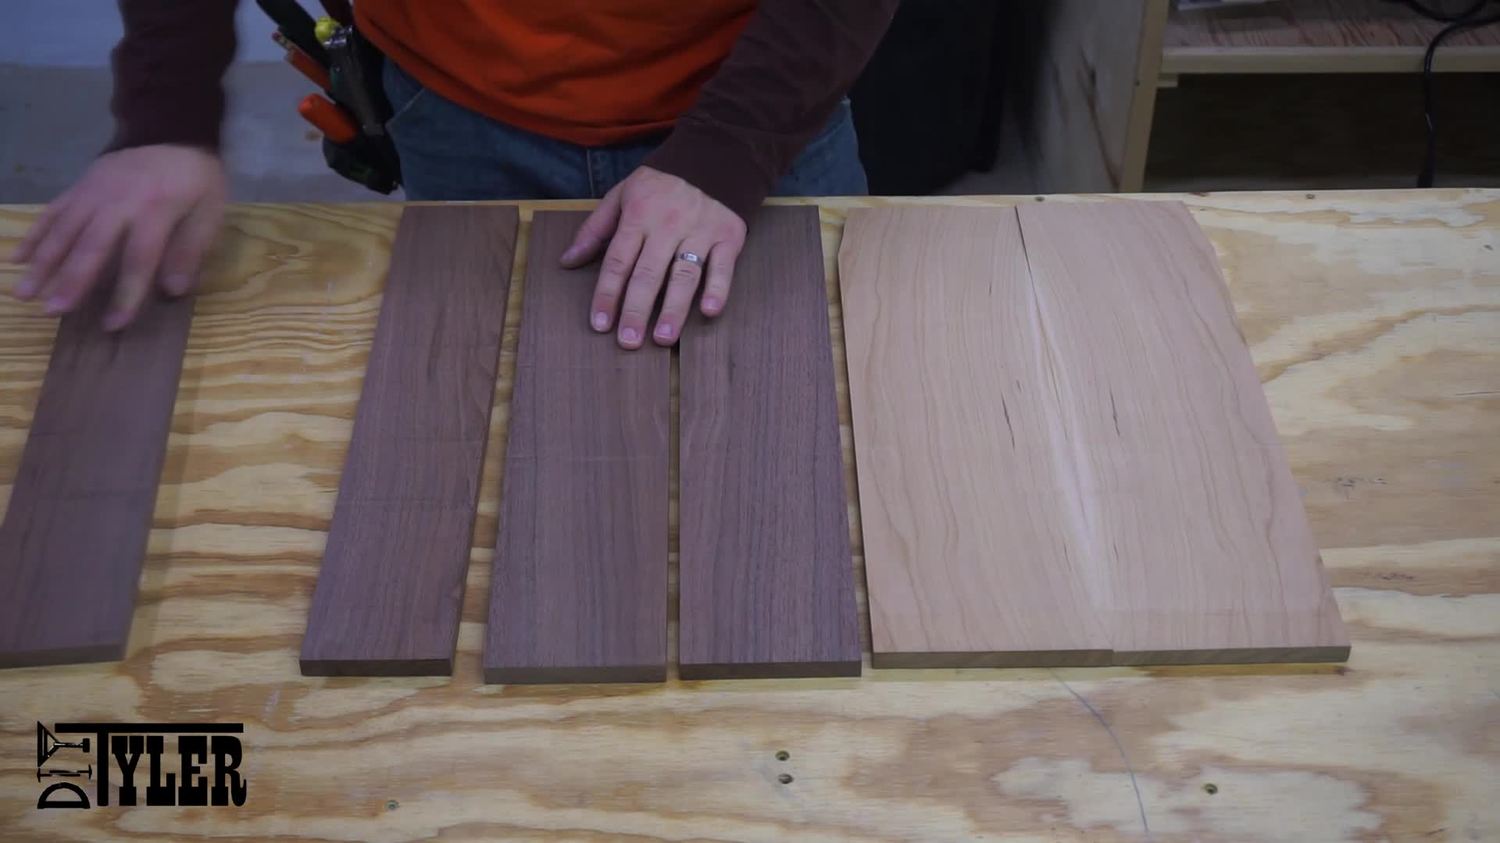
Laid out the boards to see what they look like. I want to keep this bookmatched look when I do the glue up.
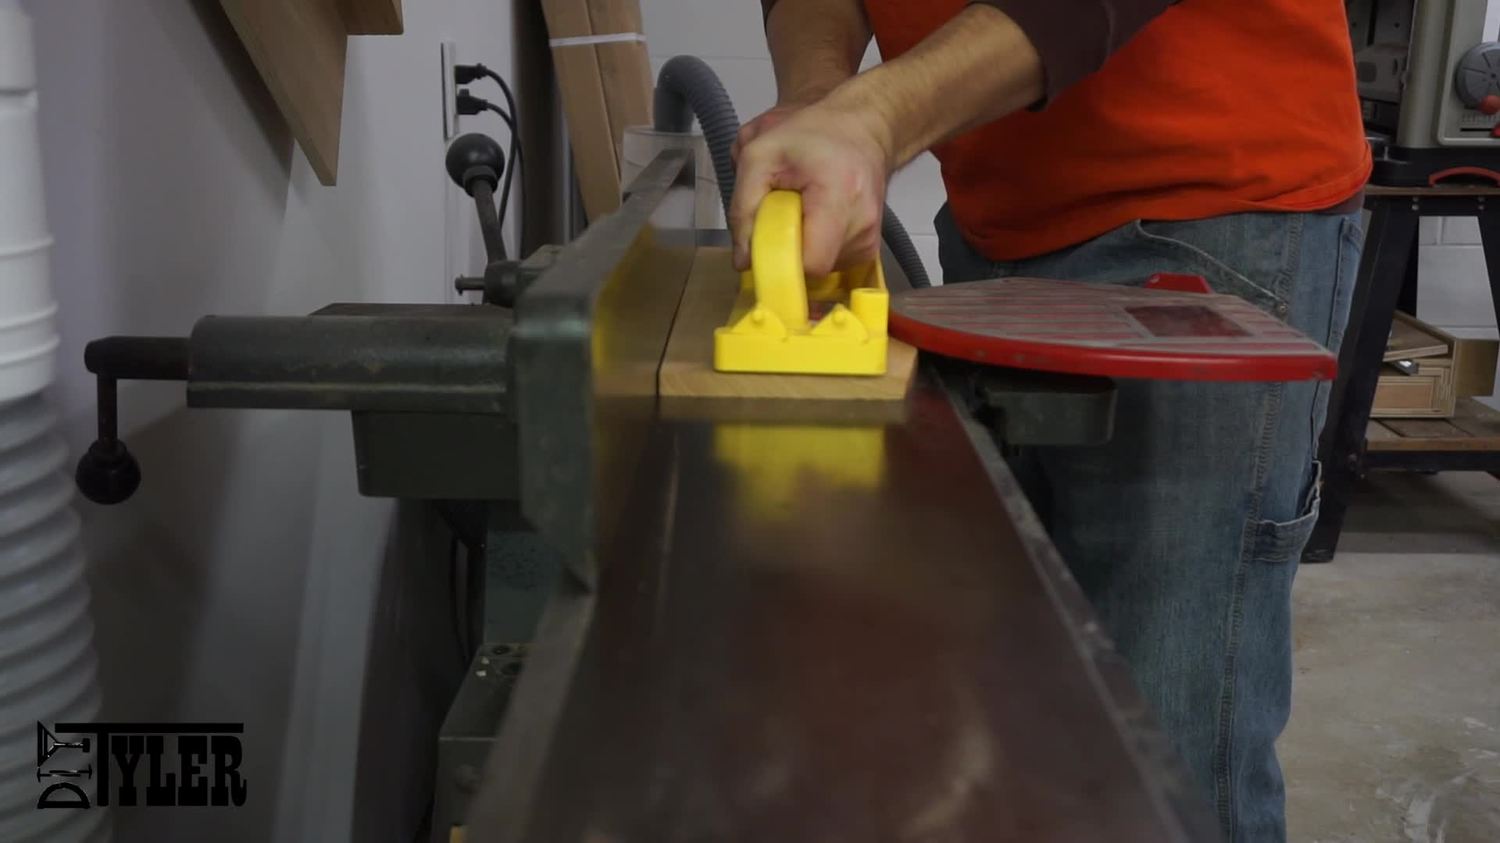
Pass two sides of the stock over the jointer to square them up.
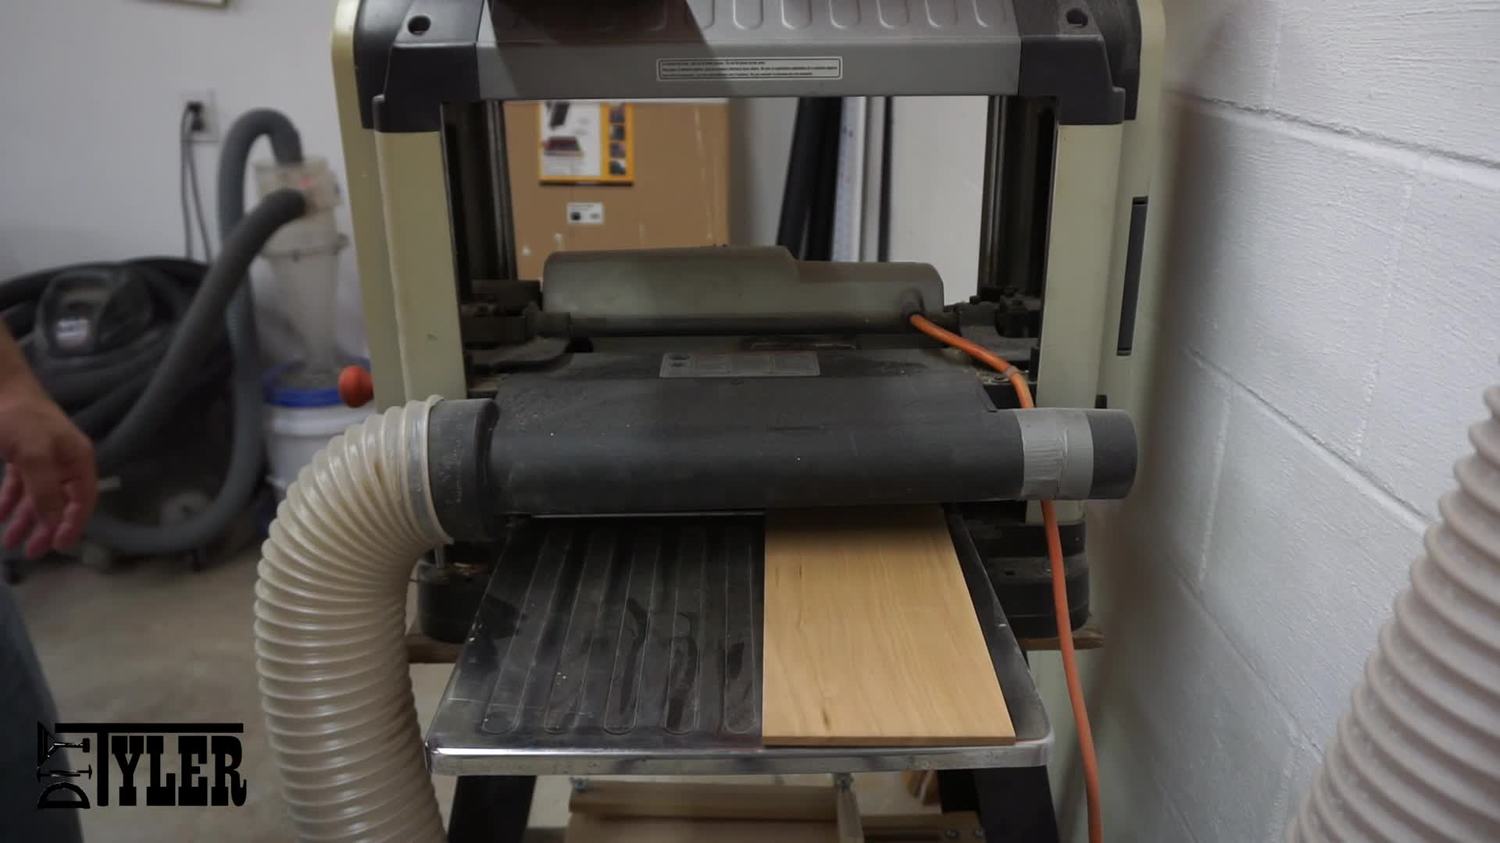
And though the thickness planer, getting all the boards to a uniform thickness.
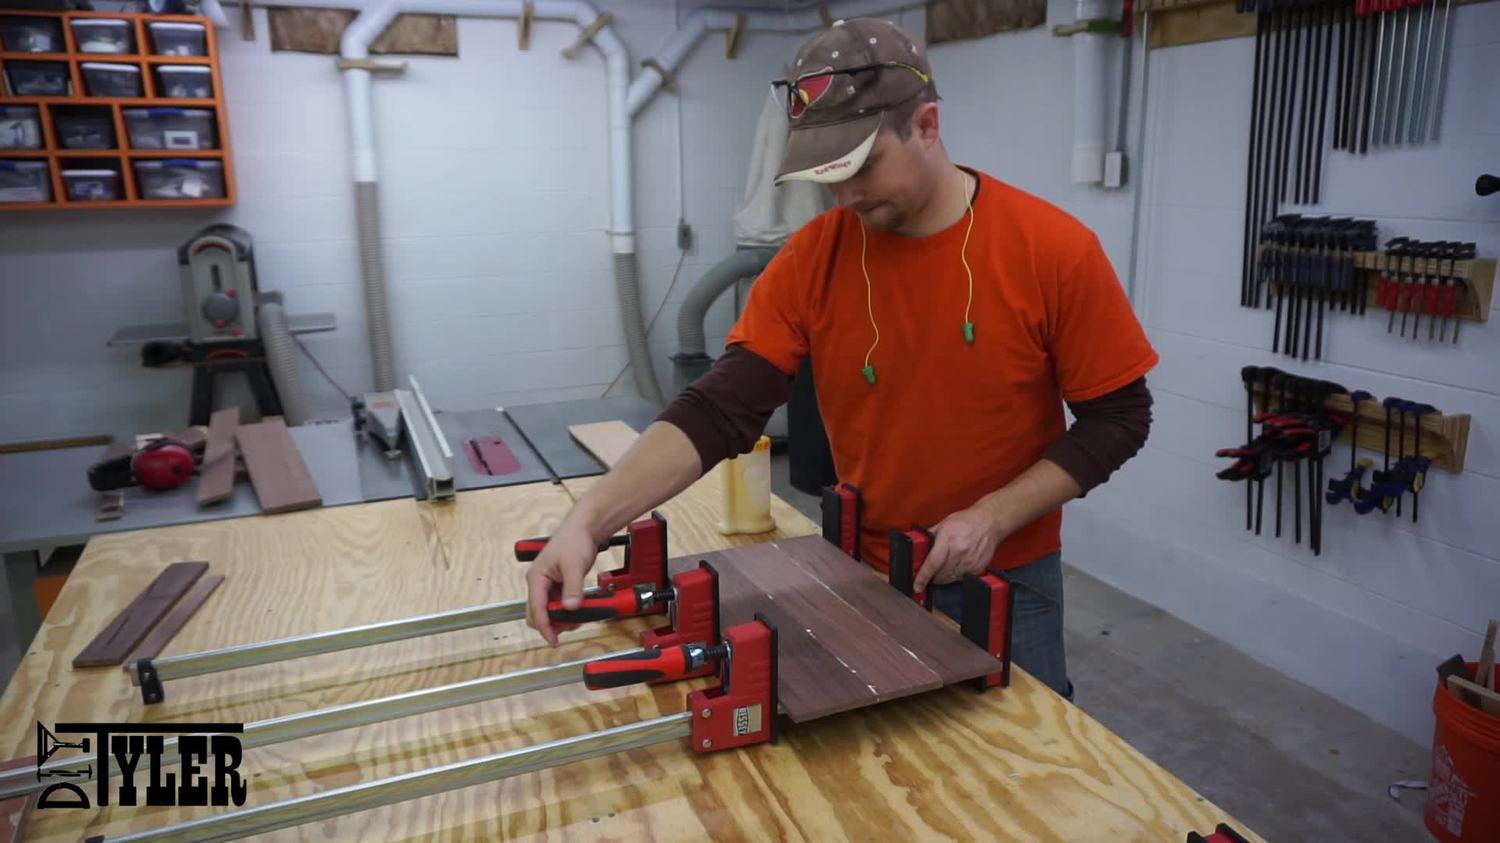
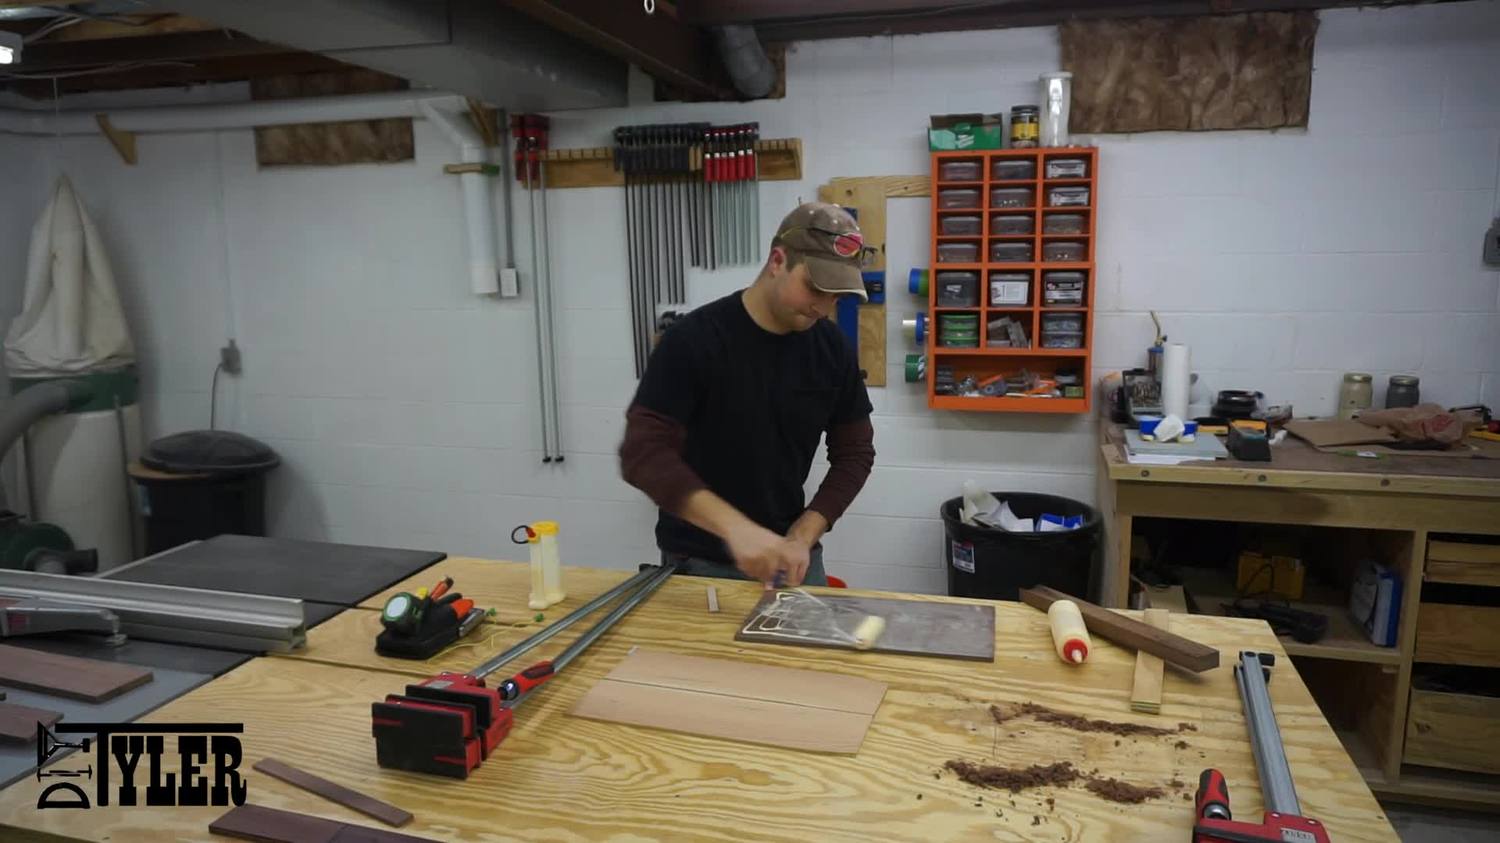
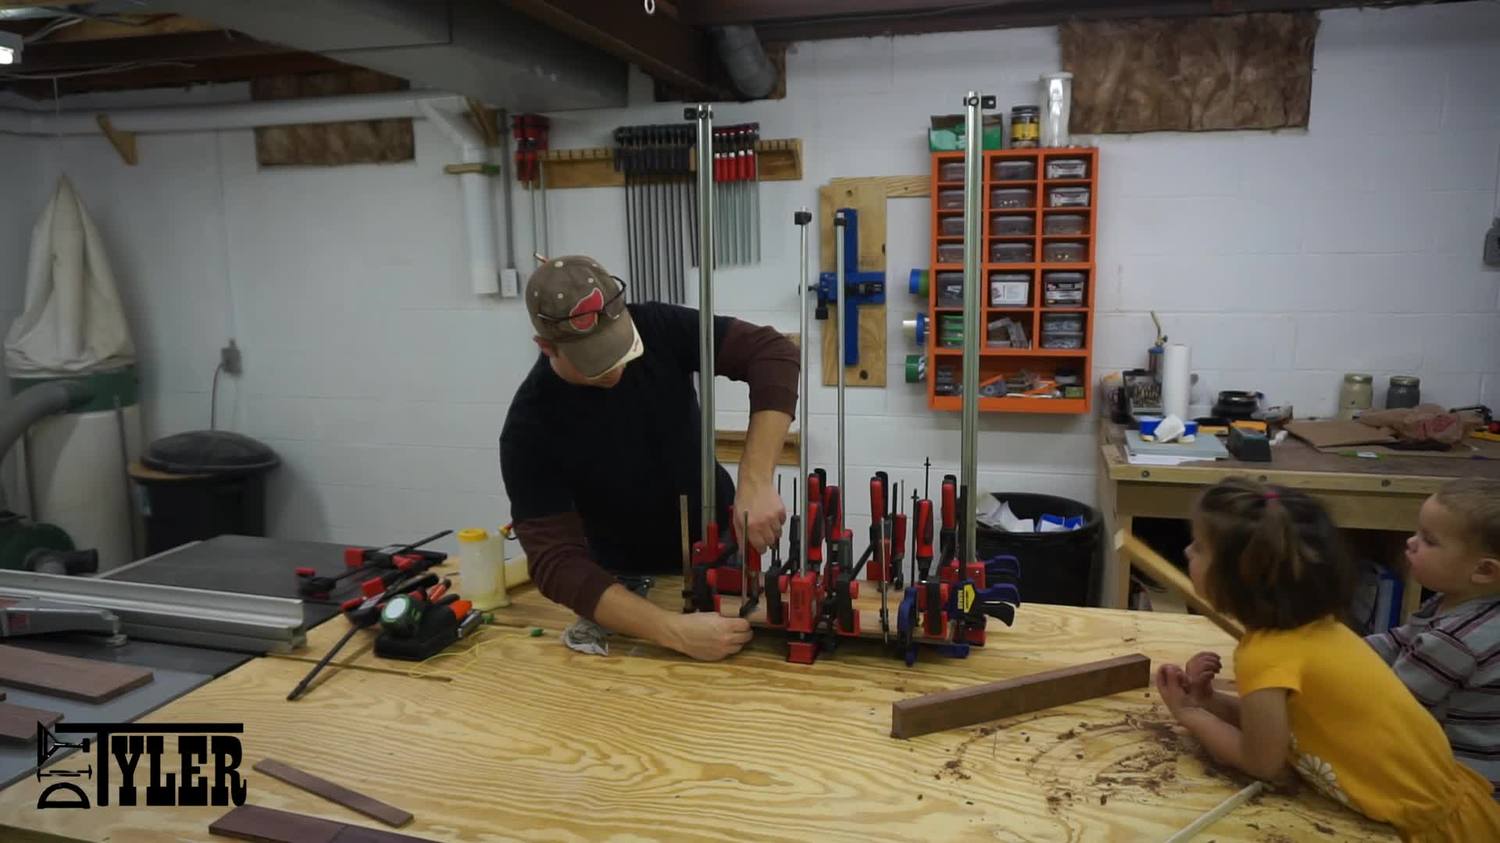
Then glue the bottom section of the sign, in this case the walnut, into a panel making sure to keep everything even and level. And when the bottom panel is dry, laminated the top boards into it using plenty of clamps. (or a vacuum chamber if you have one.)
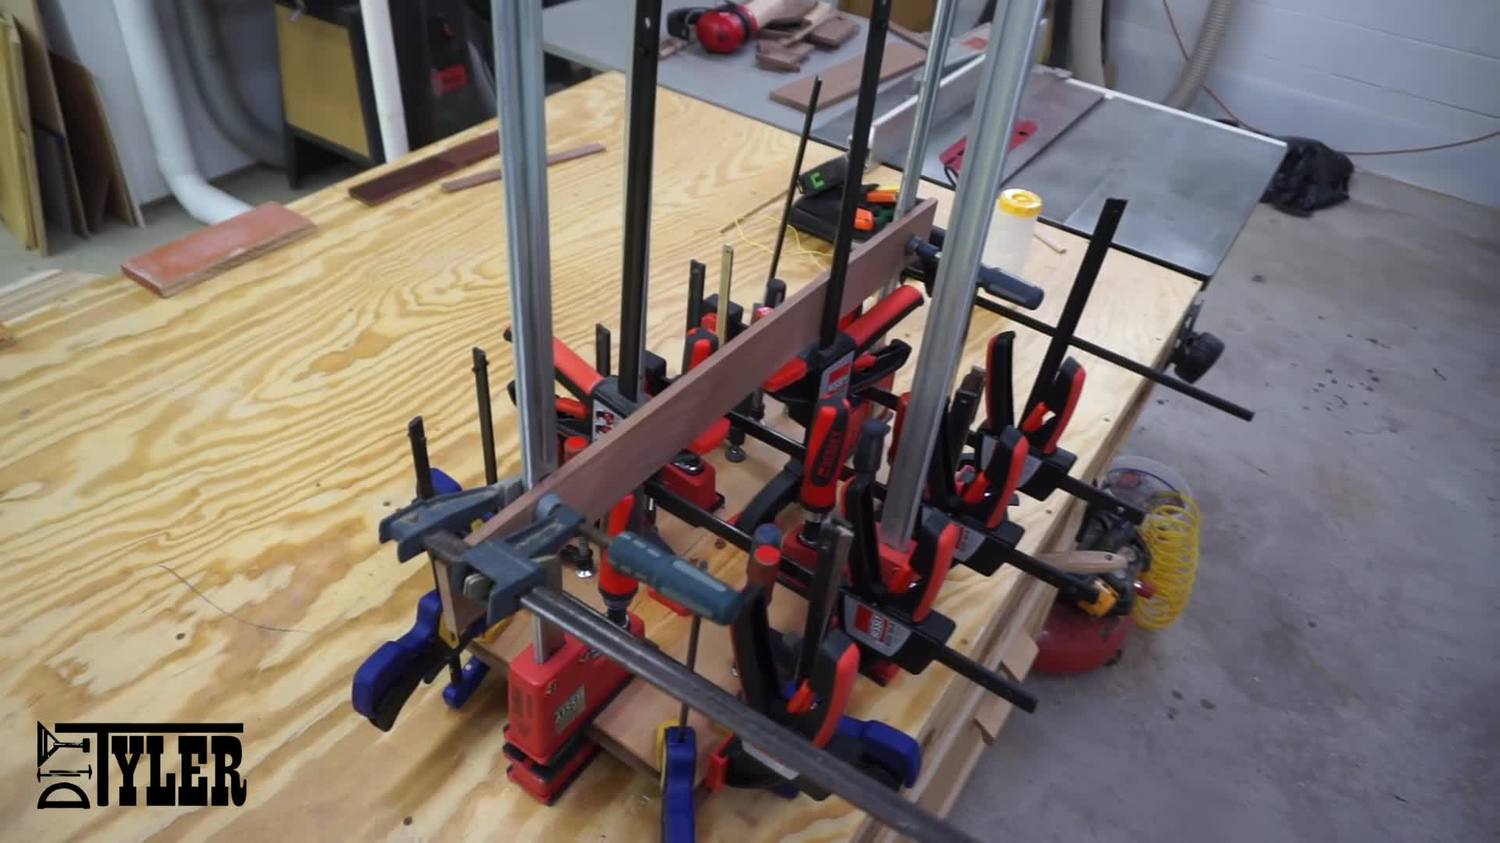
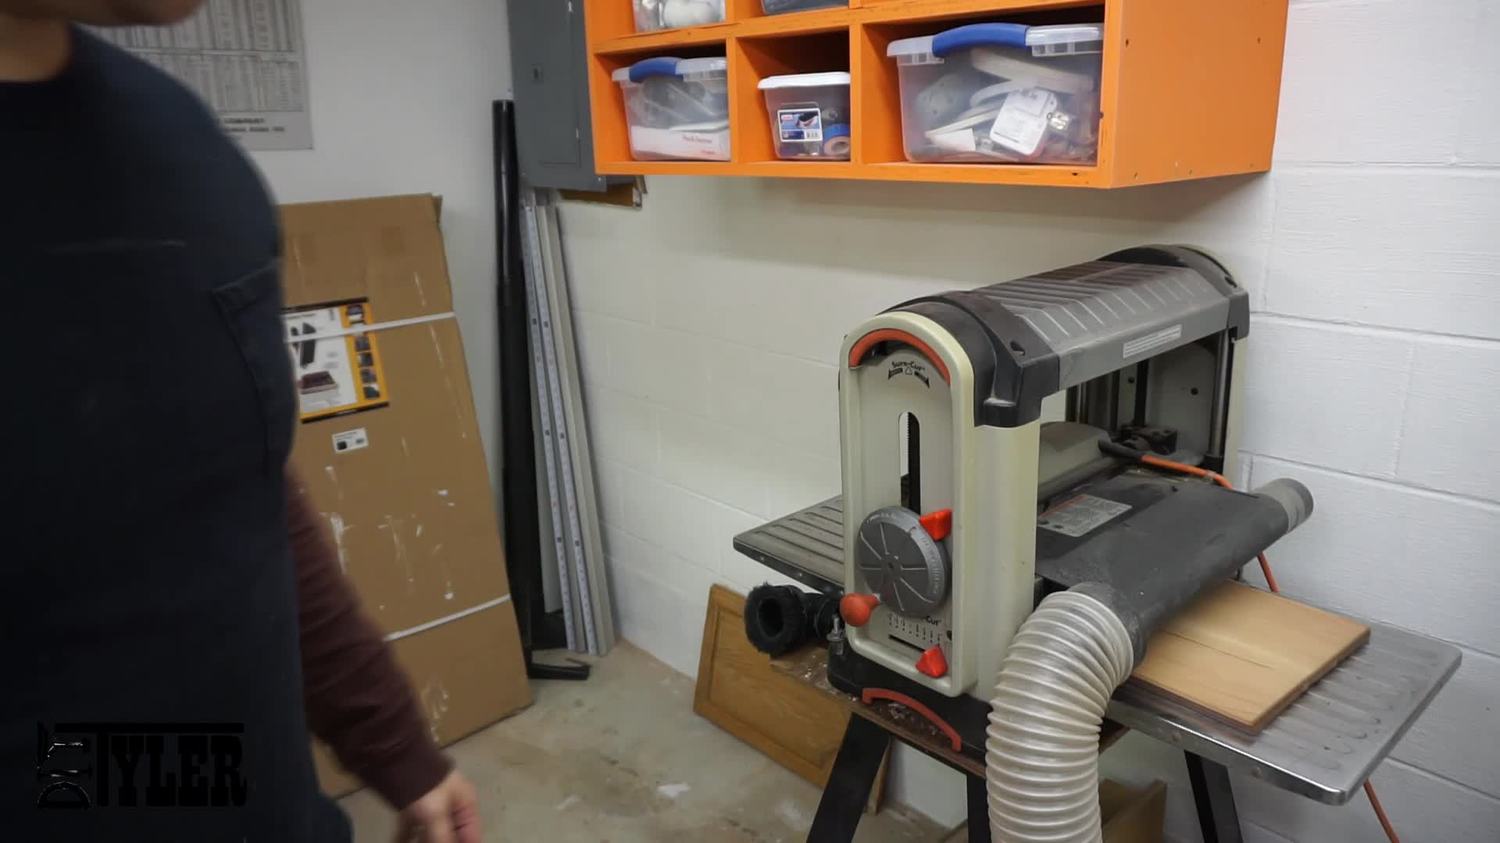
I let the work piece dry for several hours, unclamped and ran it through the planer with the top of the sign (in this case the cherry side) up. My goal here was to get the top species of wood down to around 1/8″ thick so the CNCed letters wouldn’t need to be too deep to show the other wood color.
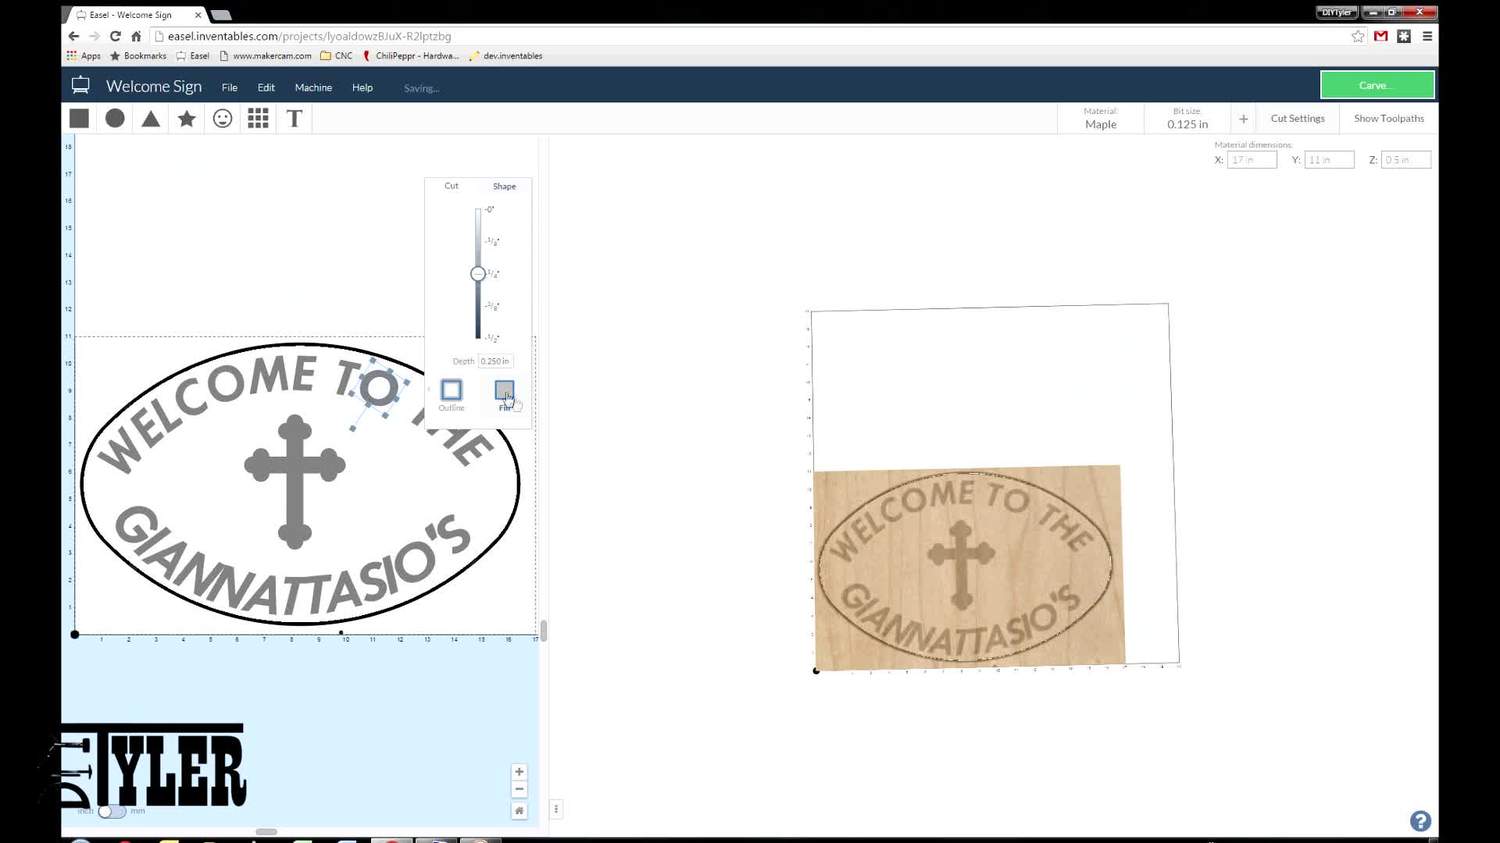
Then using the Easel software and X-Carve from Inventables I set up the cutting paths and let the machine go do town. I used an 1/8″ spiral bit cutting at 50in/min and 1/16″ depth of cut. If I remember correctly, I believe this took about an hour to cut.
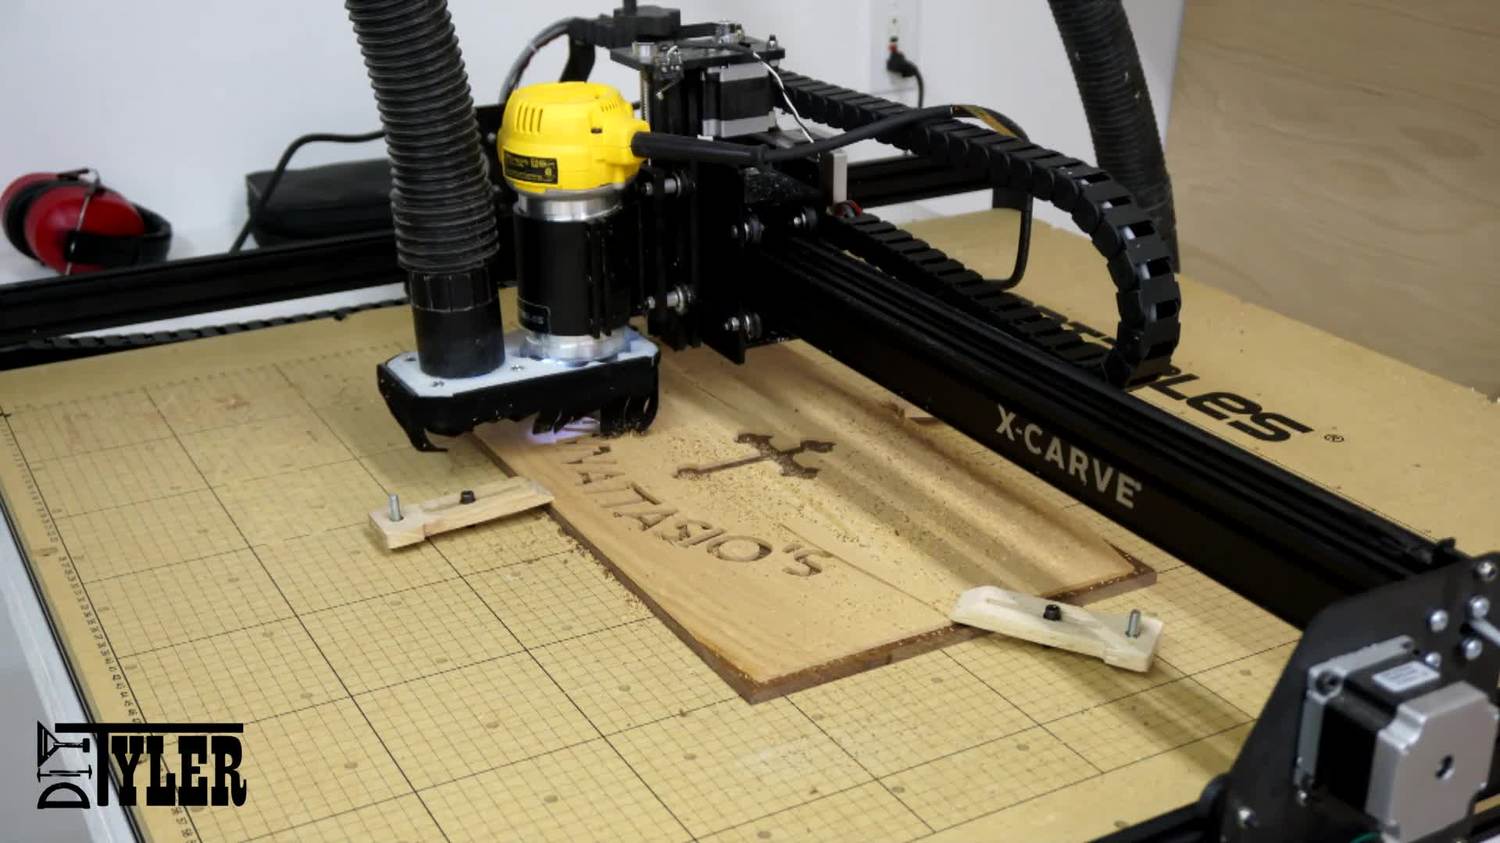
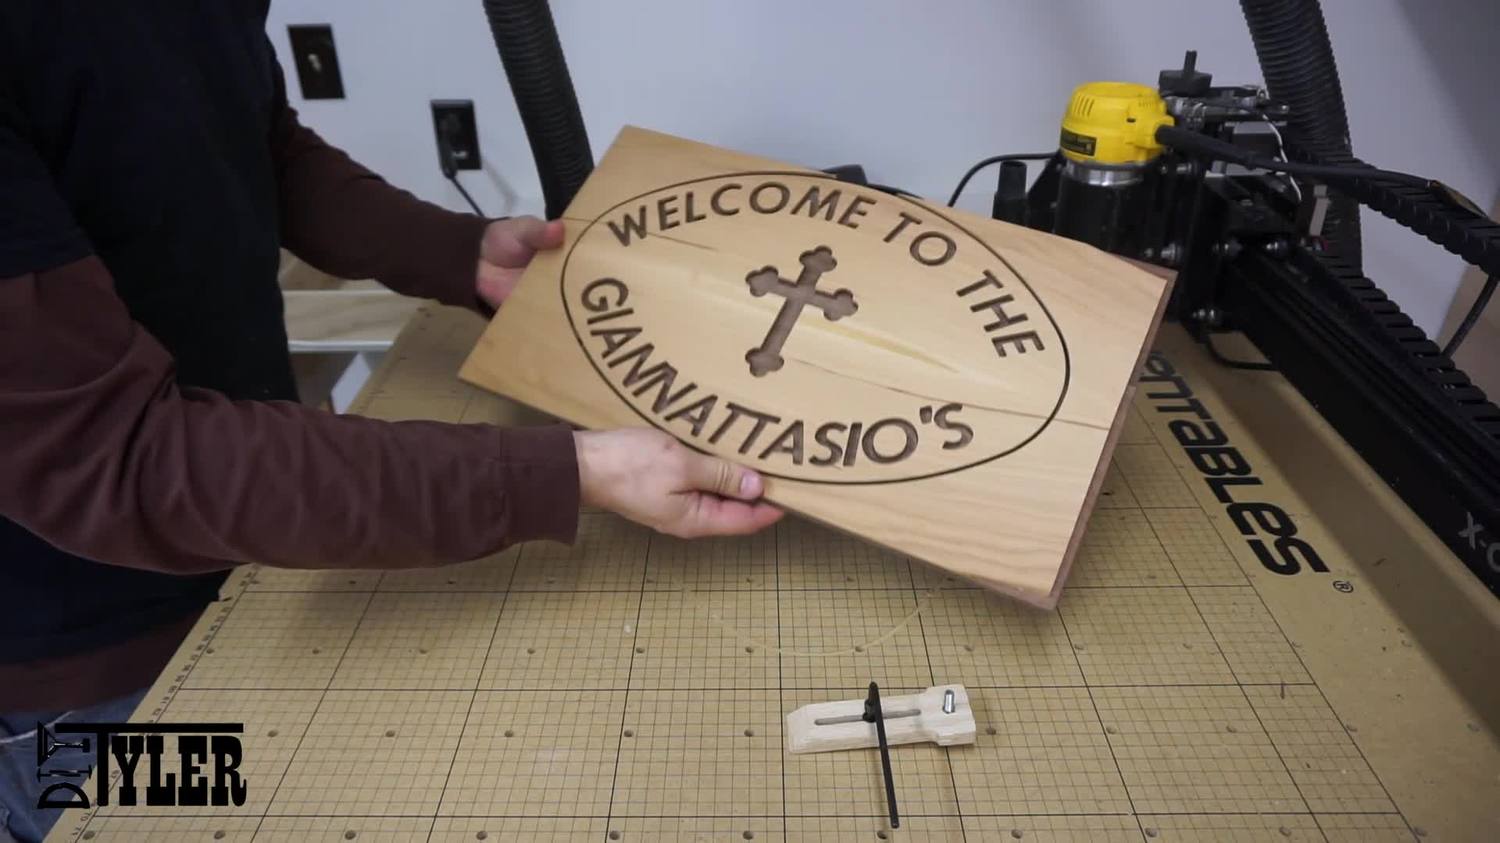
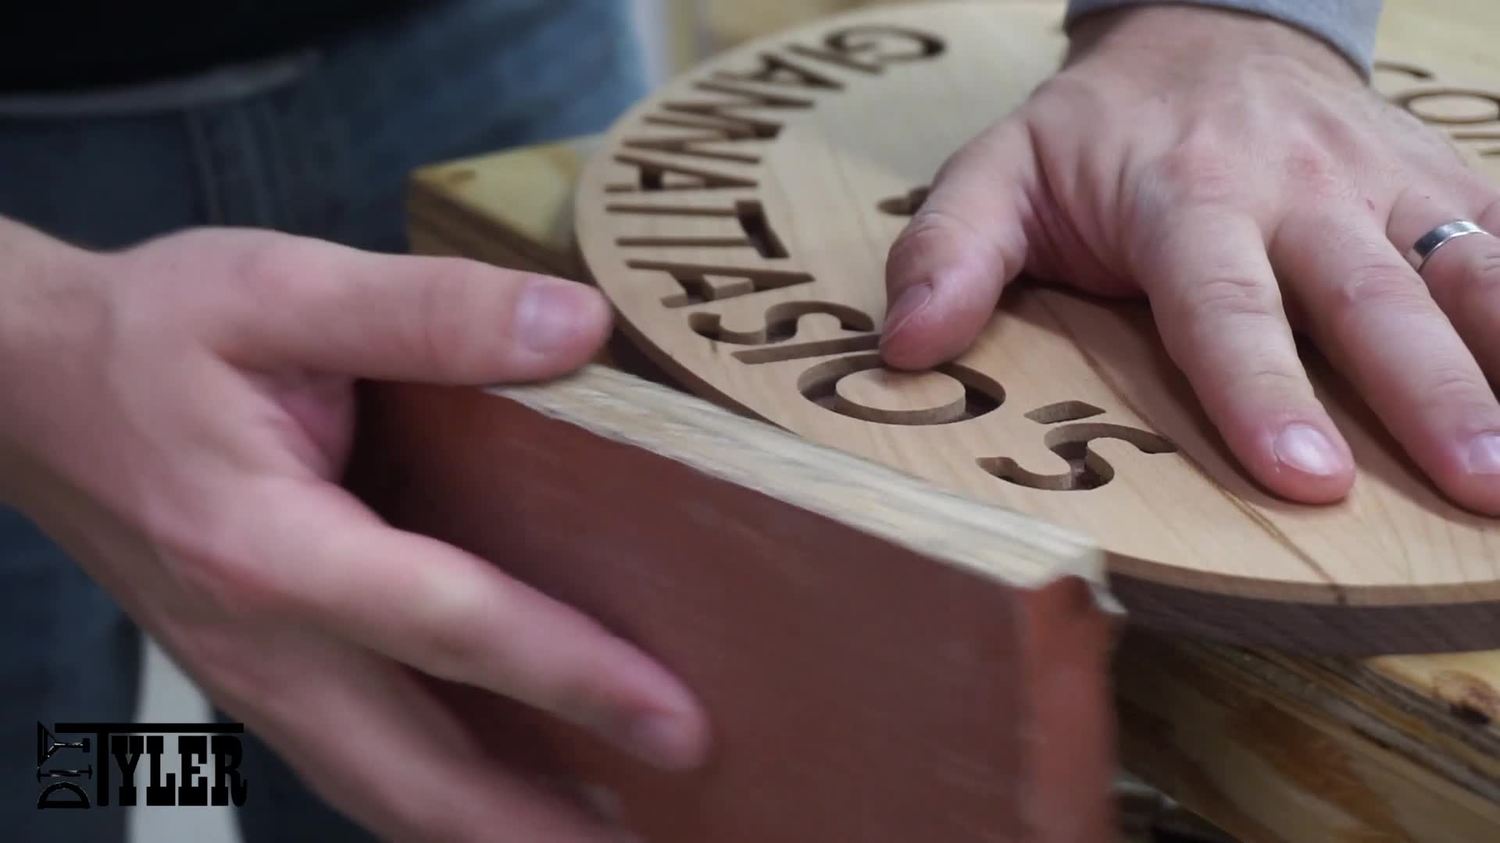
When the CNC had finished its thing I sanded the tabs off using a sanding block.
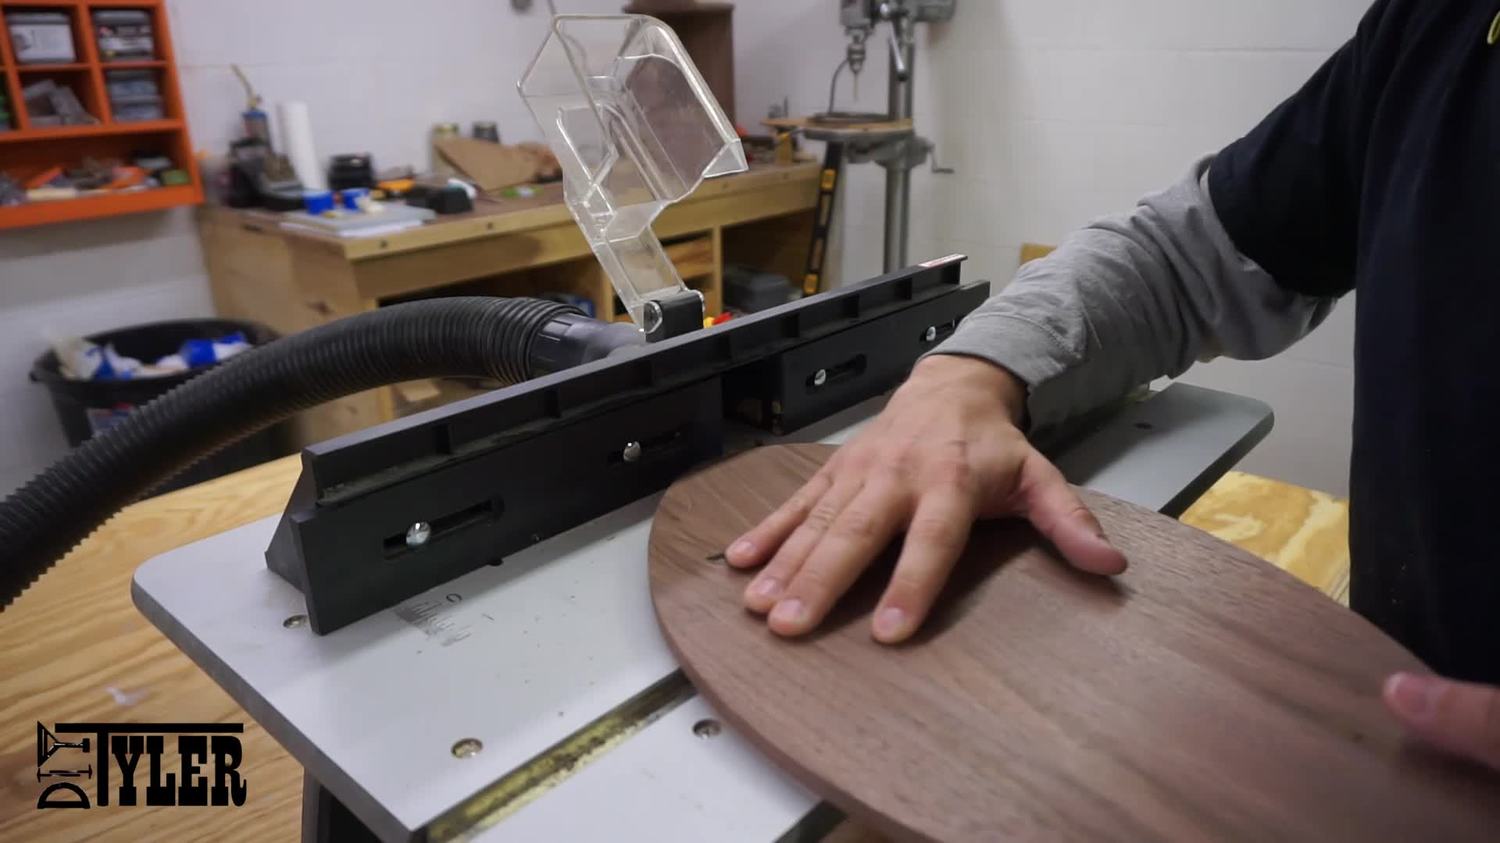
And ran the whole sign over the router putting a decorative profile around the edge.
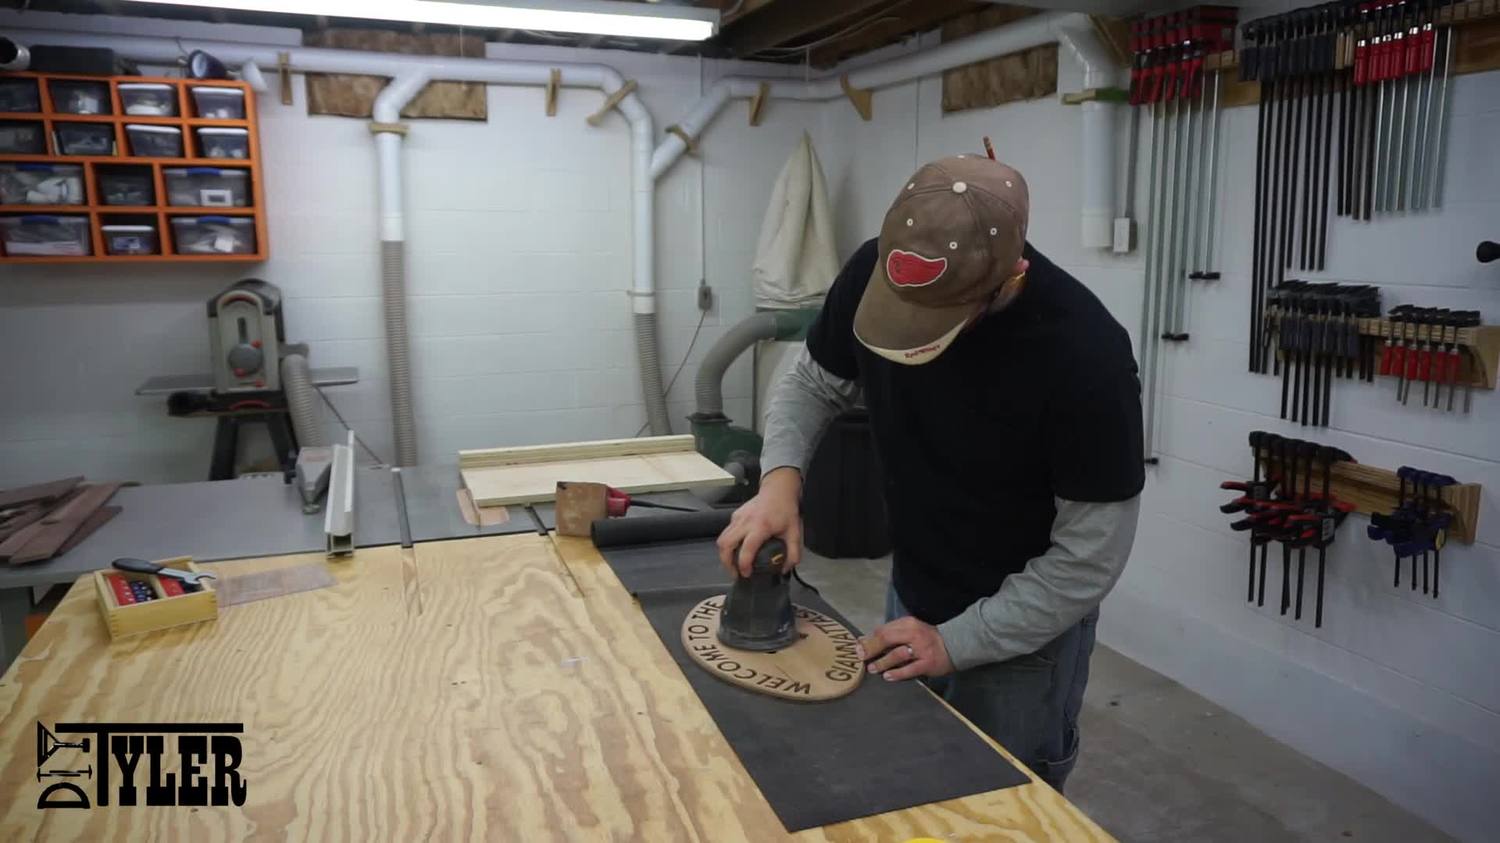
Sanded to 220 grit using a sheet and random orbit sander. (I used a sheet sander for heavier grits as the paper is cheaper.)
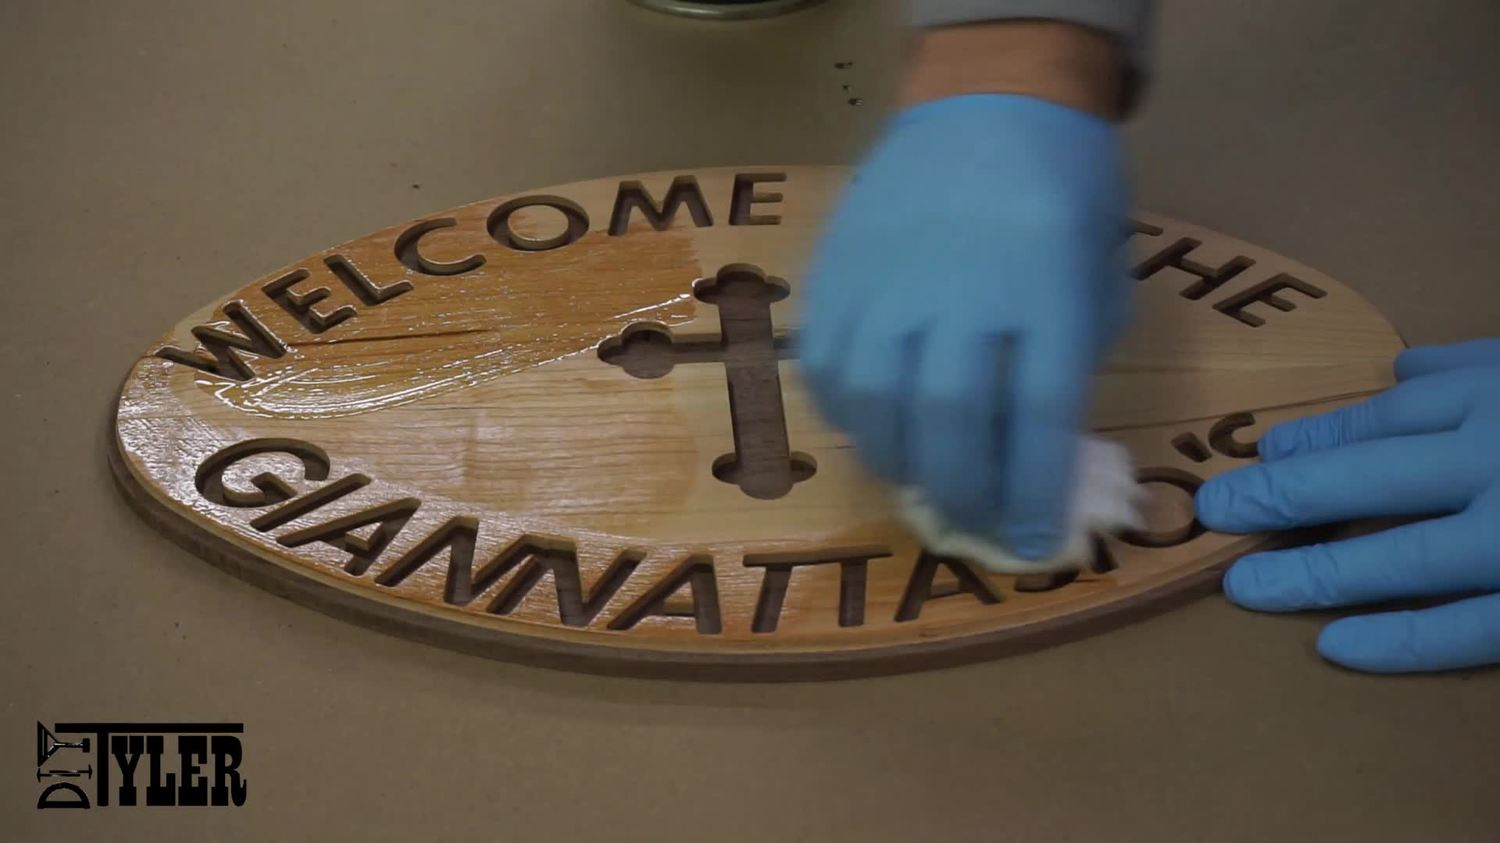
And finished using Satin Arm-R-Seal.
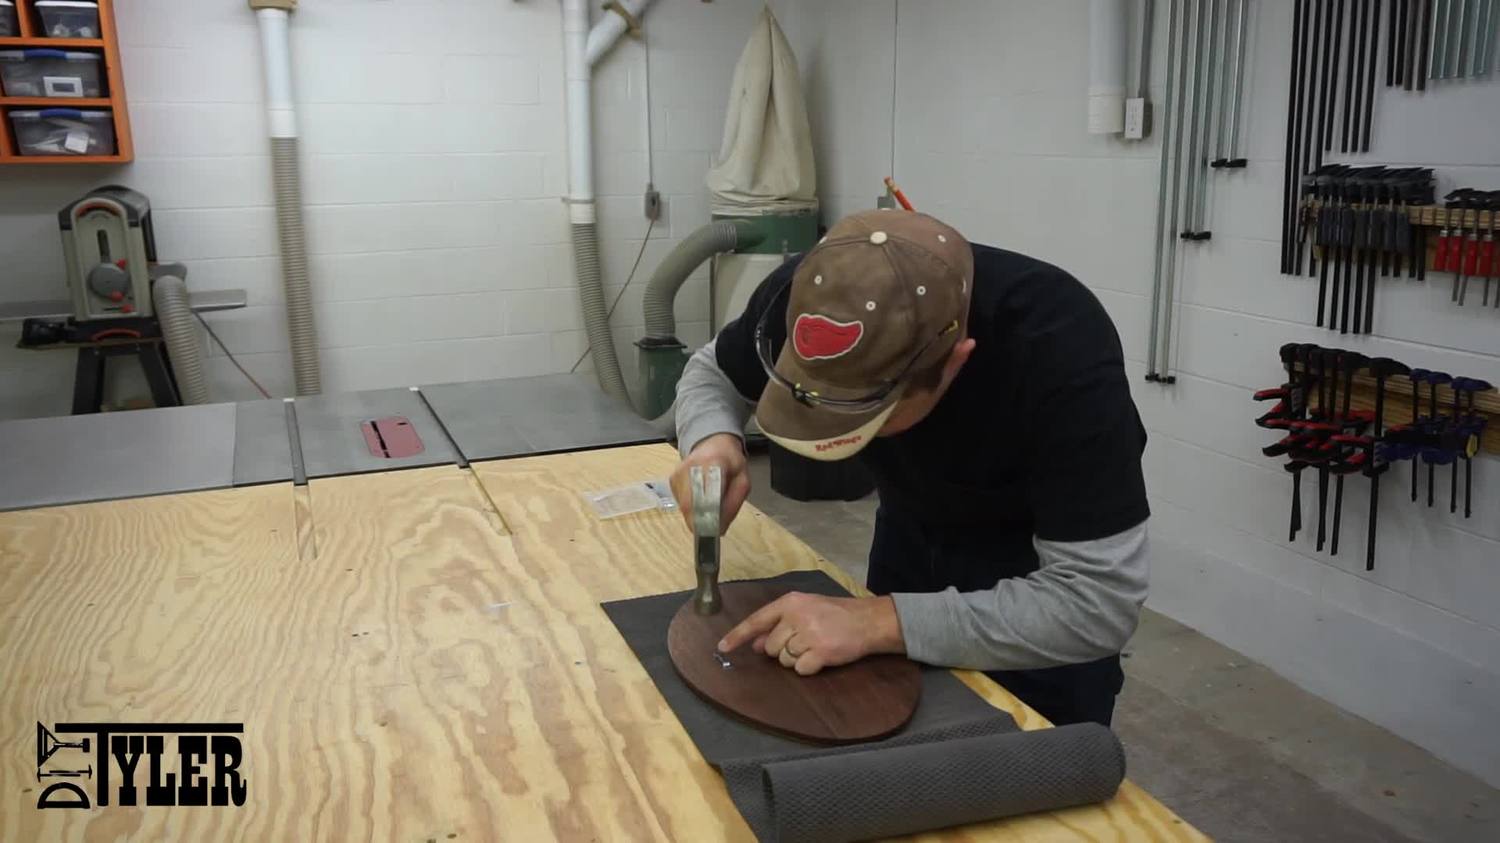
And lastly added a picture hanger to the back so my parents could hang wherever they wanted.
And that’s that! Now it is proudly hanging in the entry way of my parents home and I have gotten a few requests to make some more! (Still need to make one for our house but you know how the list goes….)

