Was supposed to have this article done last week but you know how it goes!
This second part of the media cabinet build will show the installation of the hardware, glass, and the finishing process.
Now that the actual shelves and doors have been completed it was time to put everything together before finishing. Thought this was the best approach because there are some mortises needed for the hinges and what-not. It was a good idea and took quite a while to get everything fitting together but in the end I pretty much had to do the same long process all over again once the doors and cabinets where finished….I think that I got the layout mixed up during the finishing process throwing off the entire layout! Woops.
Mounting the door hinges.
Mortising and mounting the hinges on the cabinets.
Took everything apart making sure I marked every section and hinge so that the cabinets would assemble again with no issues….in my dreams.
Measured and drilled the handle locations. The back had to be countersunk so the screw would not interfere with the closing and so the screw was long enough. Used the drill press to complete this.
Sanded and sanded and sanded.
Had to make some form of a bracket to hold the glass panels in the doors.
Wiped everything down with a microfiber cloth.
And applied Charlies Neil’s wood conditioner. (More about that here.)Two coats applied as directed to all parts of the cabinets.
Applied our favorite red mahogany winwax stain using a cloth and the rub on method. Have found I like this method more than brush on rub off, less wasteful too. (Brushed on for the backboards.)
Tested and wanted to spray a polyurethane finish but the air compressor we currently have is not up to the task. Another time, a bigger compressor is definitely on the list of tool to buy. Ended up using my favorite polyurethane. It took a while but yes, Rusloleum Ultimate Polyurethane has now proven itself as a fantastic and easy to use poly finish!
Laid out two 2x4s and put screws through them to hold the cabinet doors up a bit so I could finish more surface area without moving the work piece.
Installed the hardware again according to the numbering.
Installing the glass.
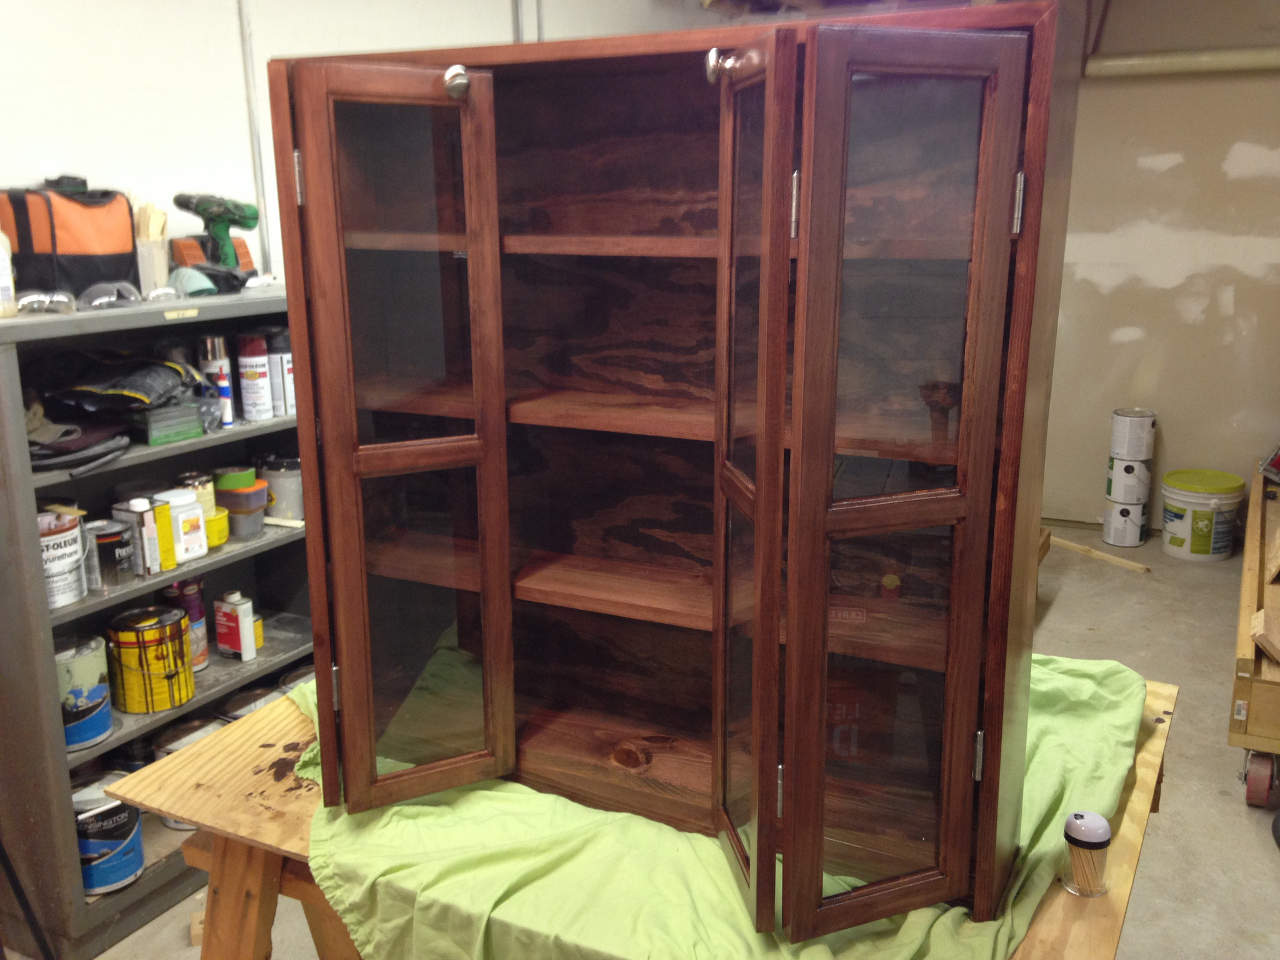
Putting the backboard on and installing the magnets/doors. The doors did not fit correctly at first try, I believe that I messed up the numbering when finishing the doors so the right one were not in the right spot and with the polyurethane on there was not enough room against the cabinet to close properly so I had to move the hinges out a bit to get them to close.
And the finished product!
In the end these cabinets took quite a while to build but I am sure glad I did and the client was extremely pleased with the final results. Lots to learn from. Need to make a wide-cut miter sled for the table saw, need more clamps (Duh), pay better attention when removing and installing doors and plenty of other lessons that slip my mind at the time!


