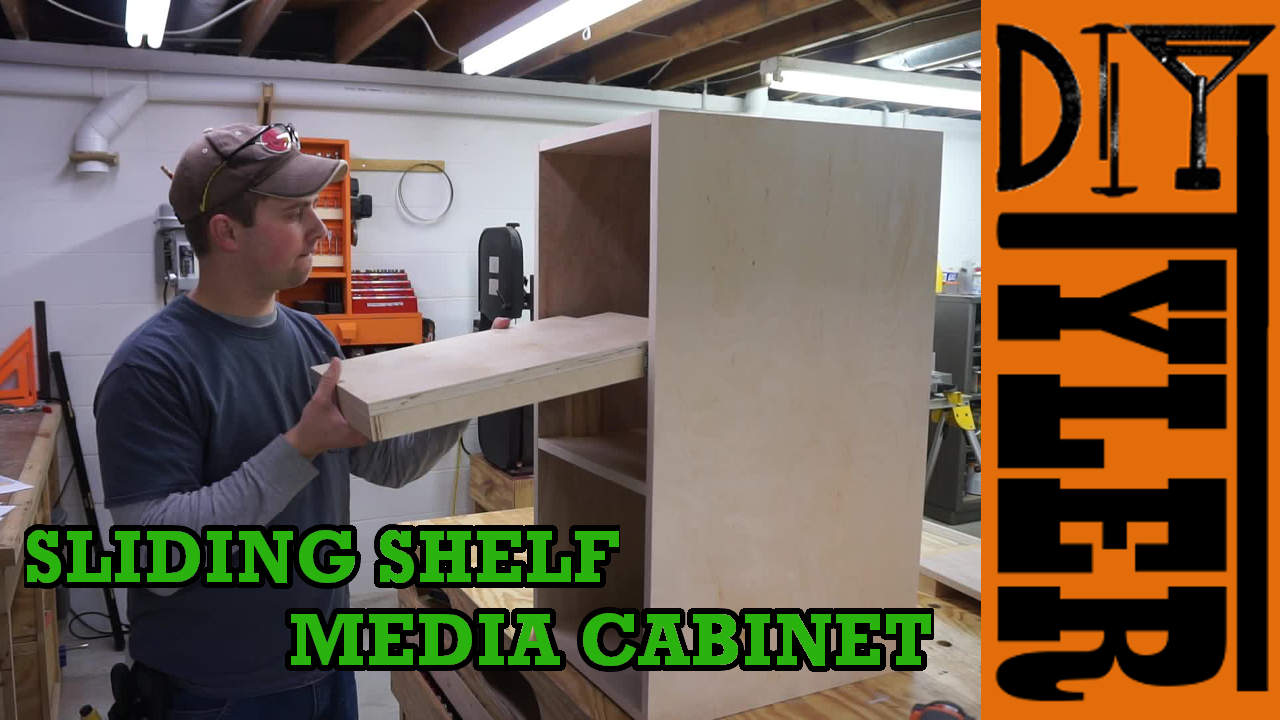
Ever since we moved into this house we have had our “media center” on an old shelf that was stuck sideways between the couch and wall in what we call our movie room. We decided it was high time to make a new media cabinet and we decided on one that had a sliding shelf so we would have unhindered access to the computer, there to play the movies for the projector and stereo system.
Materials and Joinery for the Media Cabinet
This cabinet is constructed from 3/4″ classic birch plywood that is edge banded on all visible areas. The joinery is completed using pocket screws and the media cabinet is finished with Ebony stain and water based polyurethane.
Media Cabinet Build
Began by using the table saw to rip the 4×8 sheet of 3/4″ plywood into appropriate strips based off my cut list. 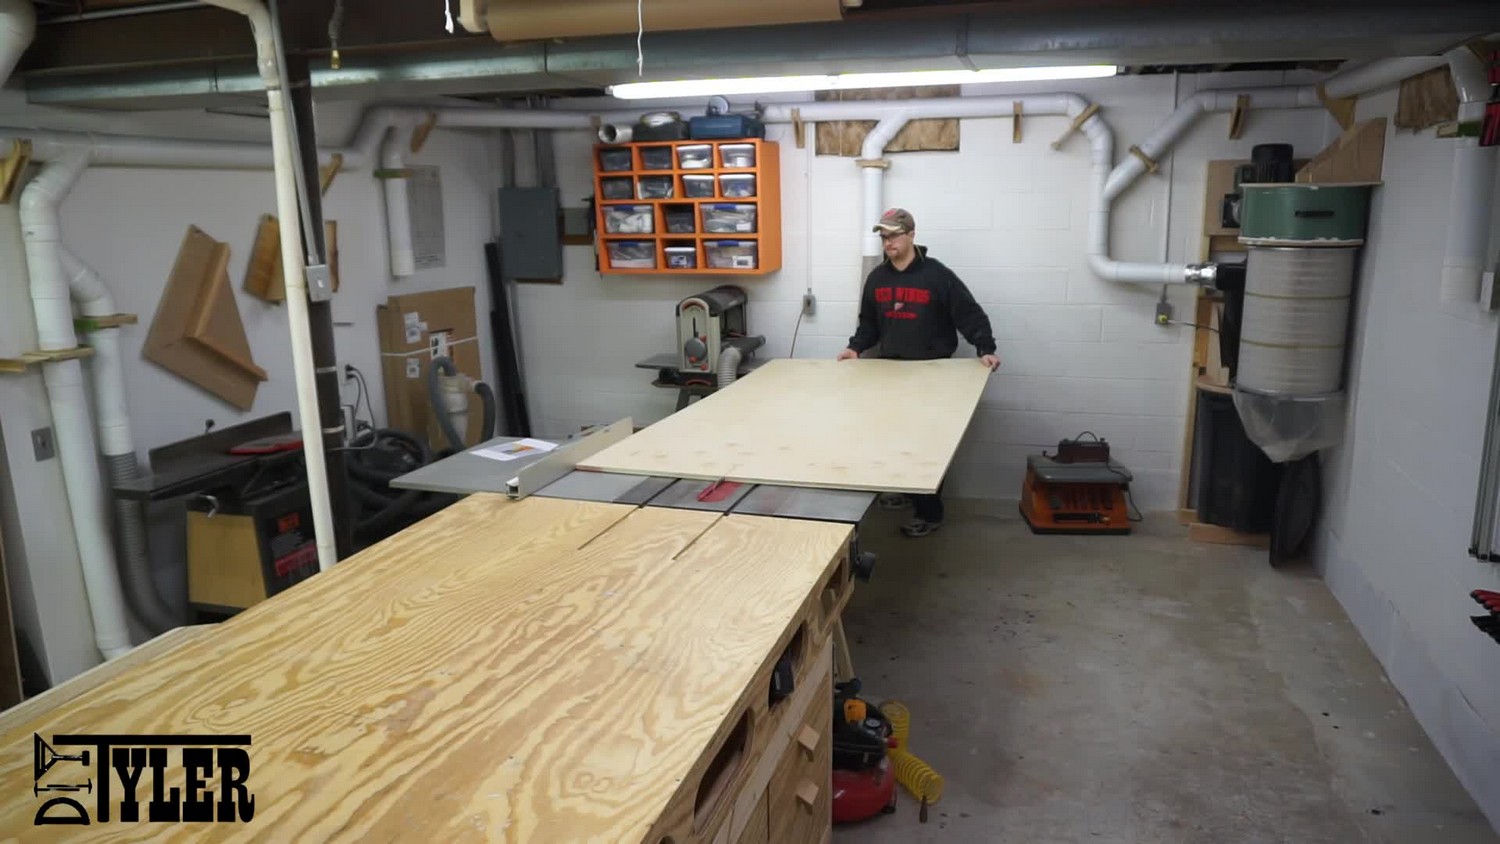
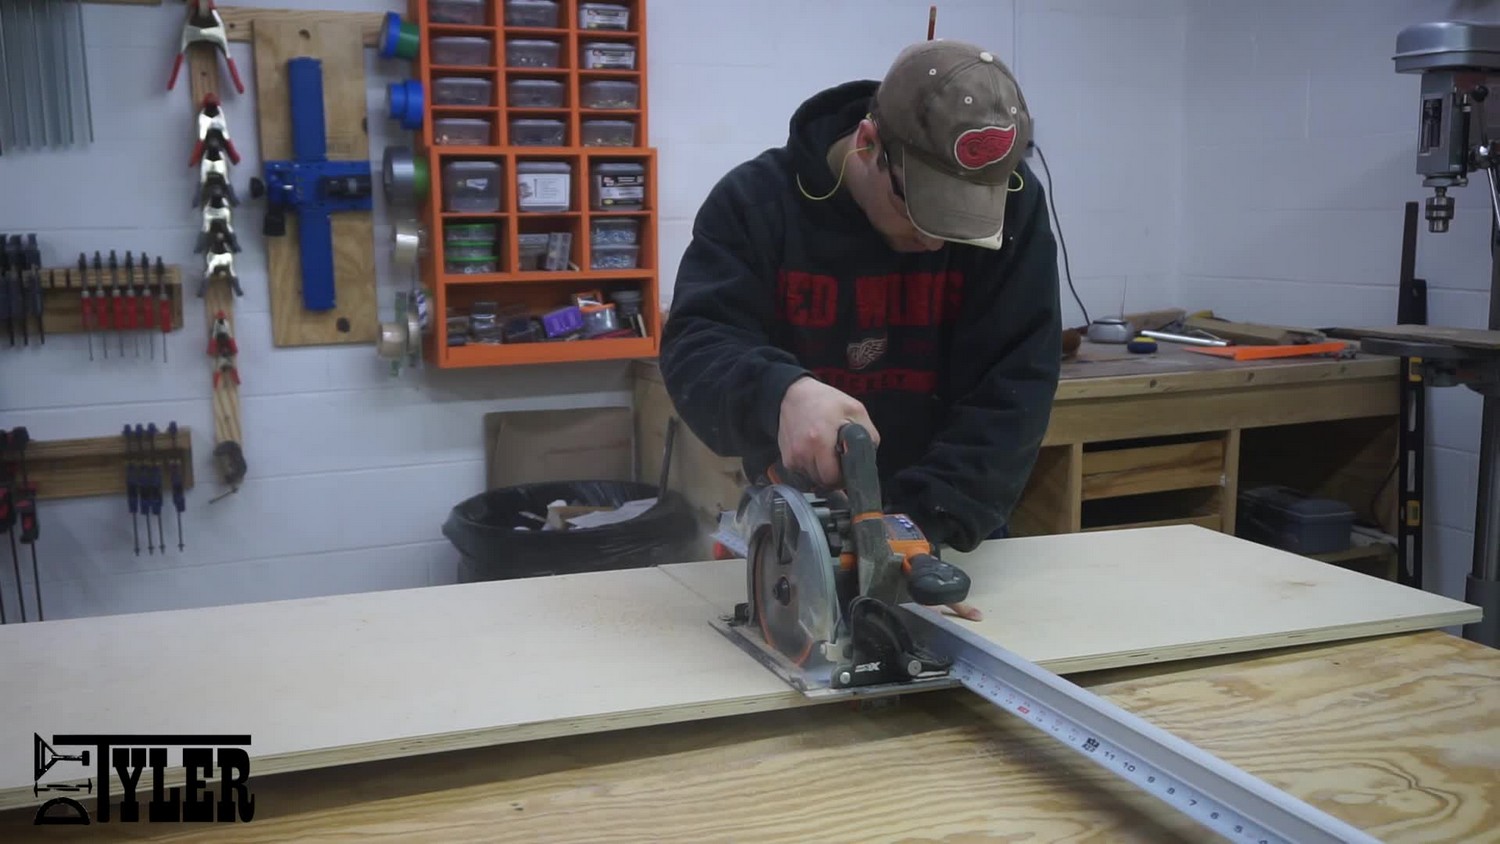
Need to cut several sections off these long strips of plywood and to do this safely on the tablesaw you need a crosscut sled that is way bigger than the one I have. To safely make the cut I chose to use my cordless circular saw. After a few cuts I got smart and used some blue tape over the cuts to prevent tearout.
With the bigger cuts complete I took the now smaller pieces and made these cuts on the tablesaw using the crosscut sled.
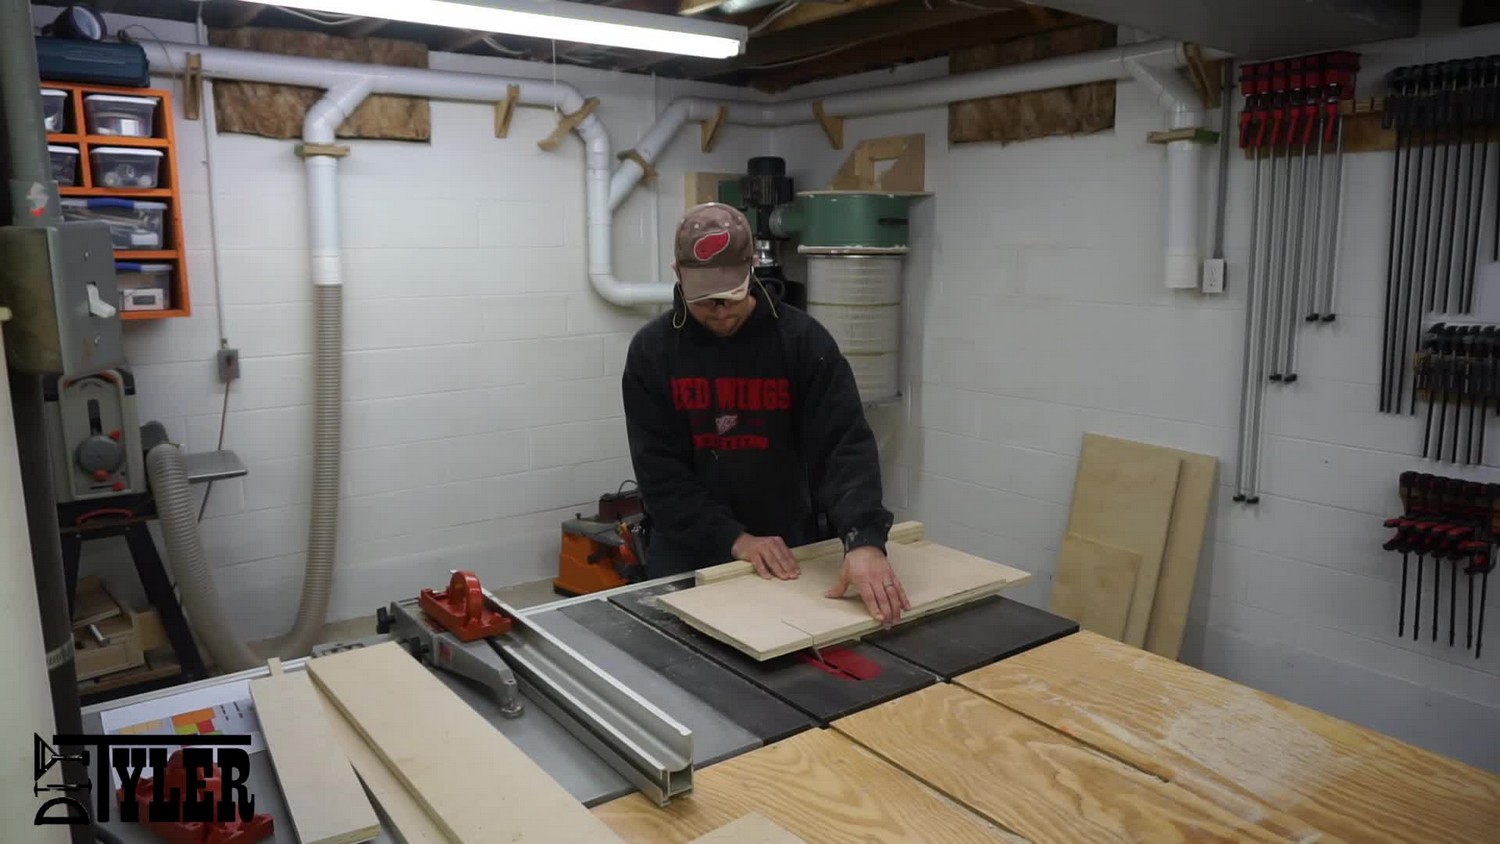
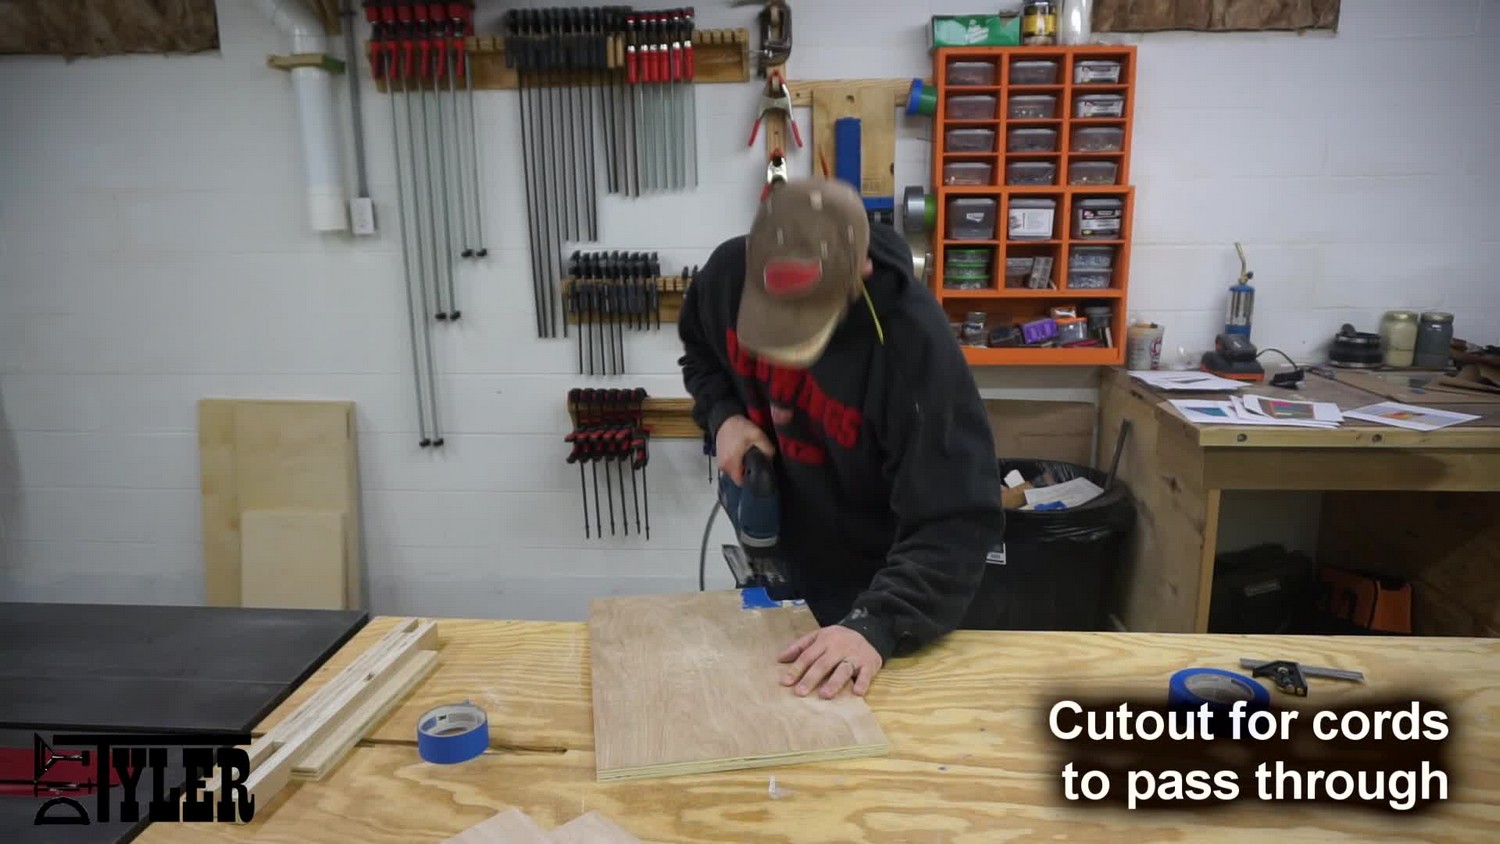
For the inner shelves of the media cabinet there is a cutout in the back to allow cables and power cords to pass though.
To make the cabinet more appealing I chose to edge band all the visible edges with adhesive backed edge banding.
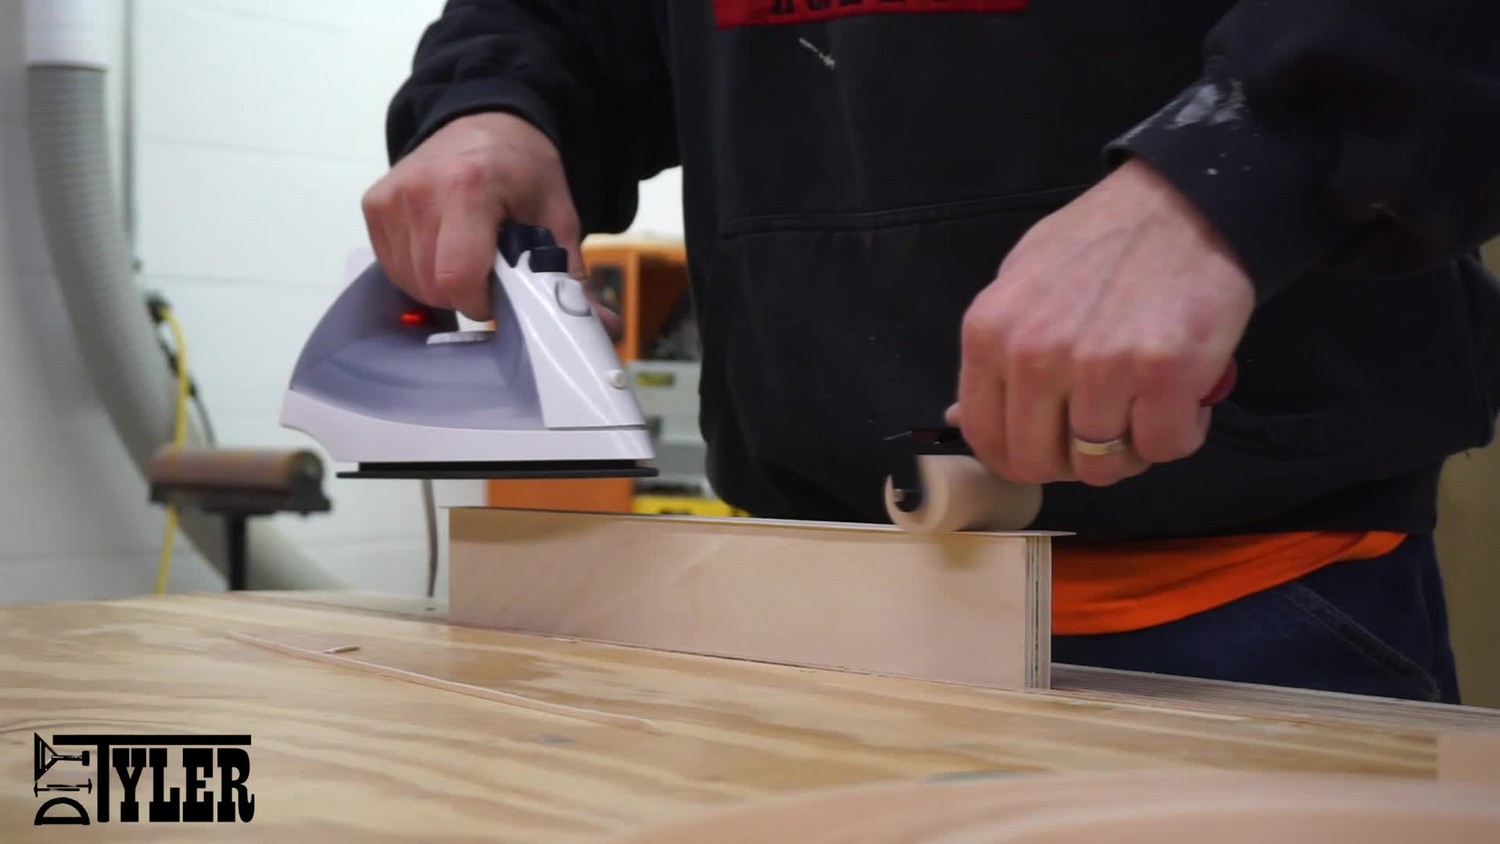
This is the first big edge banding job, didn’t use a dedicated edge band trimmer, and I learned a few things. When rolling the banding I found that using the roller to put a crease in the banding really helped with trimming if off cleanly.
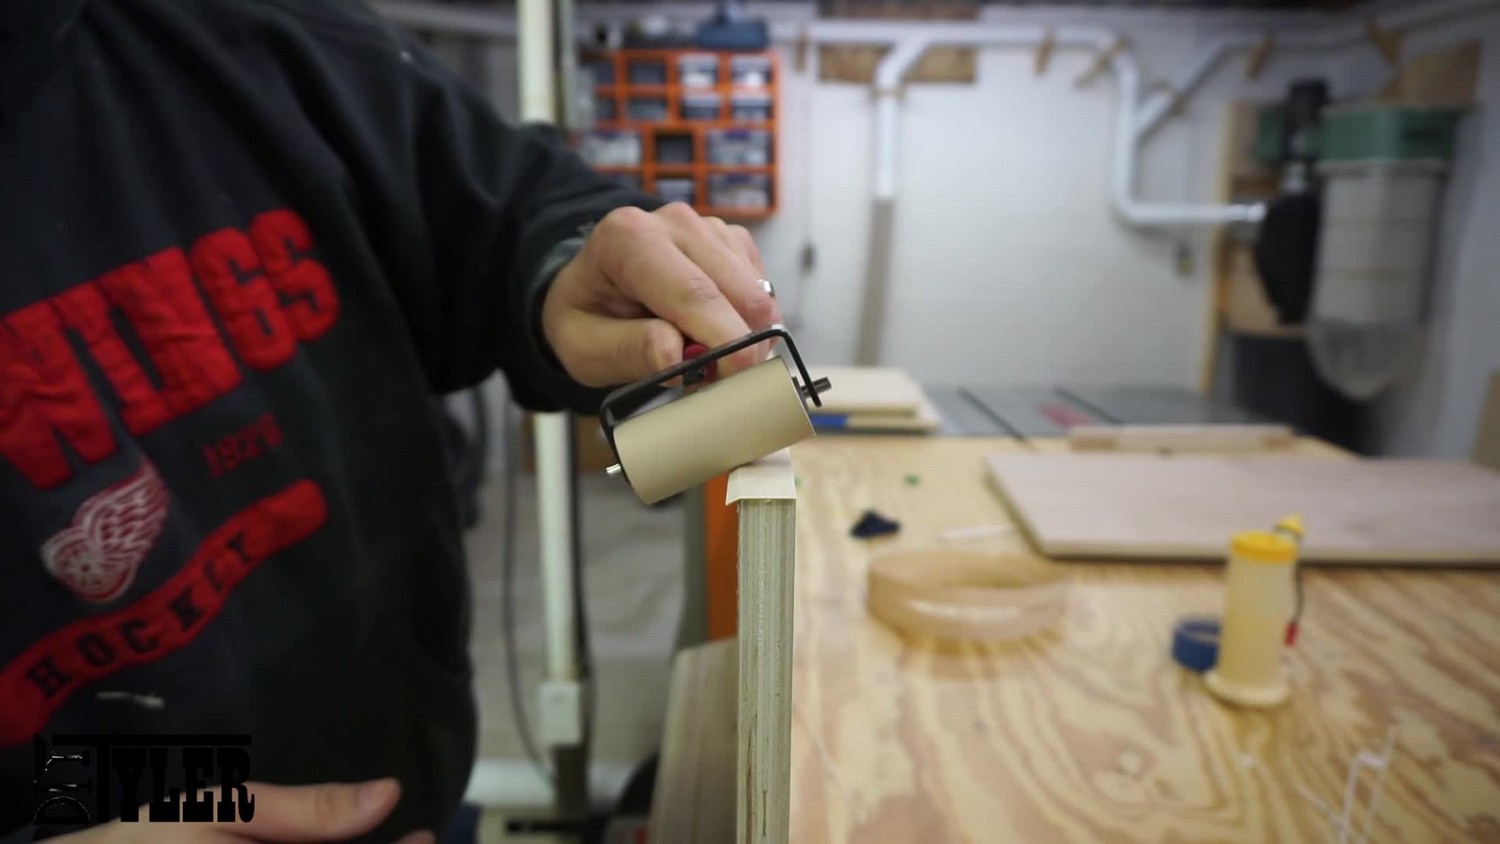
And after trimming off the excess banding using a long sanding block yielded a very clean, smooth edge.
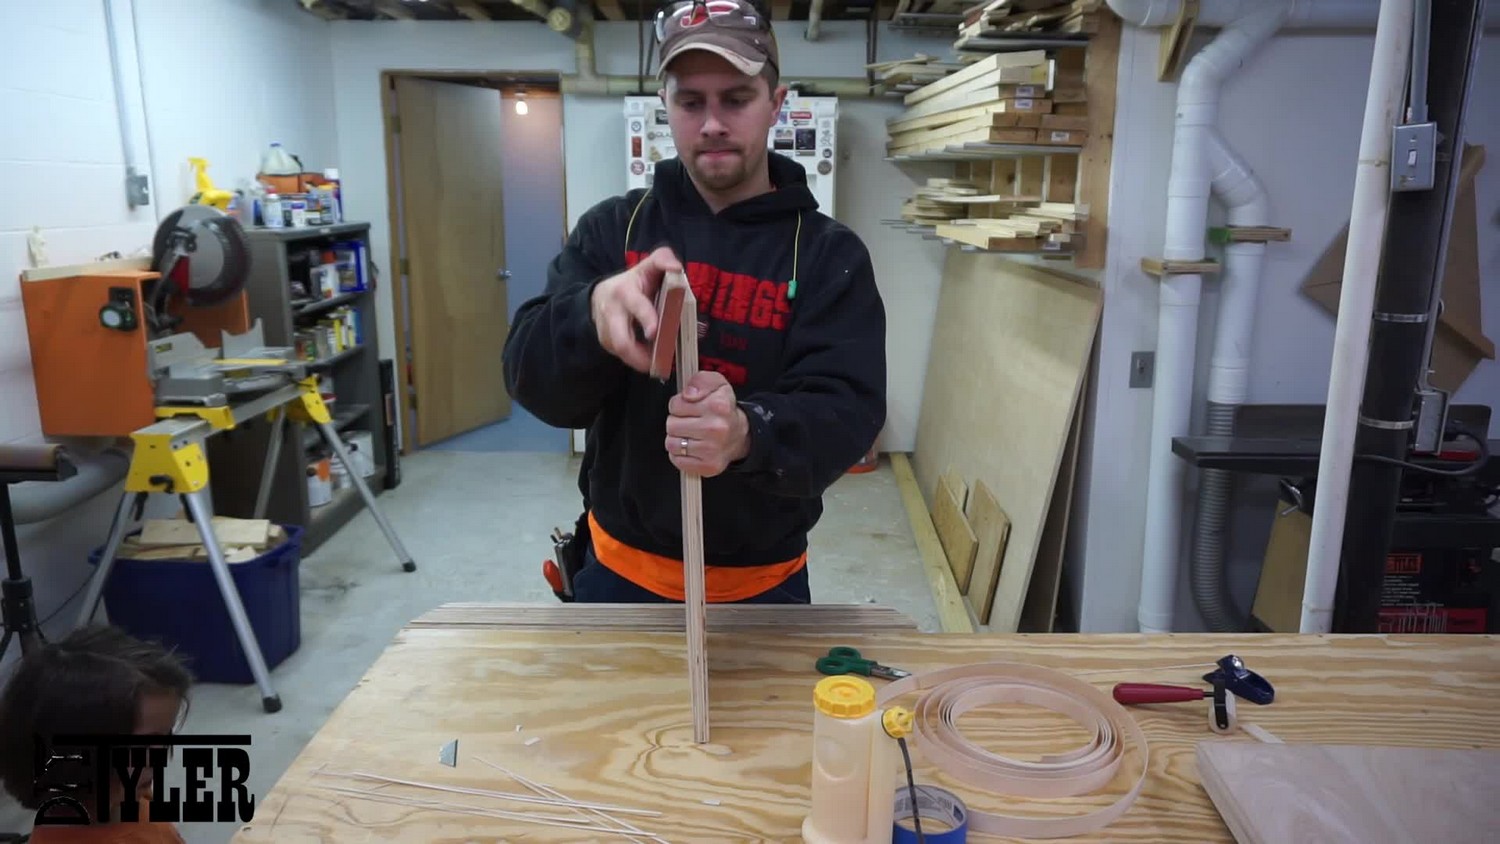
Once all the proper boards are edge banded it was time to drill the pocket holes on the stationary shelf, top, bottom and back boards.
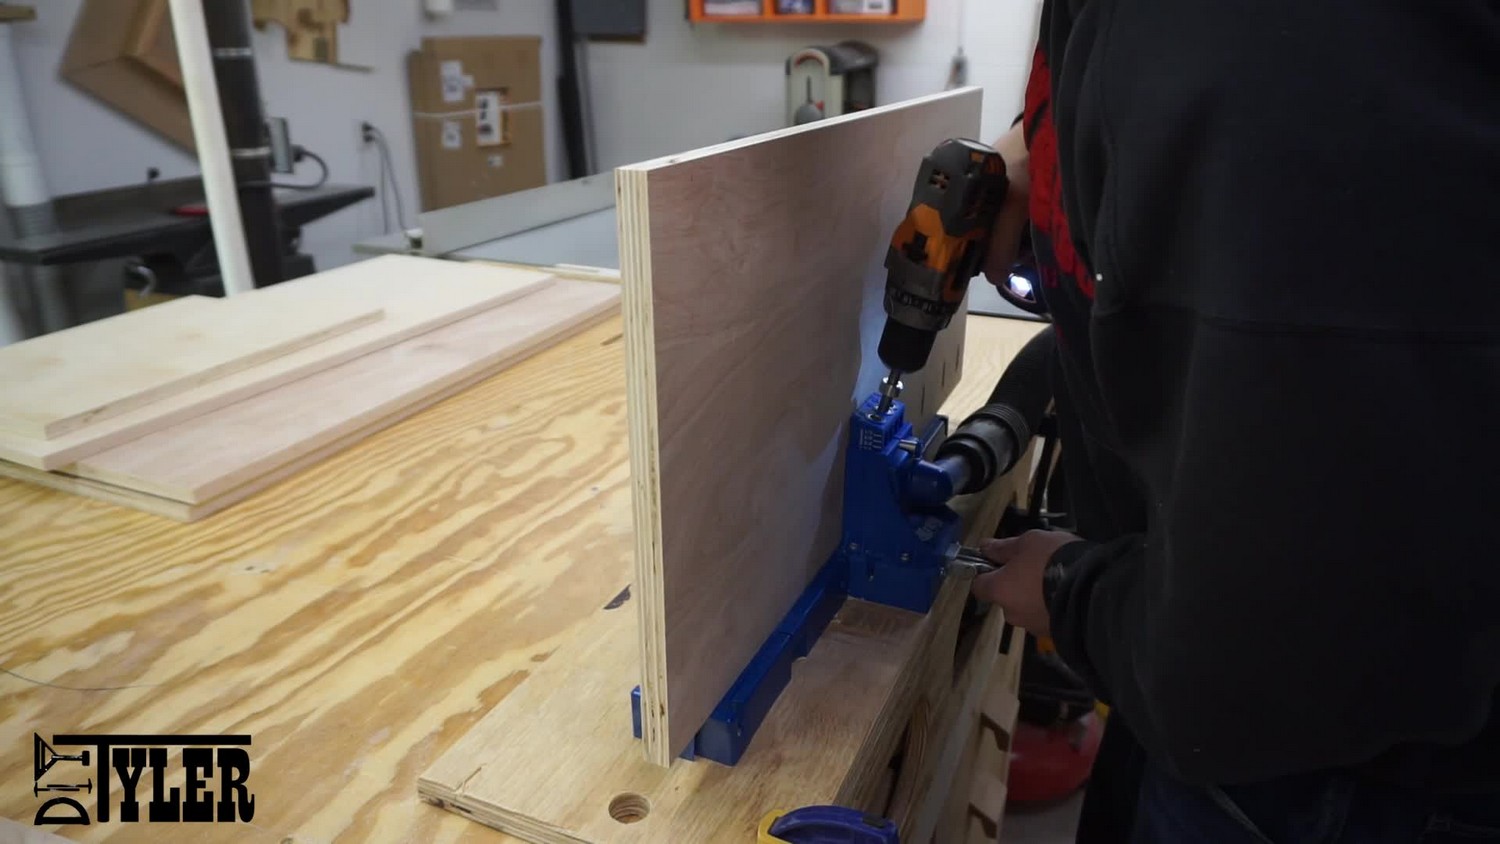
For assembly I used wood glue and 1 1/4″ pocket screws. I elevated the bottom of the cabinet a 1/4″ to give the cabinet more stability.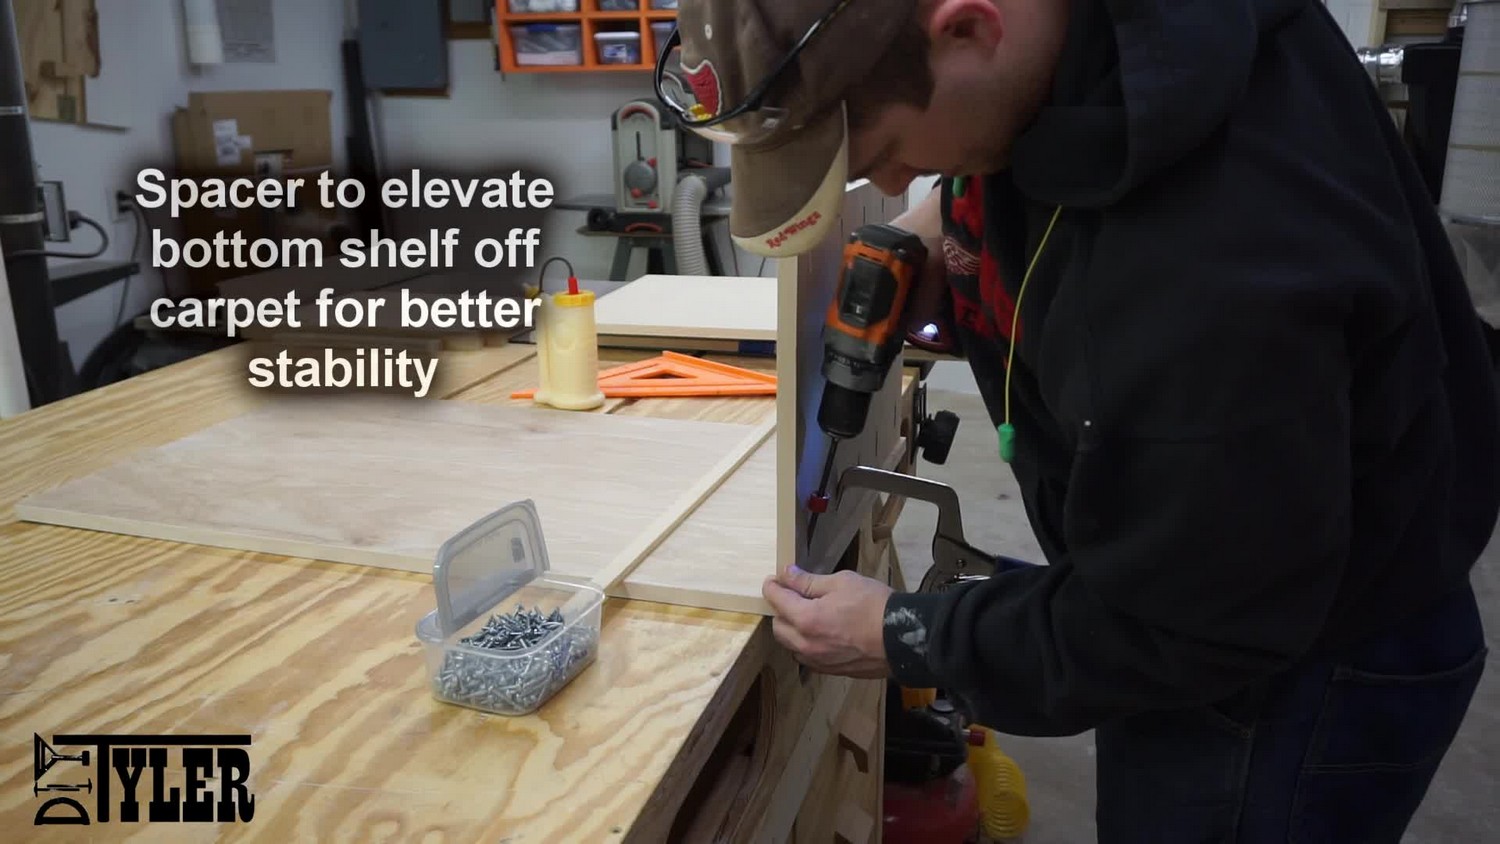
Measured the appropriate height for the stationary shelf and screwed and glued in place.
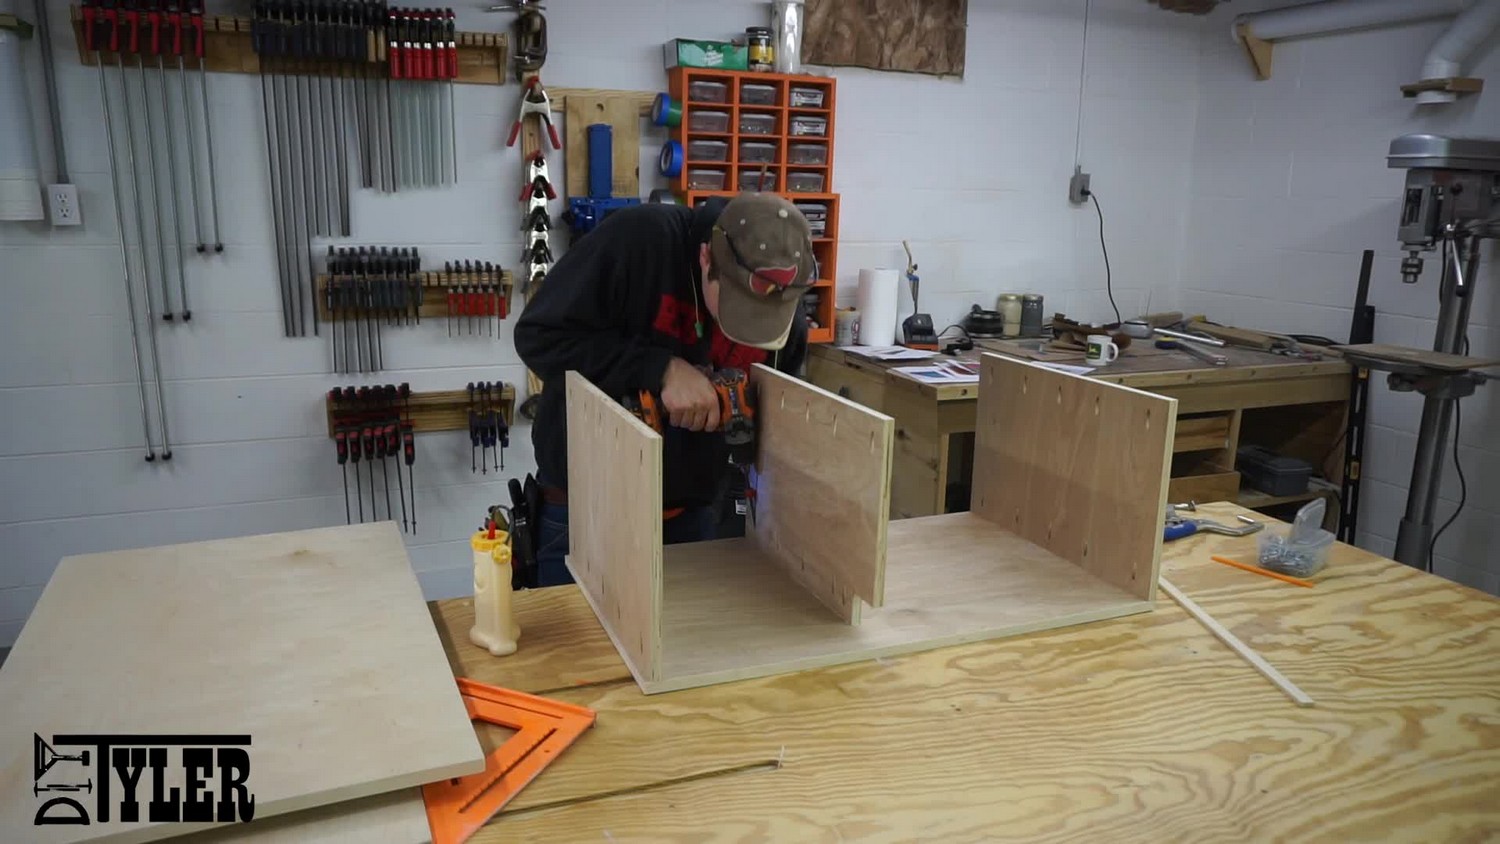
And glued and screwed the other side of the cabinet into place.
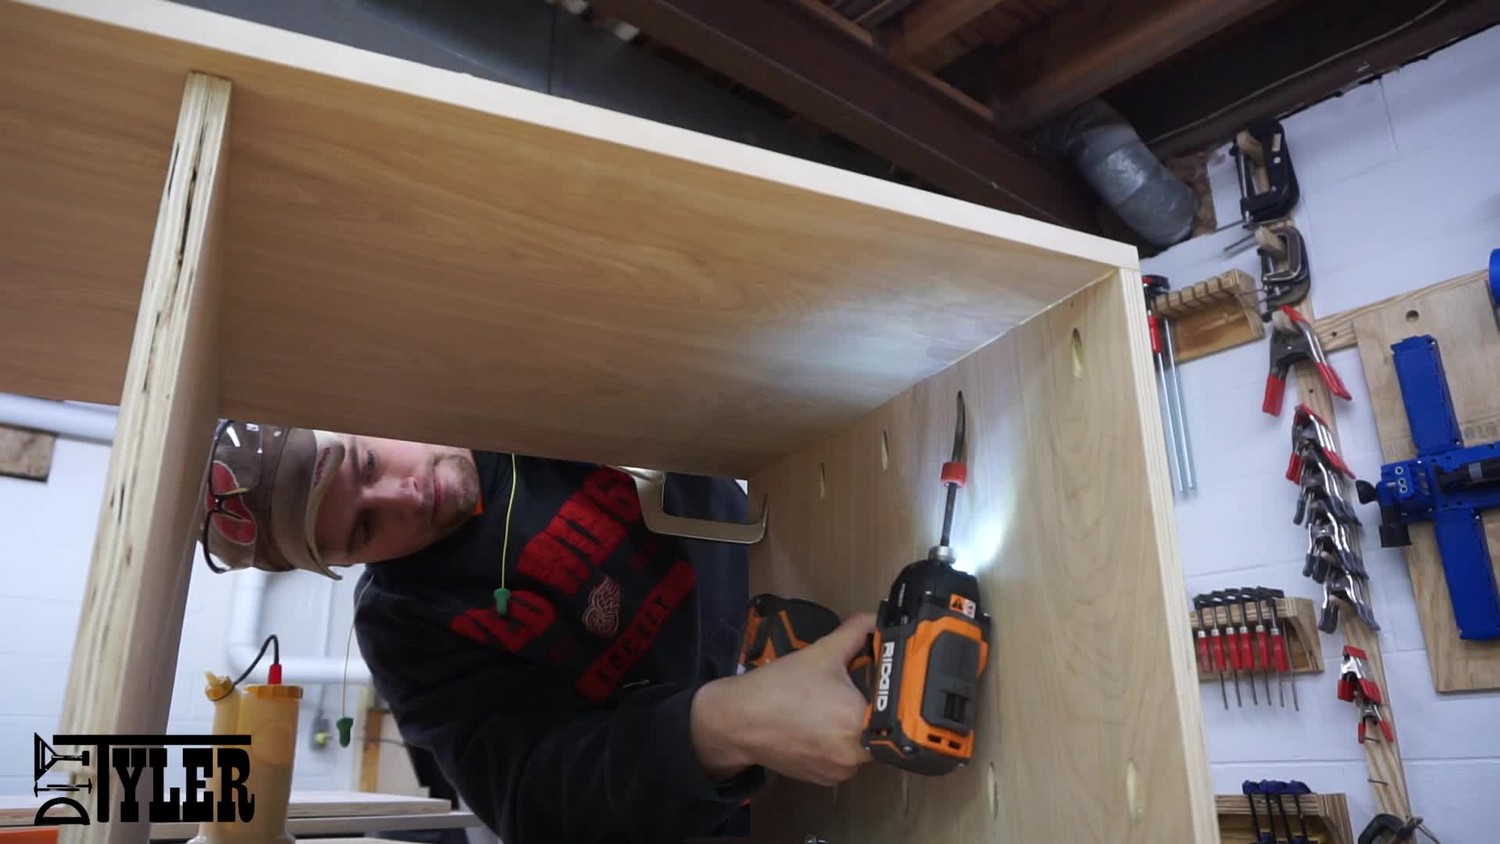
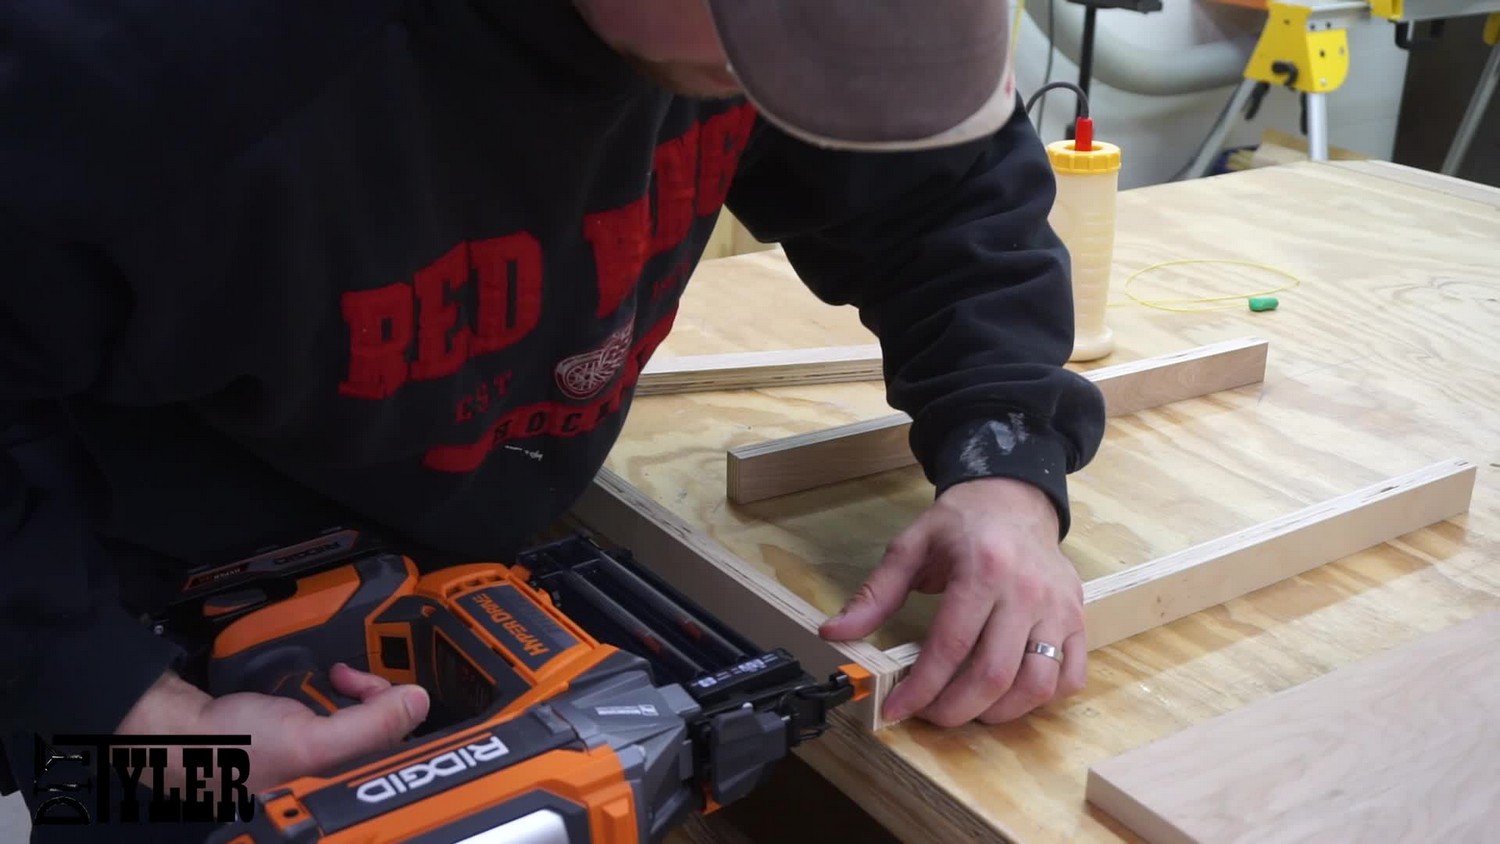
For the sliding shelf I assembled a frame, which works as a drawer slide mount and gives the shelf some stability, using wood glue and brad nails.
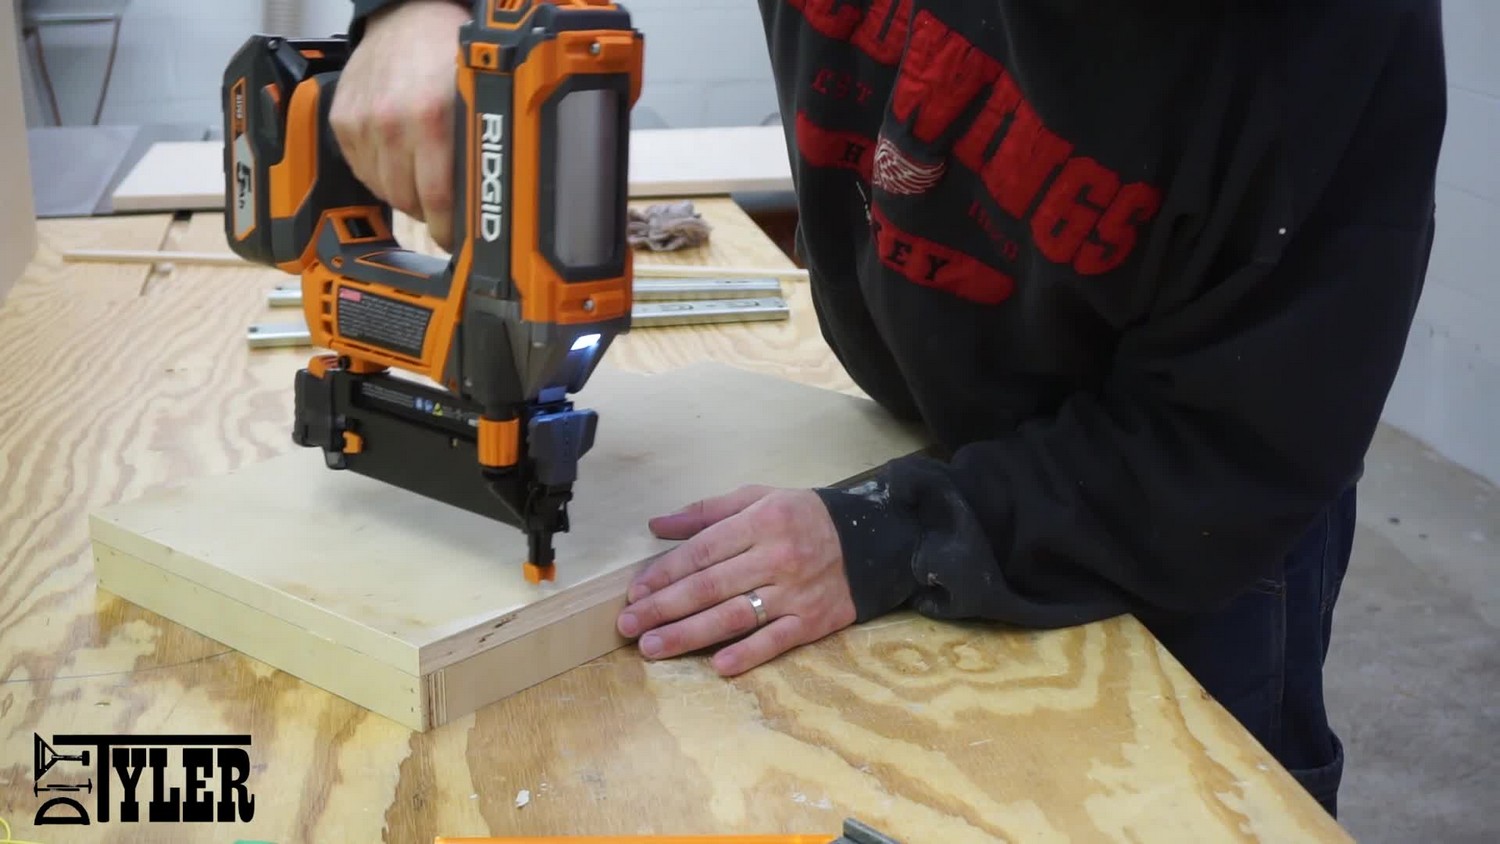
And attached the shelf to the frame, note the cutout for the cords (far corner).
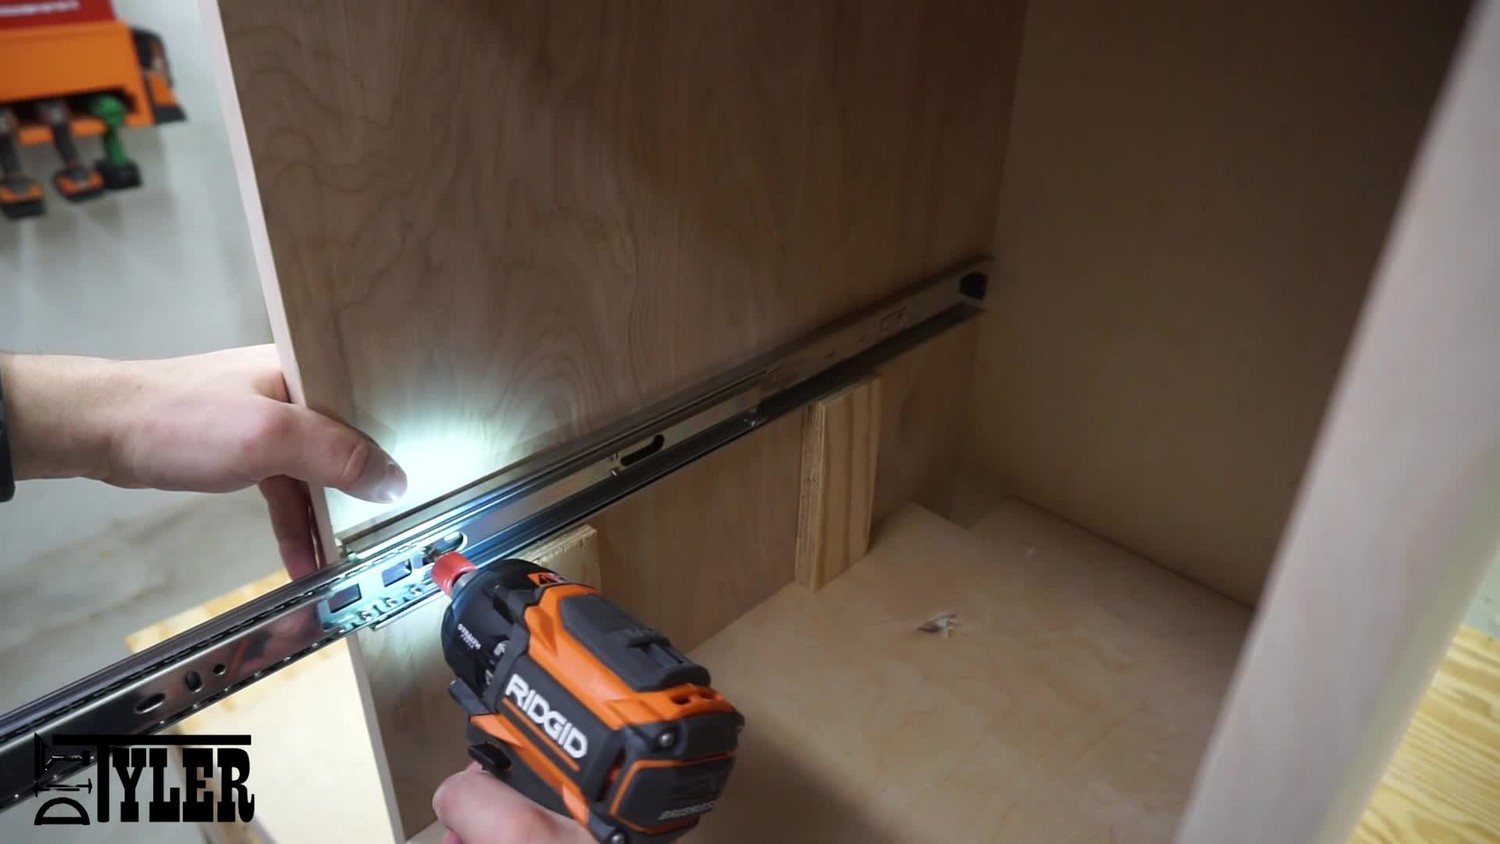
To mount the drawer slides I cut two spacer blocks to hold the slides in place while screwing them down. I temporarily mounted everything before disassembling for finish.
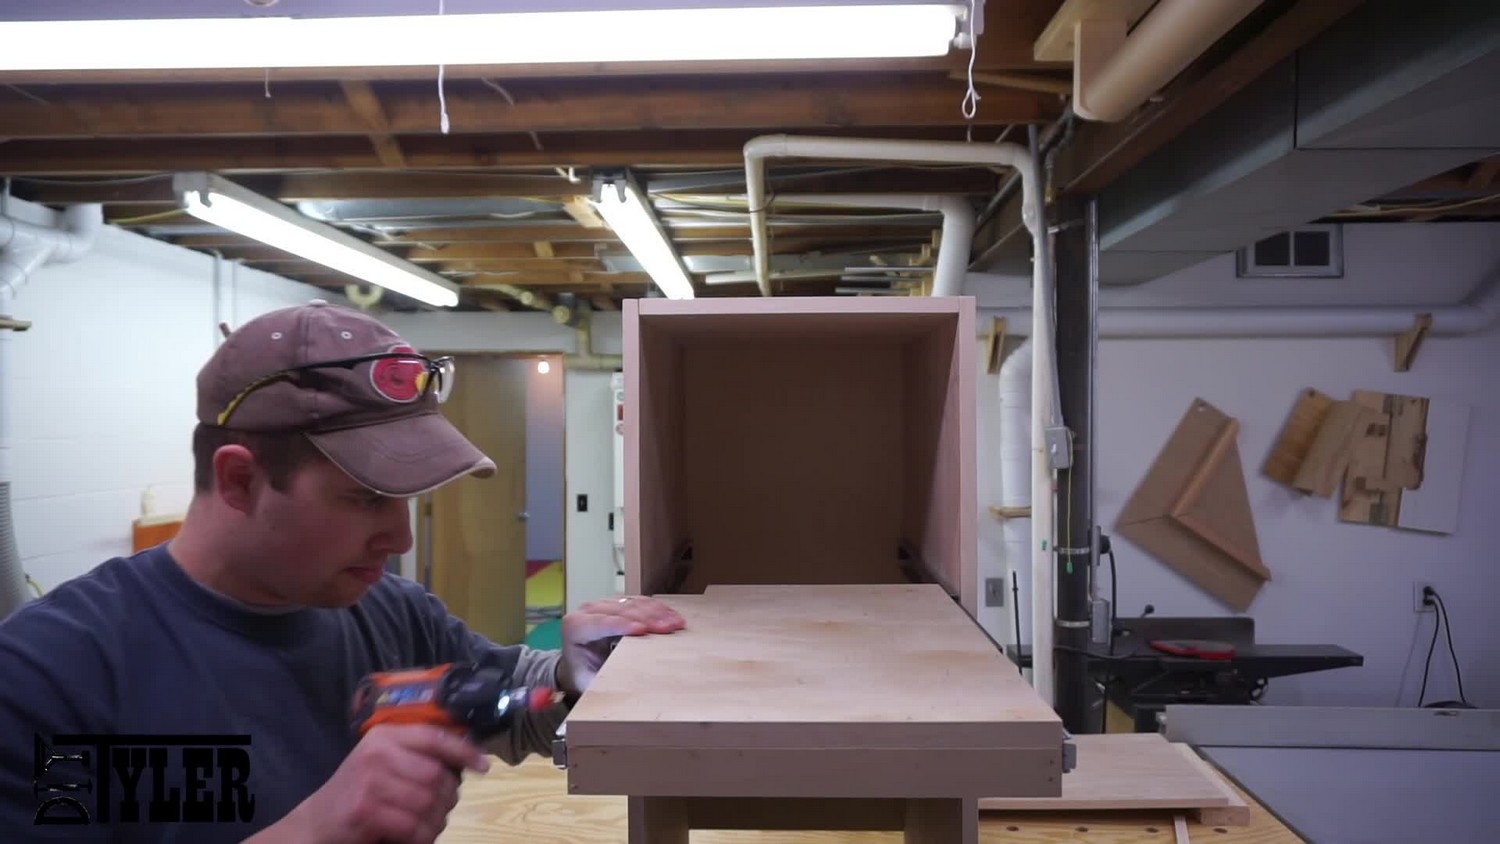
And mounted the shelf to the installed slides using some different spacers to get the proper height.
As I prepared the door to mount the hardware I realized that the door had warped a good deal and was never going to sit flush against the side of the cabinet. I have wet down 1/2″ plywood before and gotten it to straighten enough to work so I though I would give this a try. I wet down both sides of the plywood, set the wet rag over it to try and keep it damp for a while, clamped very tightly so make the wood bowed in the opposite direction of the warp and left it for several days. It worked pretty well and the only side effect is the wood grain was SUPER raised where the water was making the stain a bit thicker there.
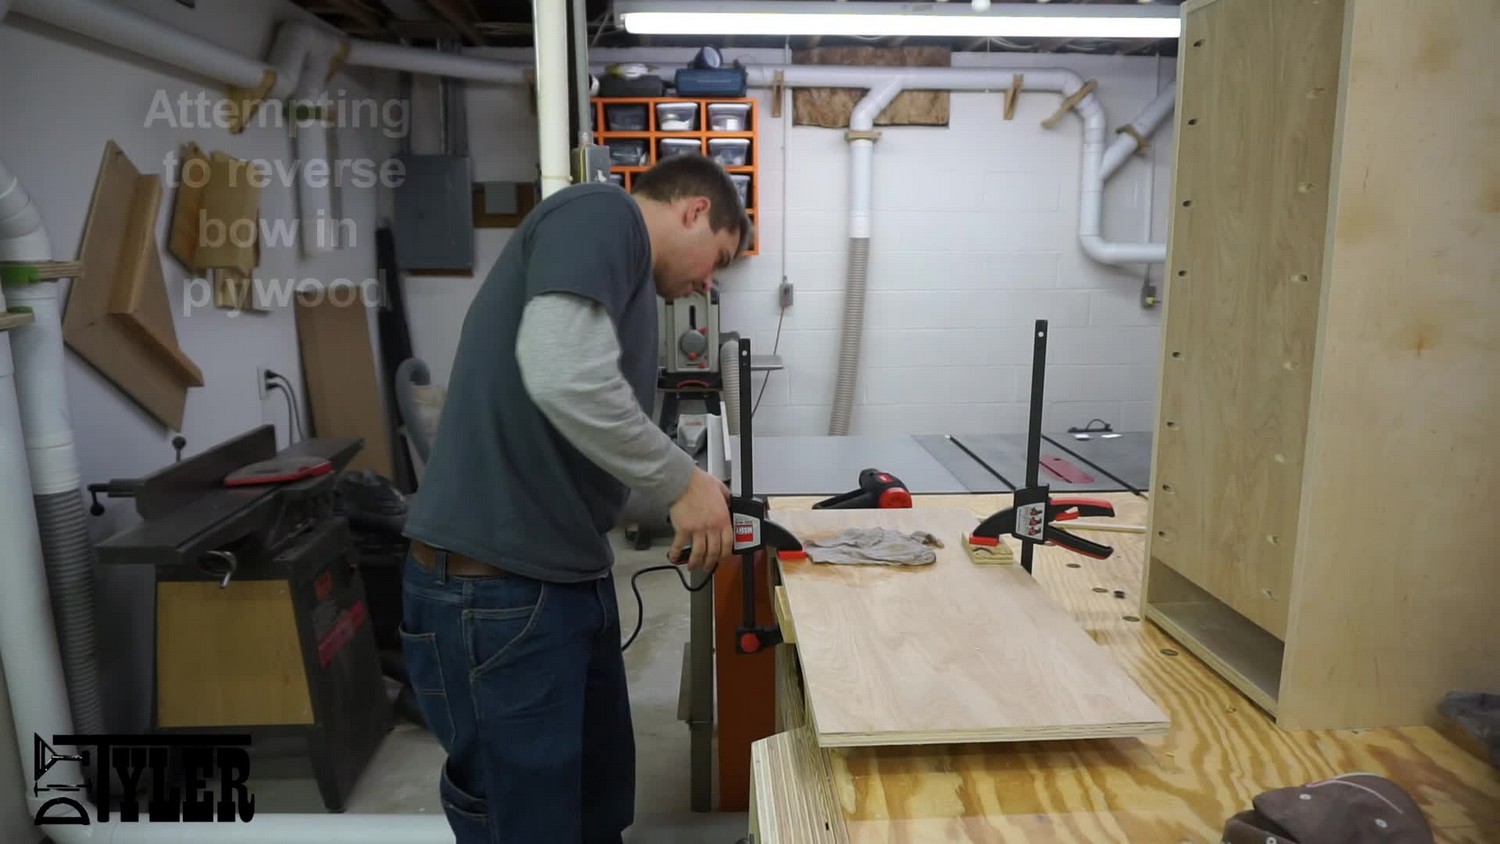
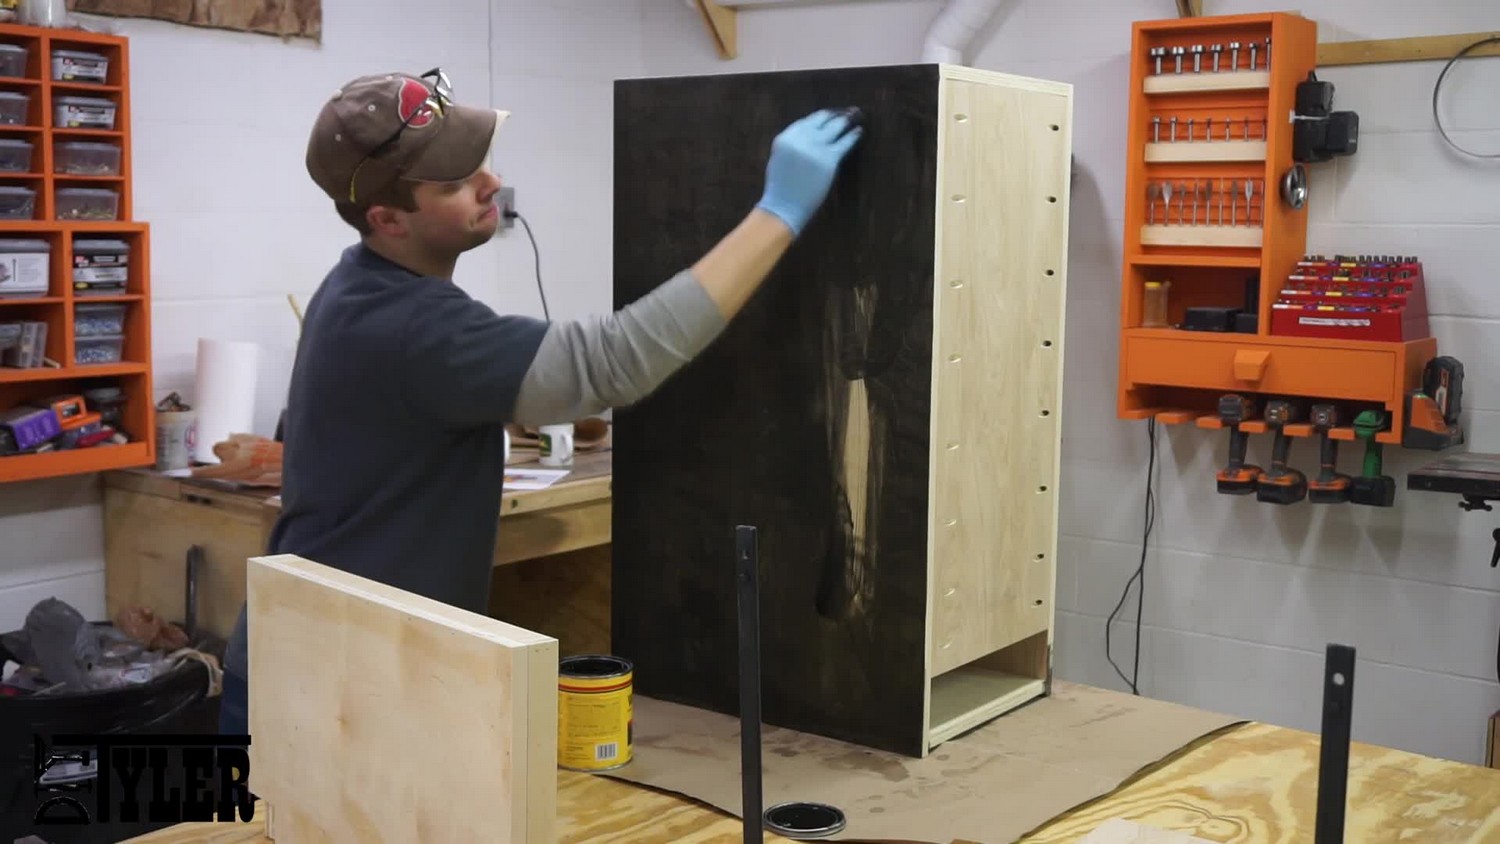
I then applied an Ebony stain.
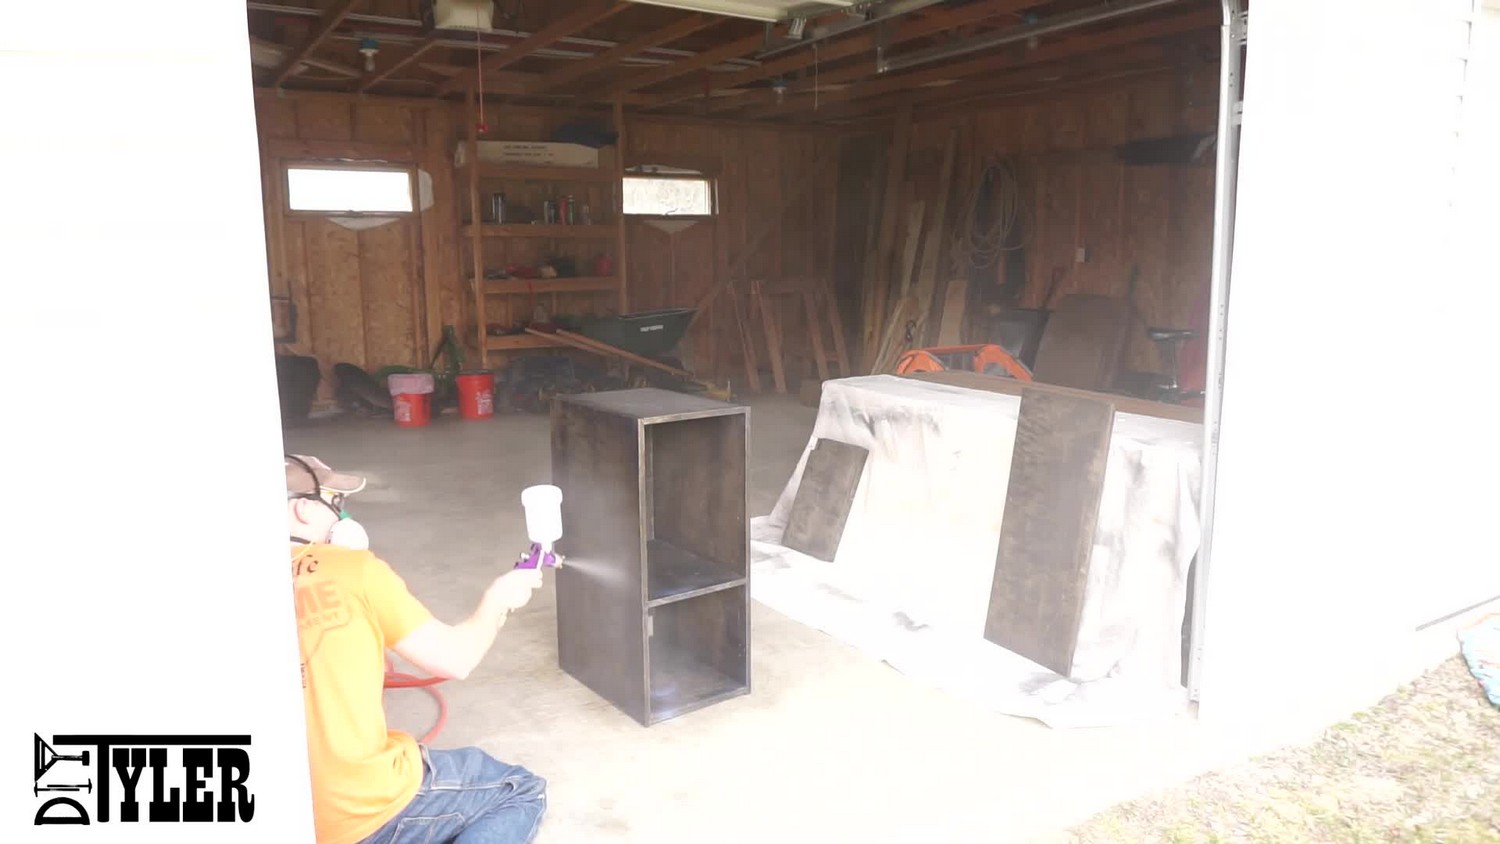
And sealed with water based polyurethane applied using an HVLP gun in my spray booth better known as a barn.
After several coats of finish I brought the cabinet inside and reinstalled the hardware.
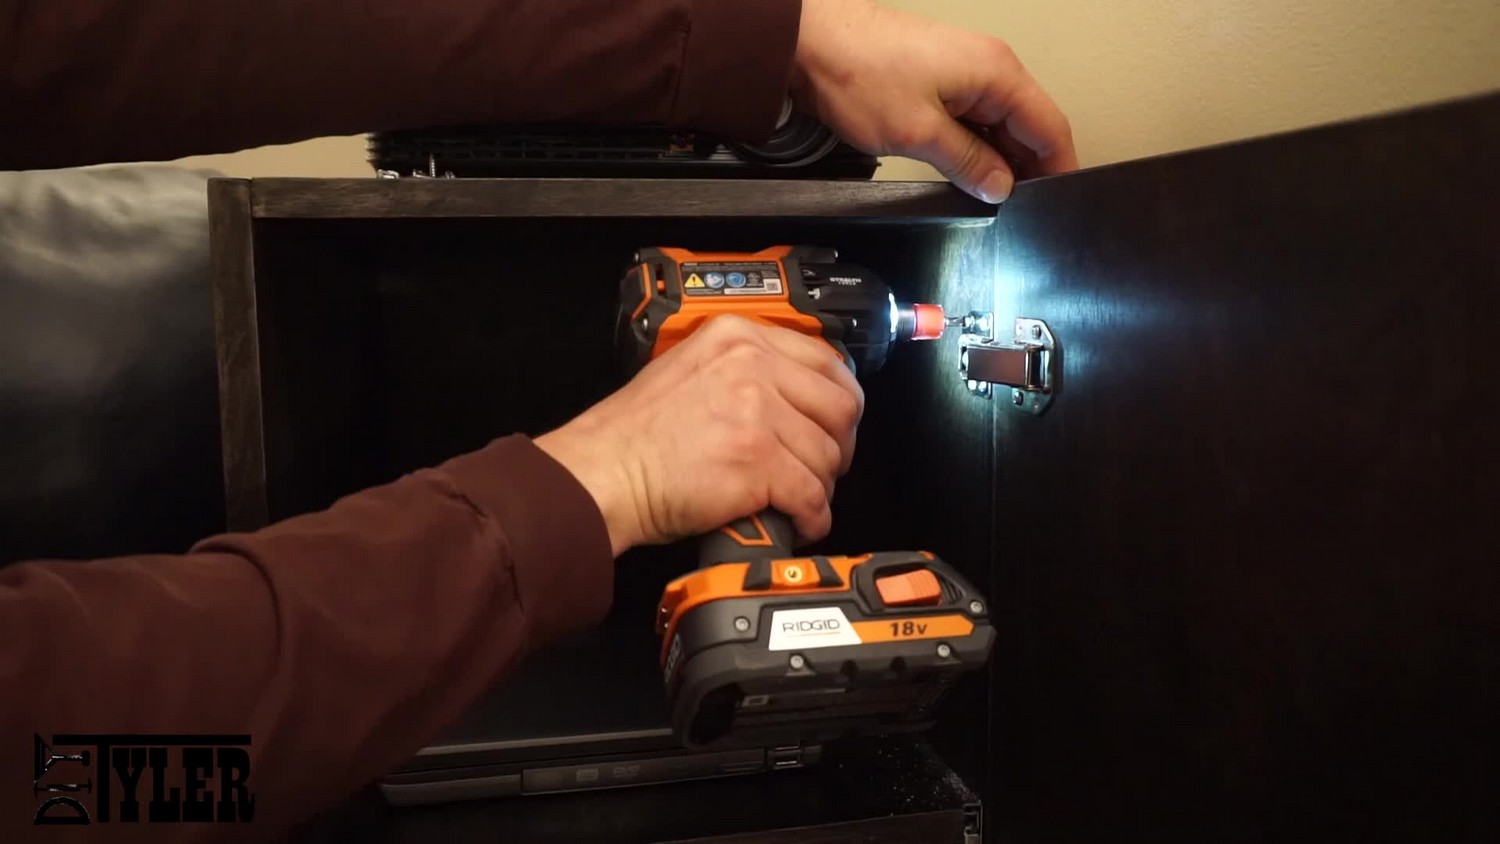
And it’s finished! In the end it turned out pretty well even though it was quite a frustrating process with the cheap plywood that I tried to use, won’t be using it again. If I was to build another I would make the door a bit shorter to prevent it from rubbing on the carpet when opening or closing the door. Besides that and the plywood I don’t think i would change anything.
I will not be posting a set of plans since this design is very specific to the area we have the cabinet but if anybody is interested send me an email using our contact form and I can send you the basic plans I used.
Thanks for checking out our work and we will see you guys next time!

